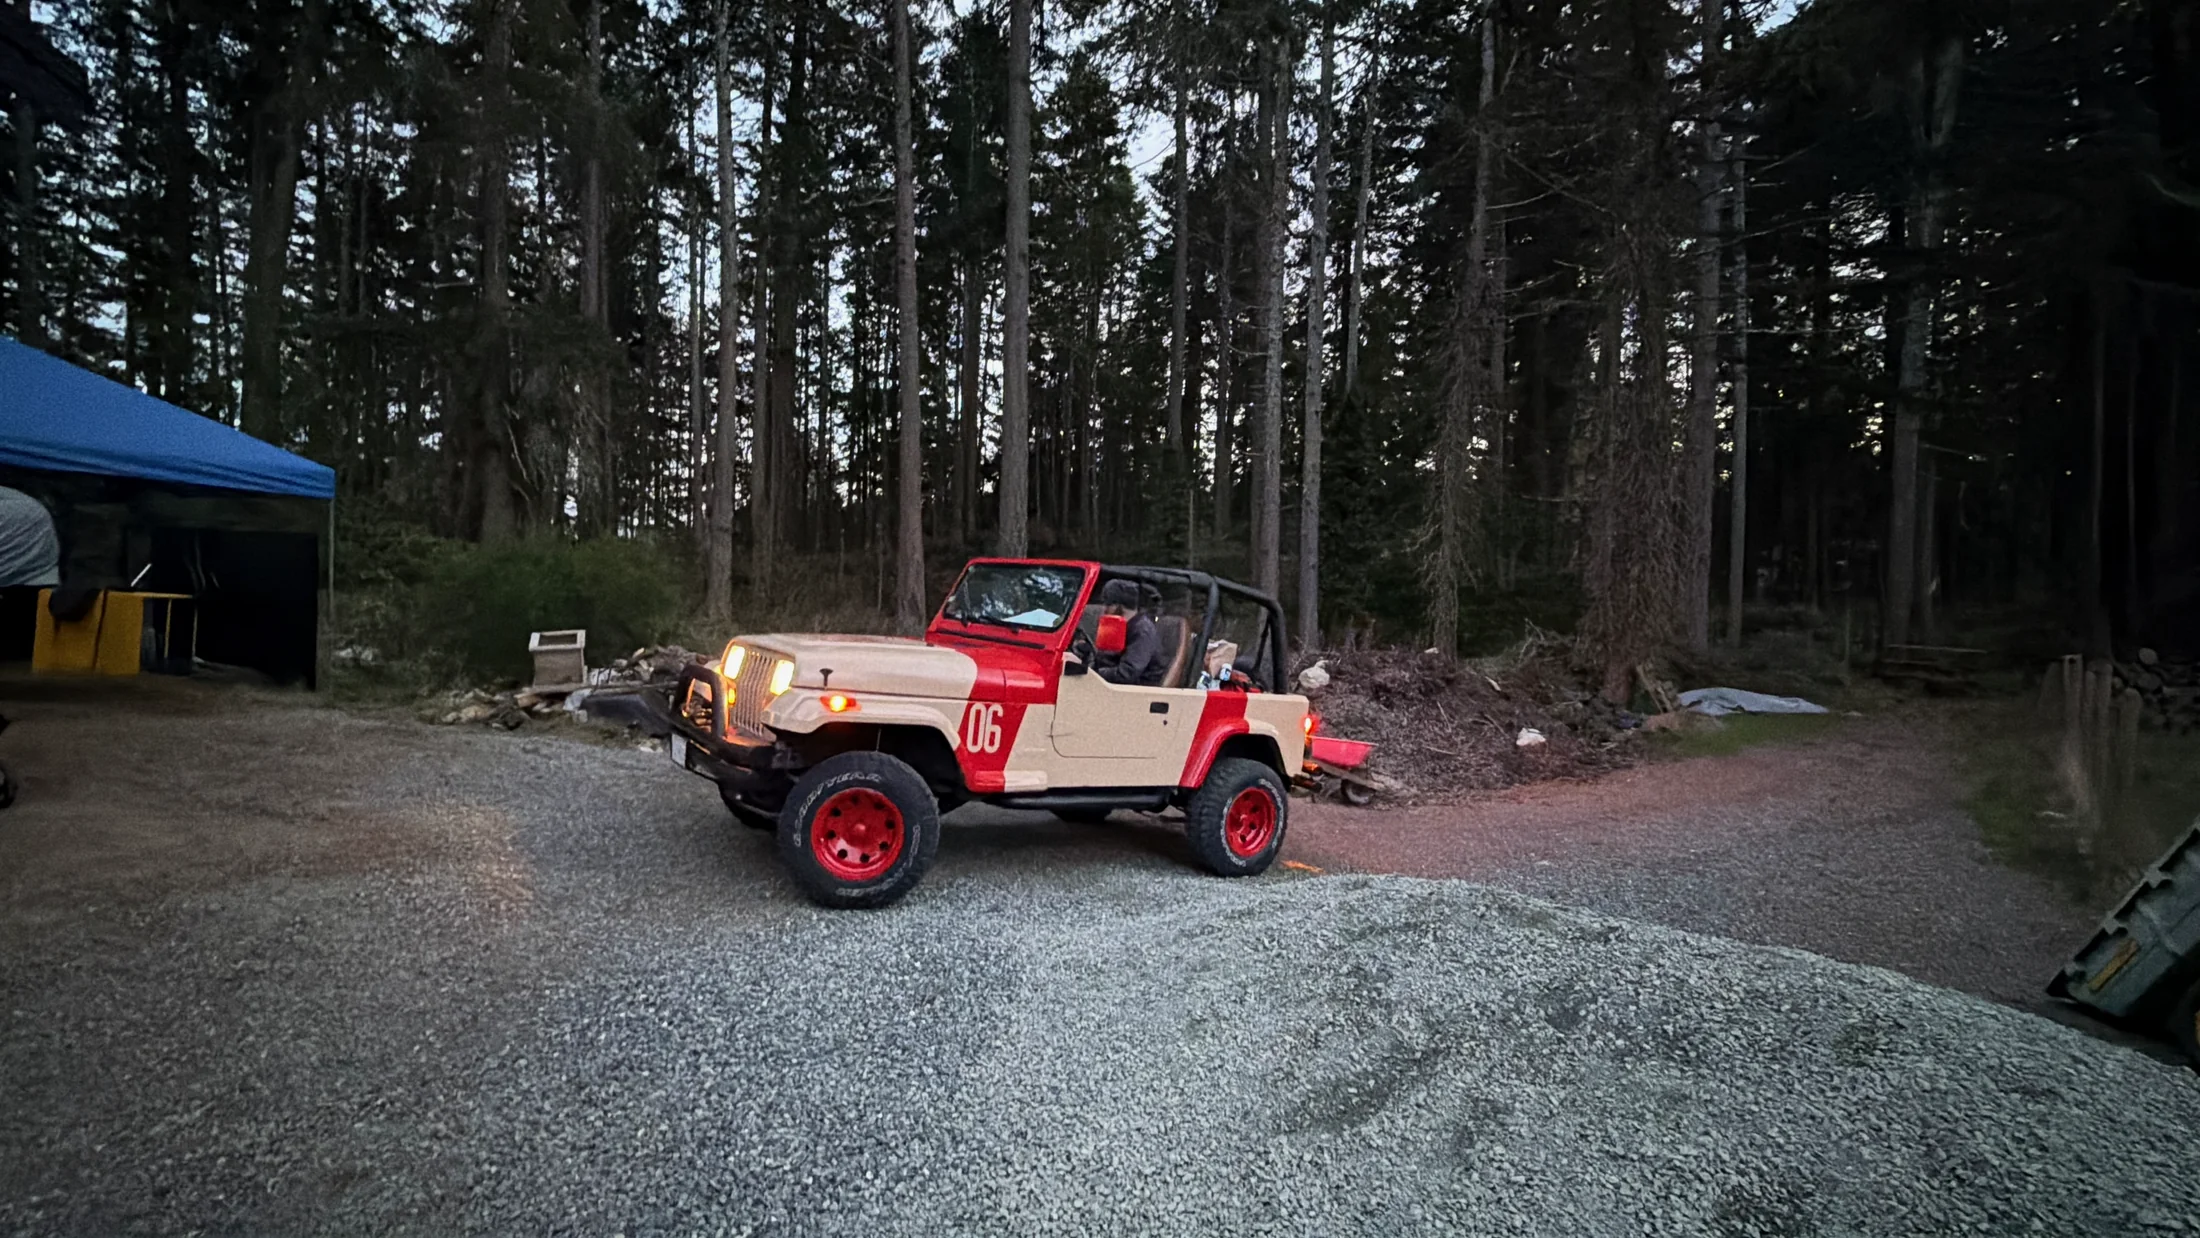
It was Saturday, March 29th, 2026. My son's sixth birthday party was just 15 days away, and my wife and I were putting the final touches on the plan for the theme — dinosaurs, of course, as many six-year-olds desire. We had the venue, the cake, the pizza, and the snacks all planned, and all that was left was the activity. For that, we had settled on clay-encased plastic dinosaurs that the kids could chip apart like "real palaeontologists." My wife had a first aid course that day, so my son and I were having a pretty relaxed day around our place, and my only task was to acquire the fossil activity from Amazon or some similar retailer.
Being the "responsible parent" that I am, and aware of just how popular dinos were at kids' birthdays, I decided to check Facebook Marketplace to see if there were any partially finished sets with some left-over clay eggs — just to see how many full sets we needed. Every dollar saved is a dollar for our son's education fund, after all, and this is what Responsible Parents do.
Alas, it wasn't meant to be, because for some reason right there in the suggestions for me on the marketplace was a beautiful metallic green 1995 Jeep Wrangler YJ — the classic square-headlight model that I immediately recognized as being the same vintage as the iconic Jurassic Park jeeps. The ones that carted the recently departed Sam Neill, Laura Dern, Jeff Goldblum, Richard Attenborough, and many more throughout the dinosaur-filled islands off the coast of Costa Rica, bringing those majestic creatures to life for a whole generation of millennials — and, more recently, their kids. I had an idea, and so soon I was texting my wife.
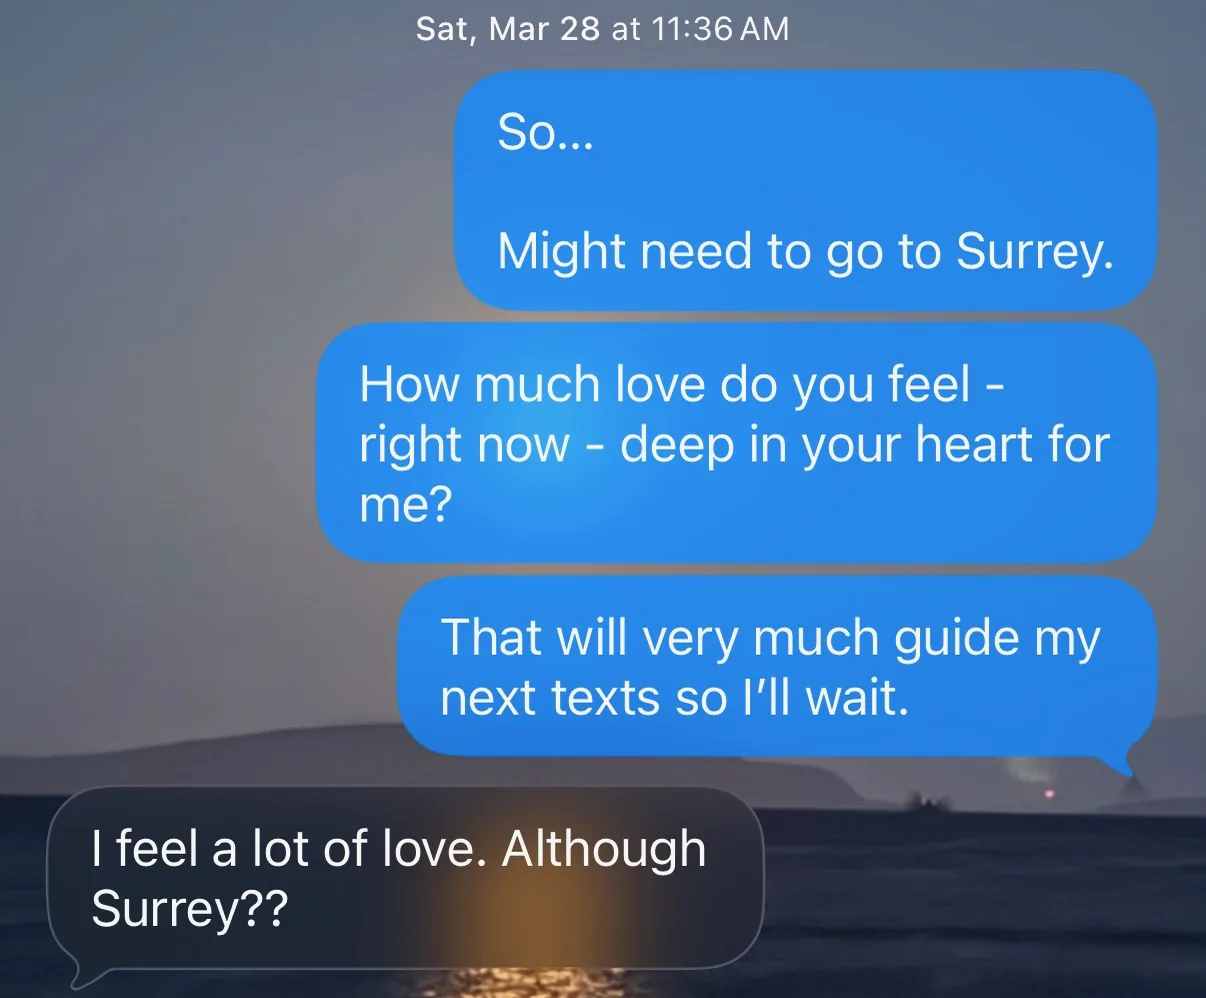
As always, Teryn was immensely supportive once I told her I was a little bit confident we could do something cool — and we just so happened to have an old truck that we were selling anyway. The next morning, I hit the road with that old truck and hopped a ferry to the Lower Mainland; the truck was sold to a dealership, and with cash in hand and after a quick test drive, I was the proud owner of a 1995 Jeep YJ Rio Grande edition Wrangler, and back to our island paradise by midnight.
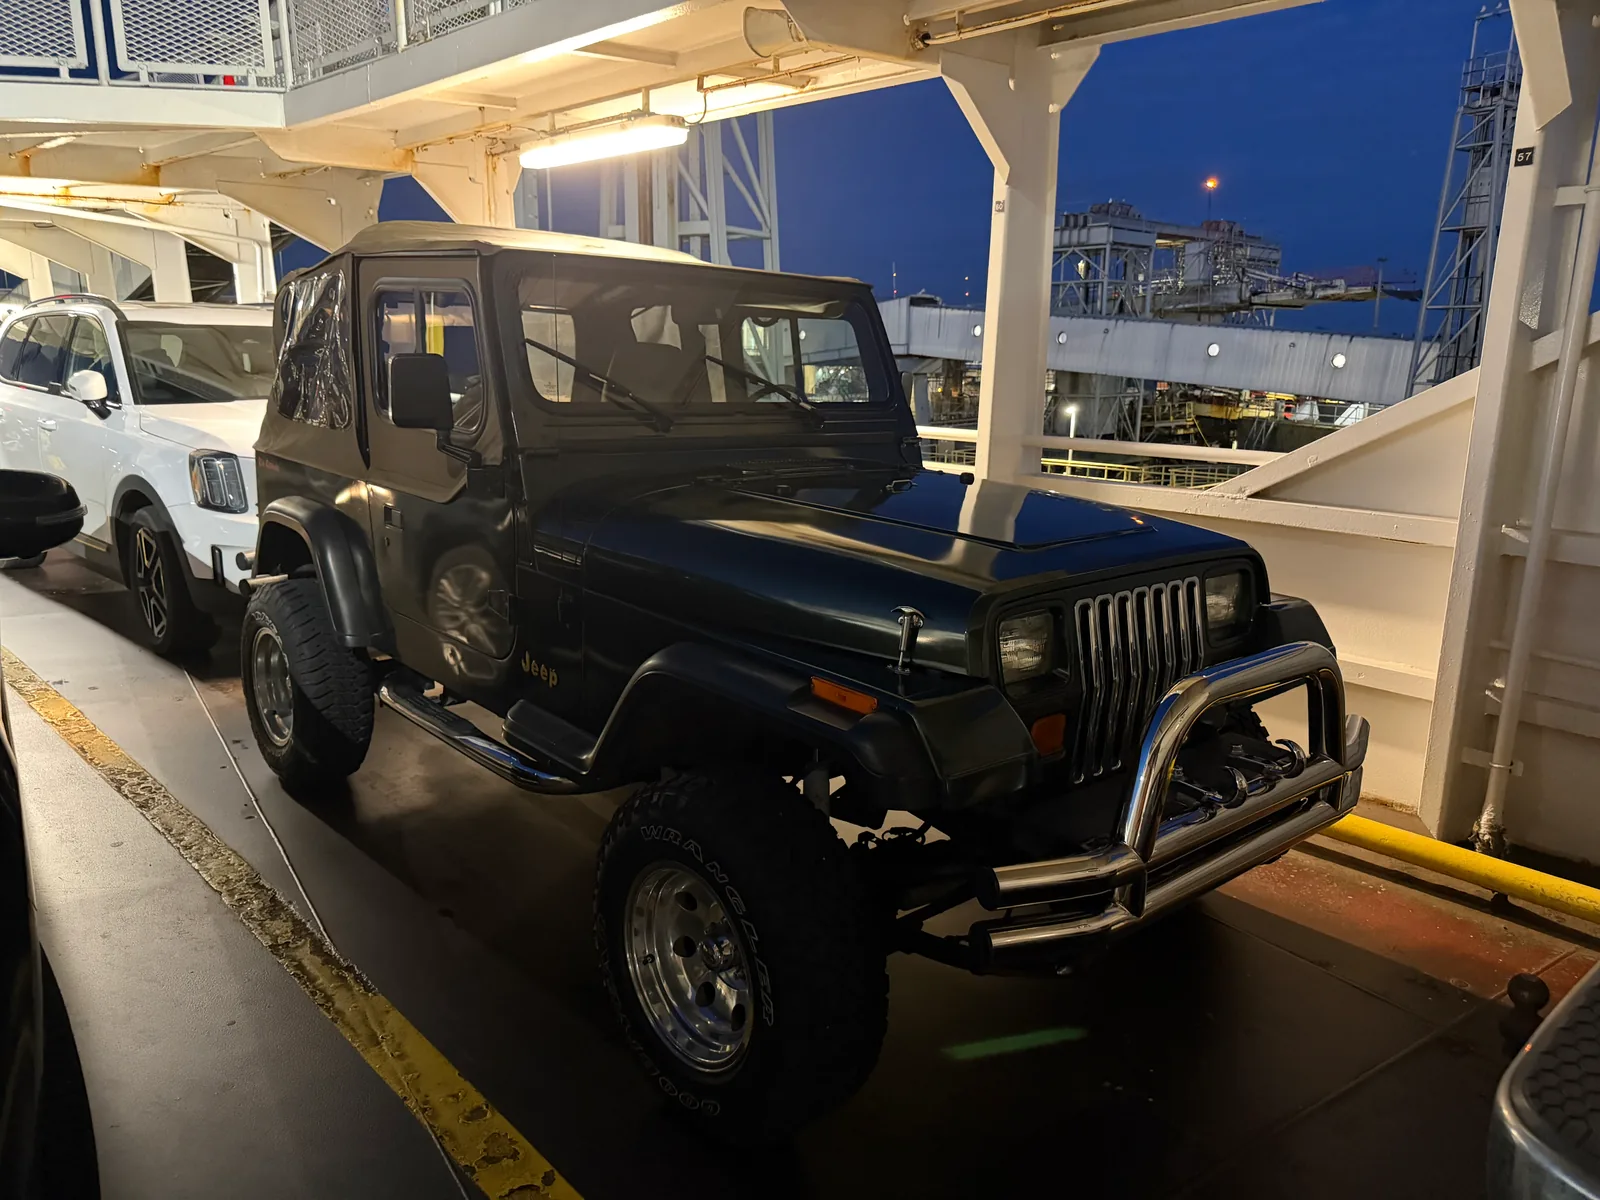
The jeep was rough, but not that bad — it certainly was showing its age, but when you buy a Jeep this old you really are just hoping for a rust-free frame, and then whatever's attached to it is a bit irrelevant. We had that, and I was happy. On Monday, March 30th, we got to work converting the Rio Grande into the JP Park Patroller — starting with disassembly.
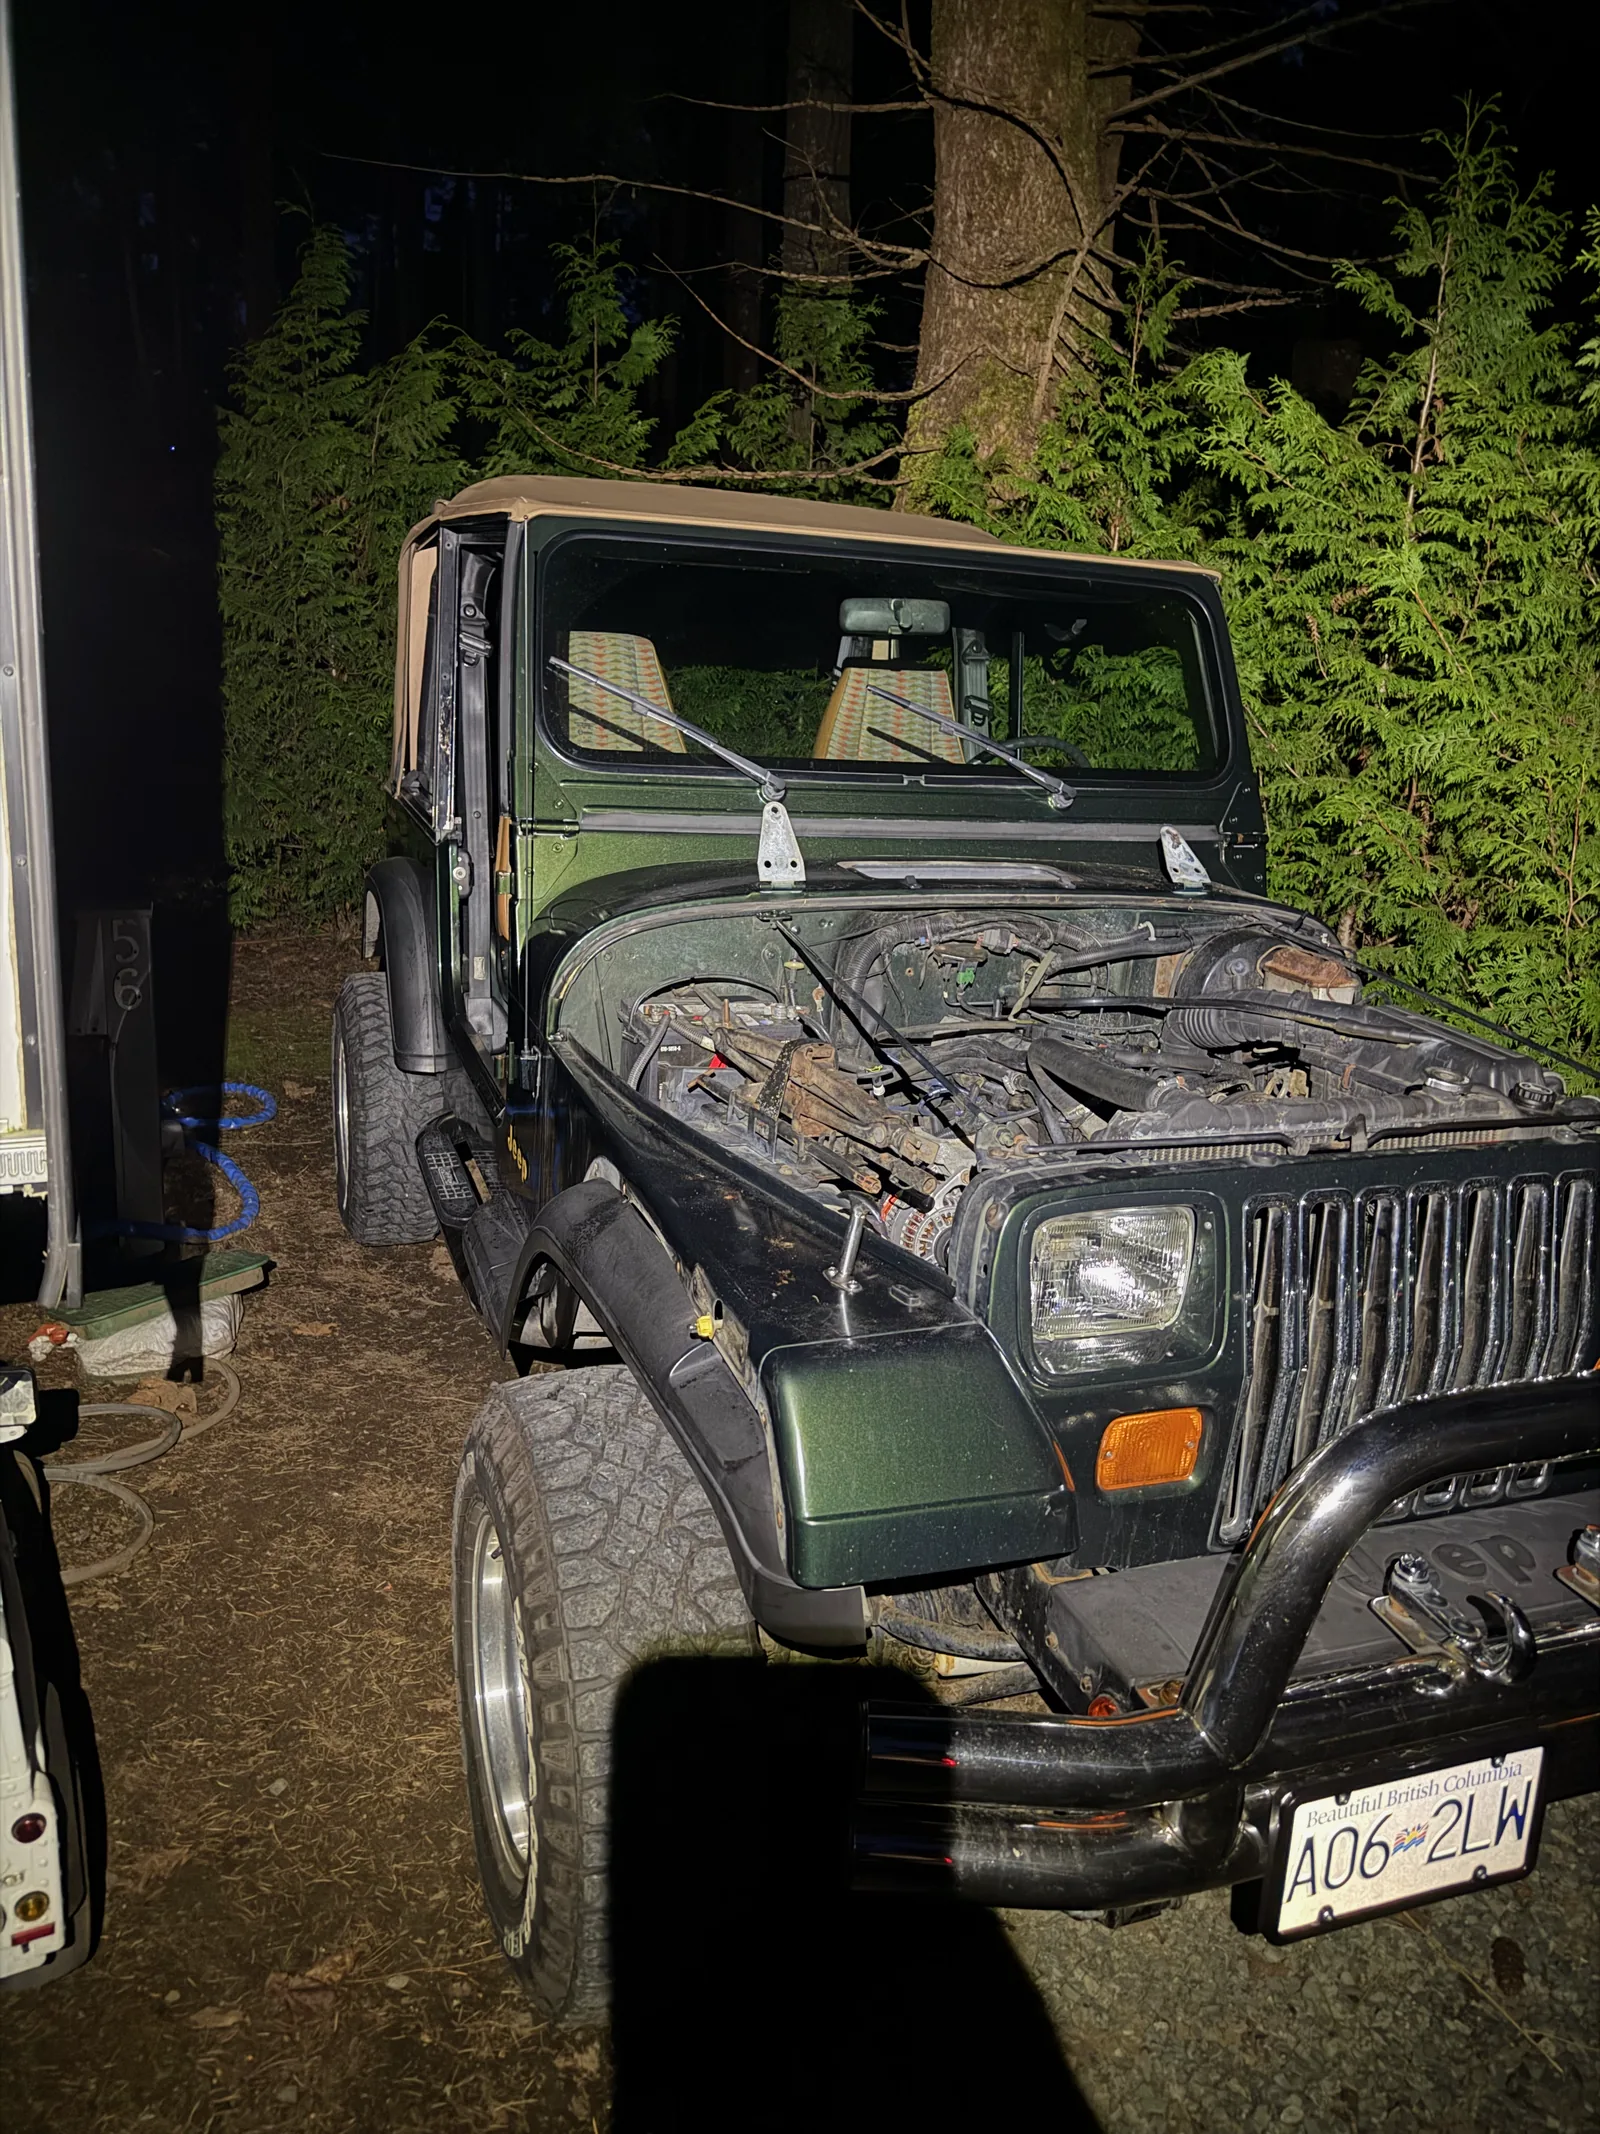
It should be mentioned that we've never really painted a car before. We have some mechanical experience on account of being broke and unable to afford mechanics for most of our lives, but this was a novel undertaking with minimal budget, and so we'd have to be crafty and careful with how we went about it. Also, our lifestyle right now means we don't have a garage, so this would be done under the big blue sky of a Vancouver Island springtime. What could go wrong, right?
Build Dossier — "Park Patroller"
- Donor vehicle: 1995 Jeep Wrangler YJ, Rio Grande edition (metallic green)
- The build: Four days over the Easter long weekend — roughly 80 hours
- Budget: about $1,000 all-in (~$600 of that in tan Tremclad rattle cans alone)
- Paint & finish: Rattle-can Tremclad, PlastiDip for the chrome, sign-shop decals
- Crew: Craig, Teryn & our six-year-old (chief can-shaker)
- The occasion: One dinosaur-themed sixth birthday party
The Week
We made good progress that week on the disassembly, and with the birthday party fast approaching we knew we'd have to really work hard over the four-day Easter weekend to get this done — and that meant ordering parts and supplies with rush delivery.
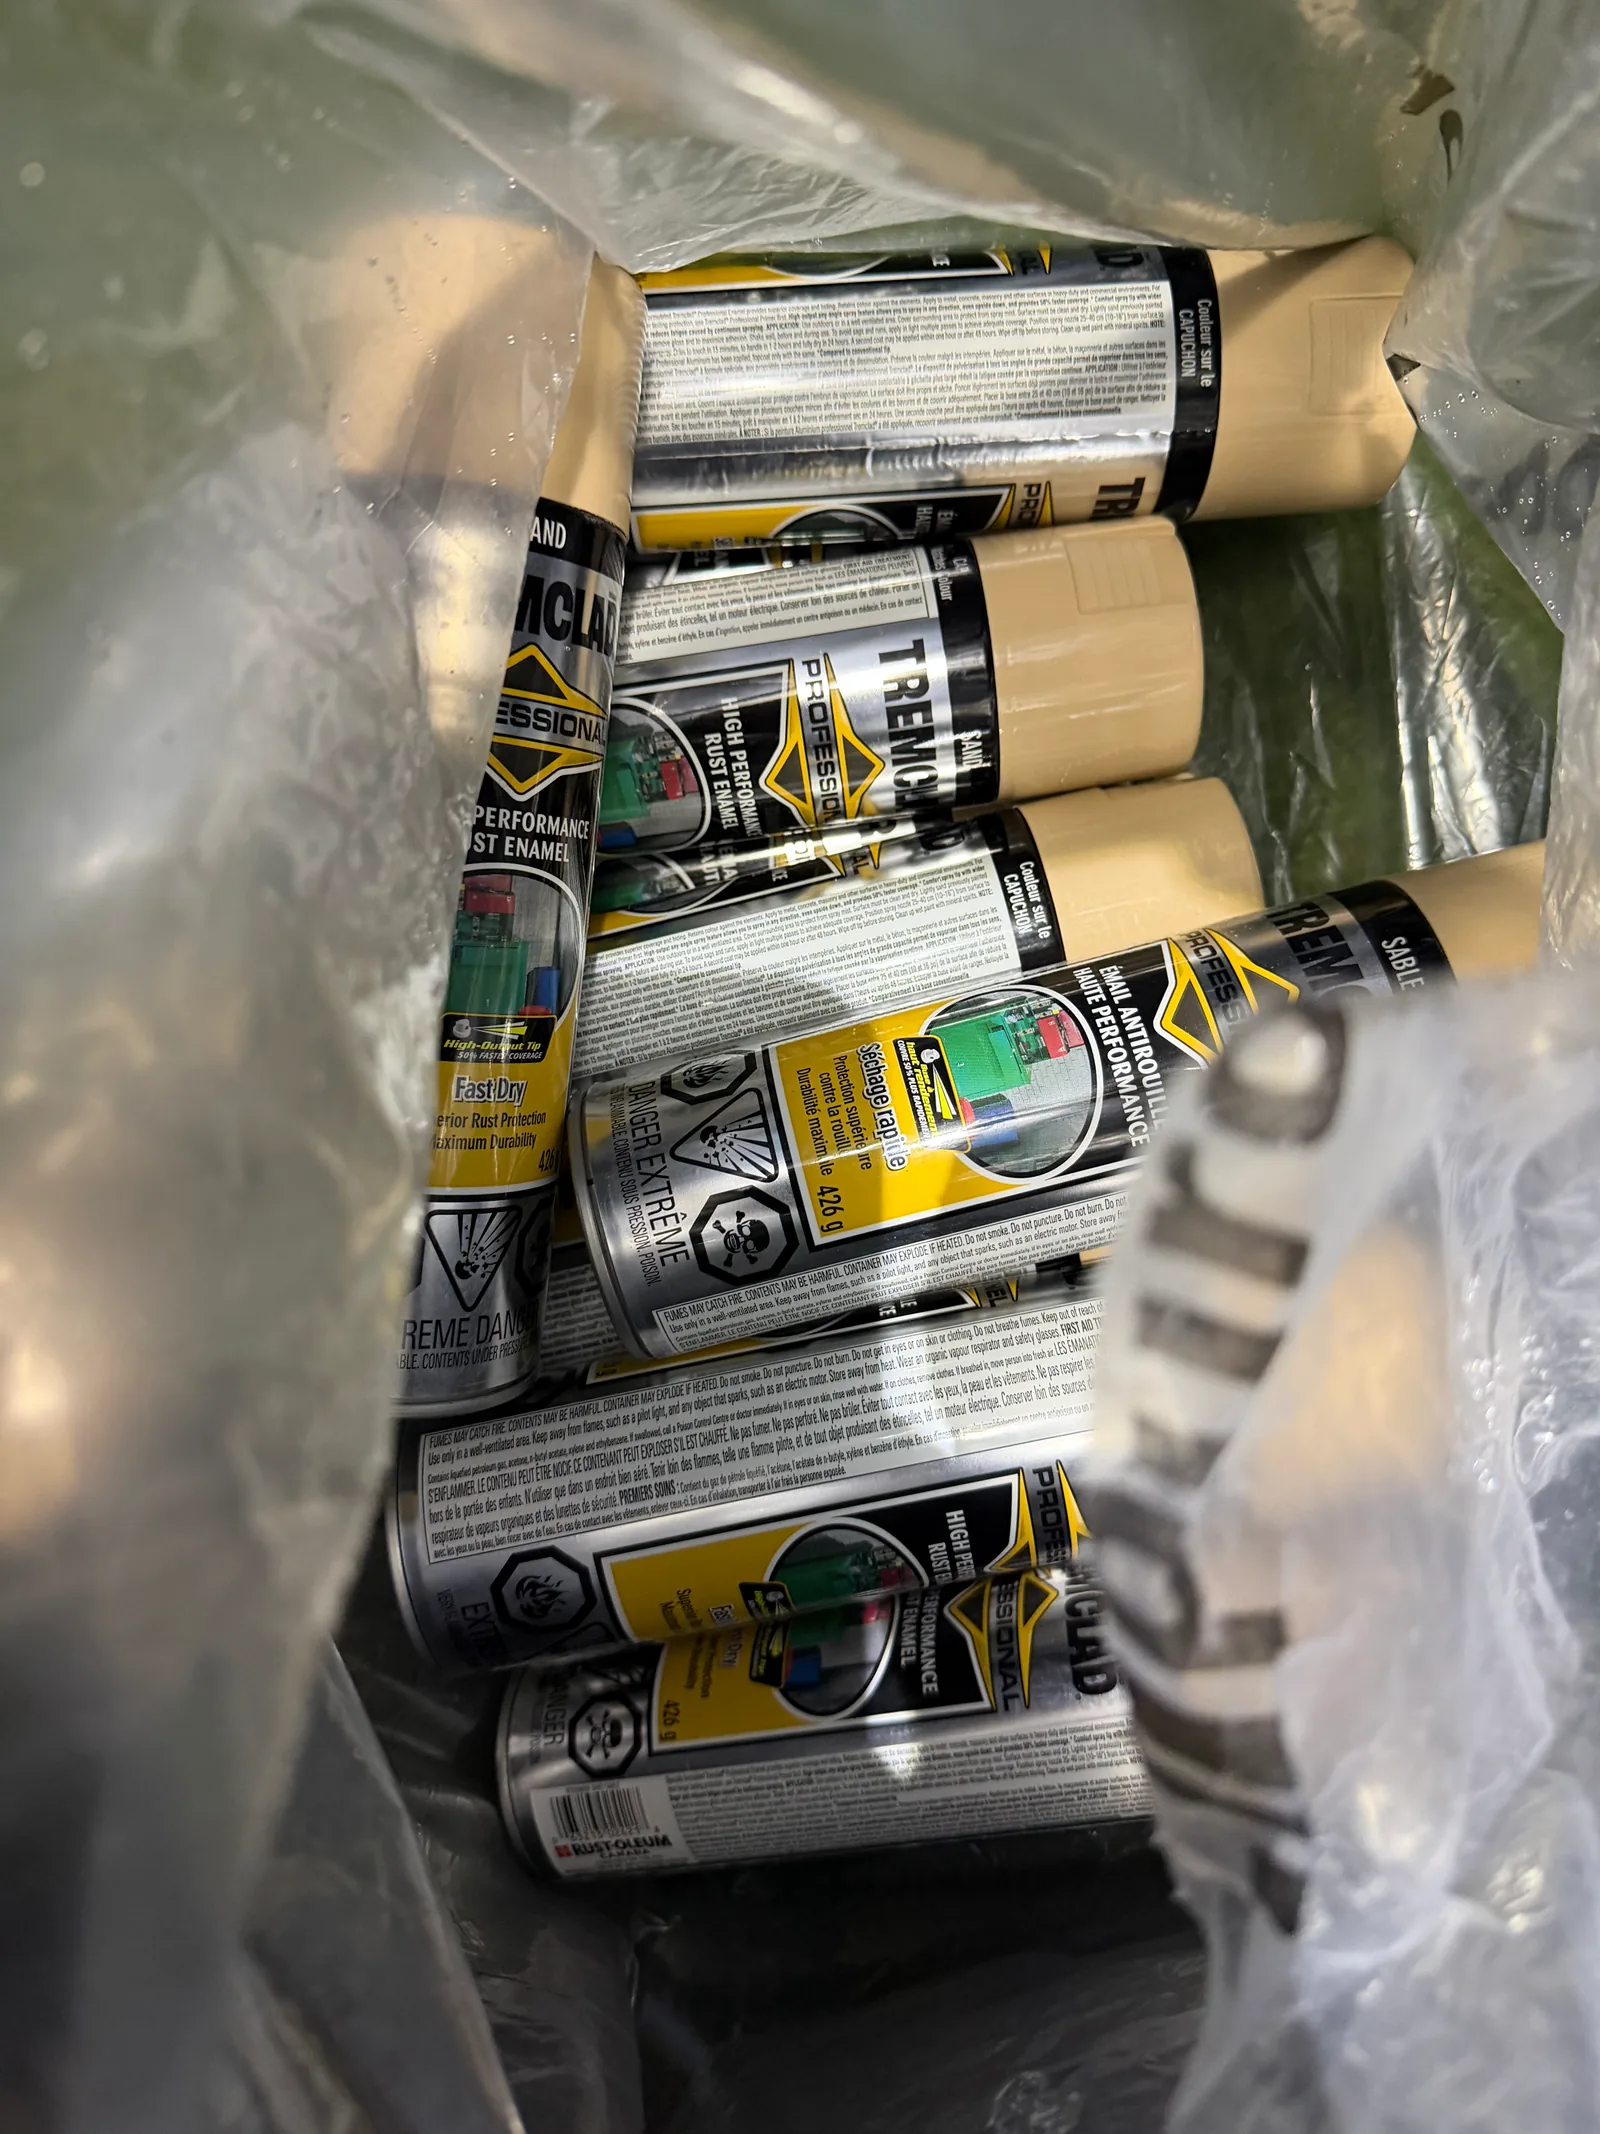
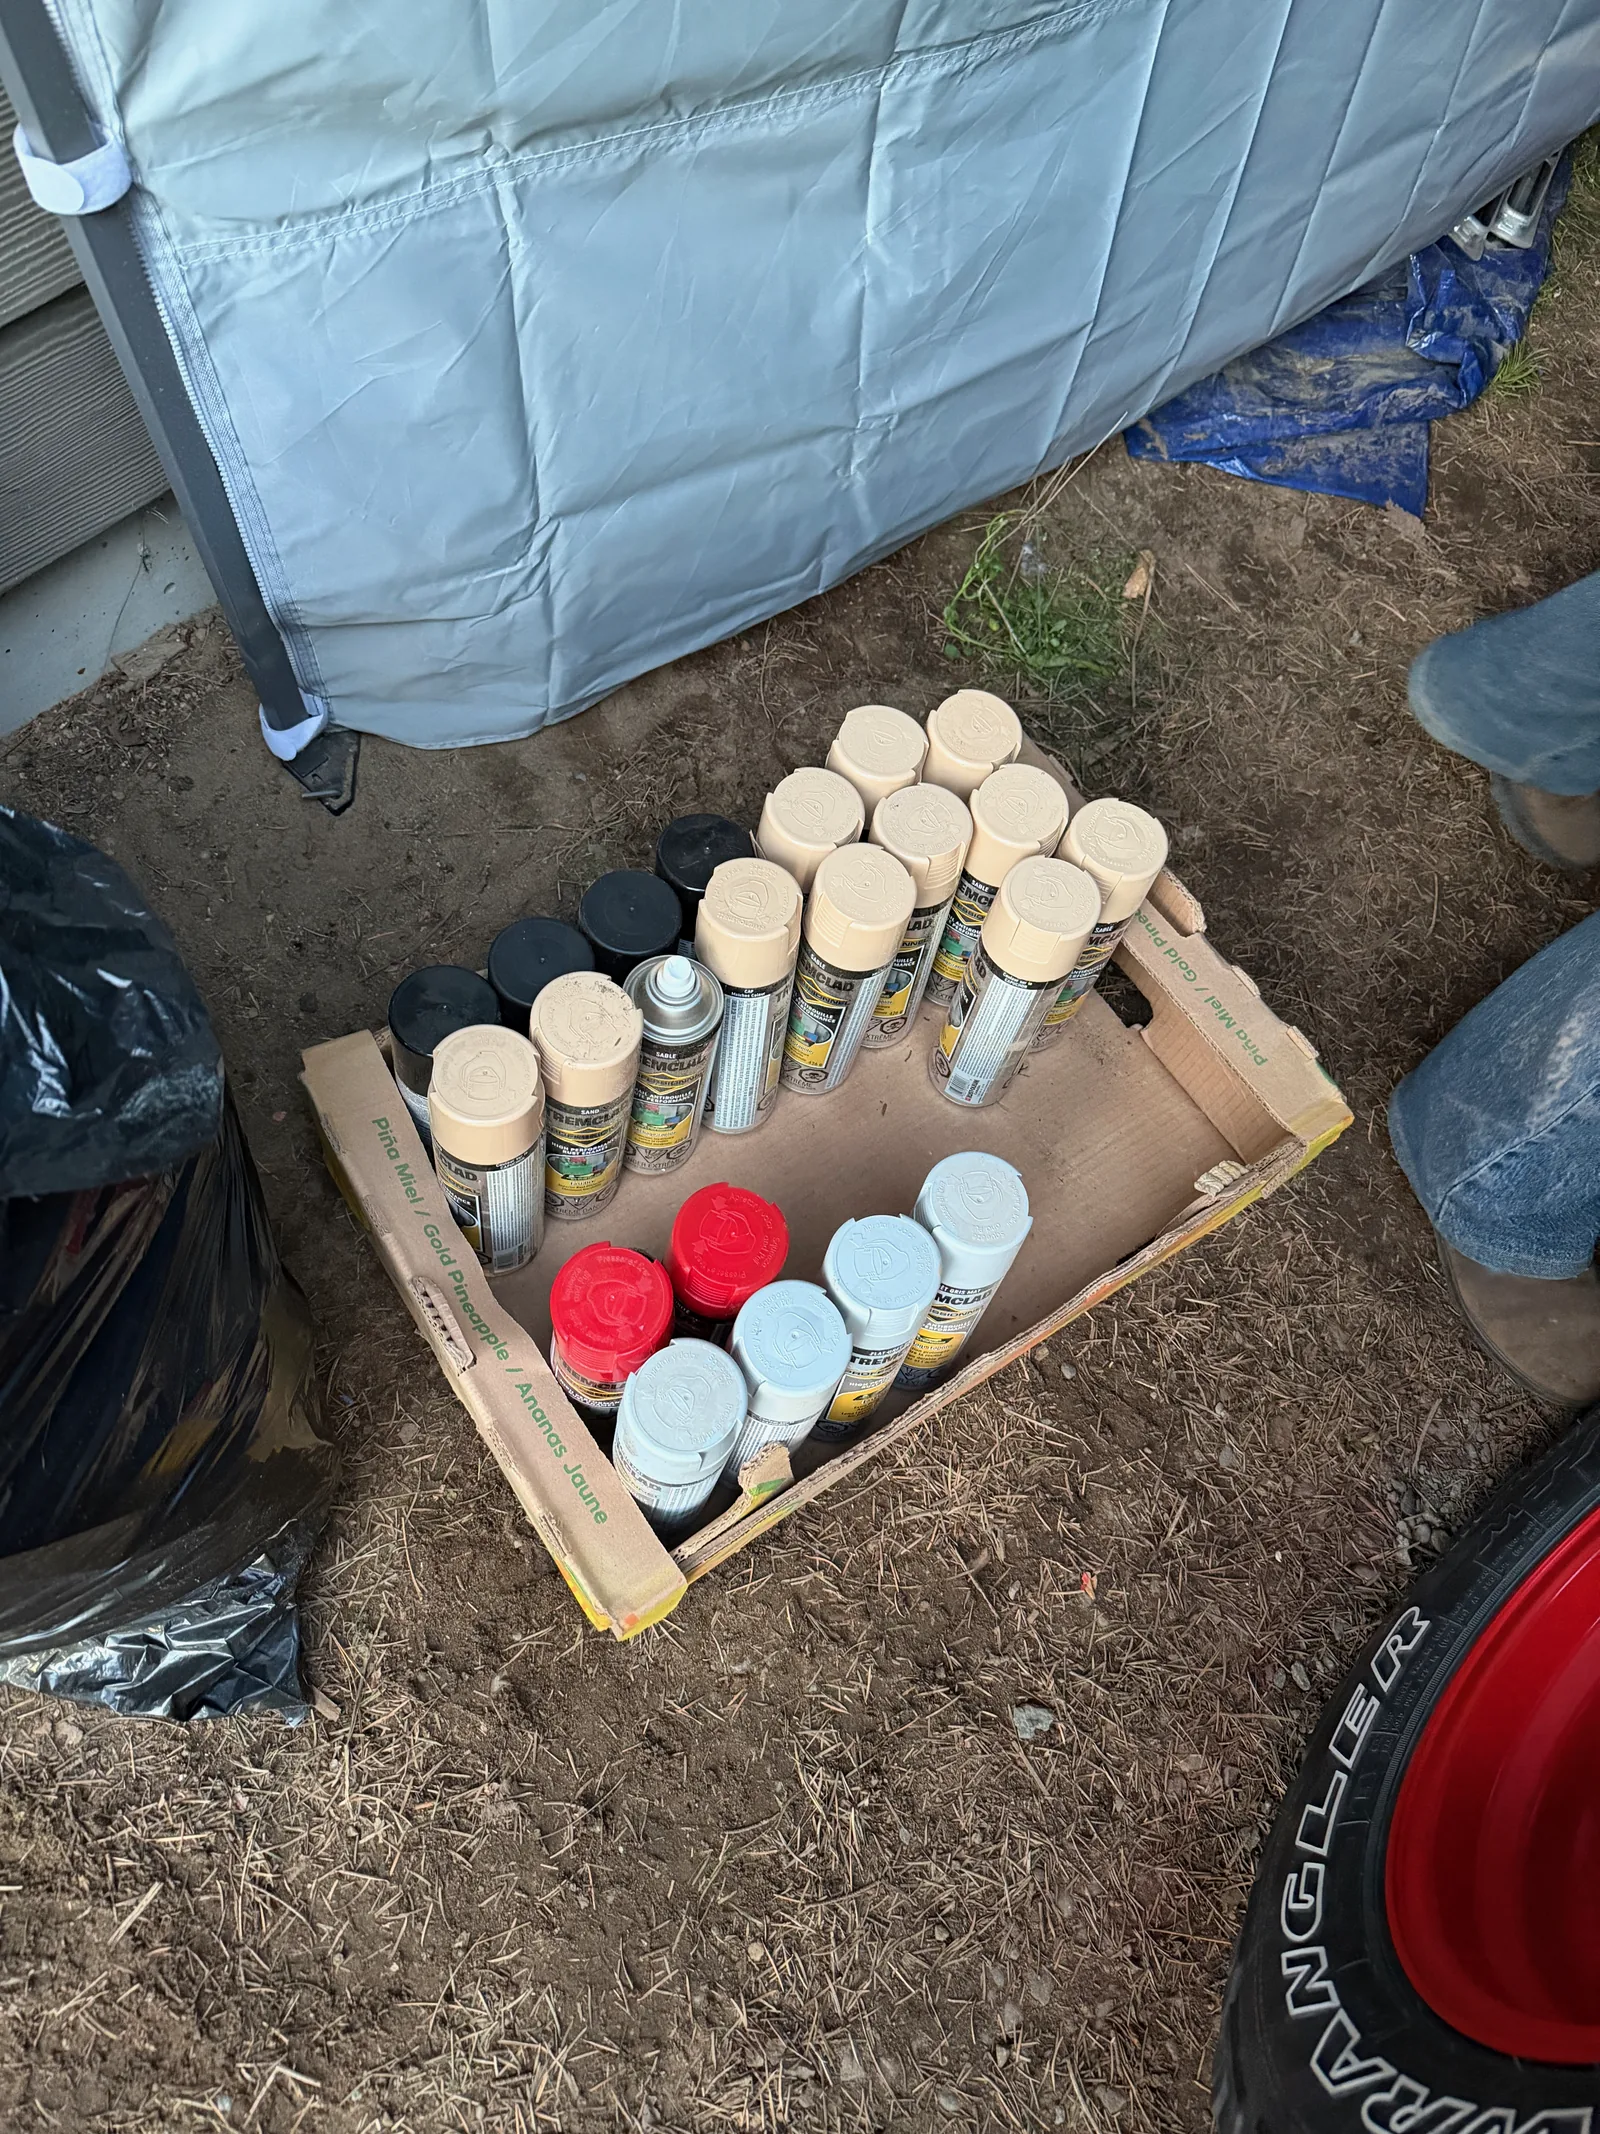
First was the paint. Automotive painting is notoriously expensive, but you know what isn't? Spray paint. Thanks to some crafty click-and-collect by Teryn and a bit of negotiation with a courier service, we soon had acquired every can of tan Tremclad from Comox to Saanich, delivered to our door. Between that, the primer, and some other colours, we were into this for about $600 in spray paint.
Apologies if anyone else needed tan rust paint over Easter. It wasn't an option for you. Other acquisitions included masking tape, wax and grease remover, plastic drop cloths, and decals from a sign shop — but soon we had everything we needed, either in hand or on the way. Oh, and the horn — because how can you drive a Jurassic Park Jeep and not make it roar like a dinosaur or play the JP theme when you're driving around? It's mandatory.
Friday
Sanding & Primer
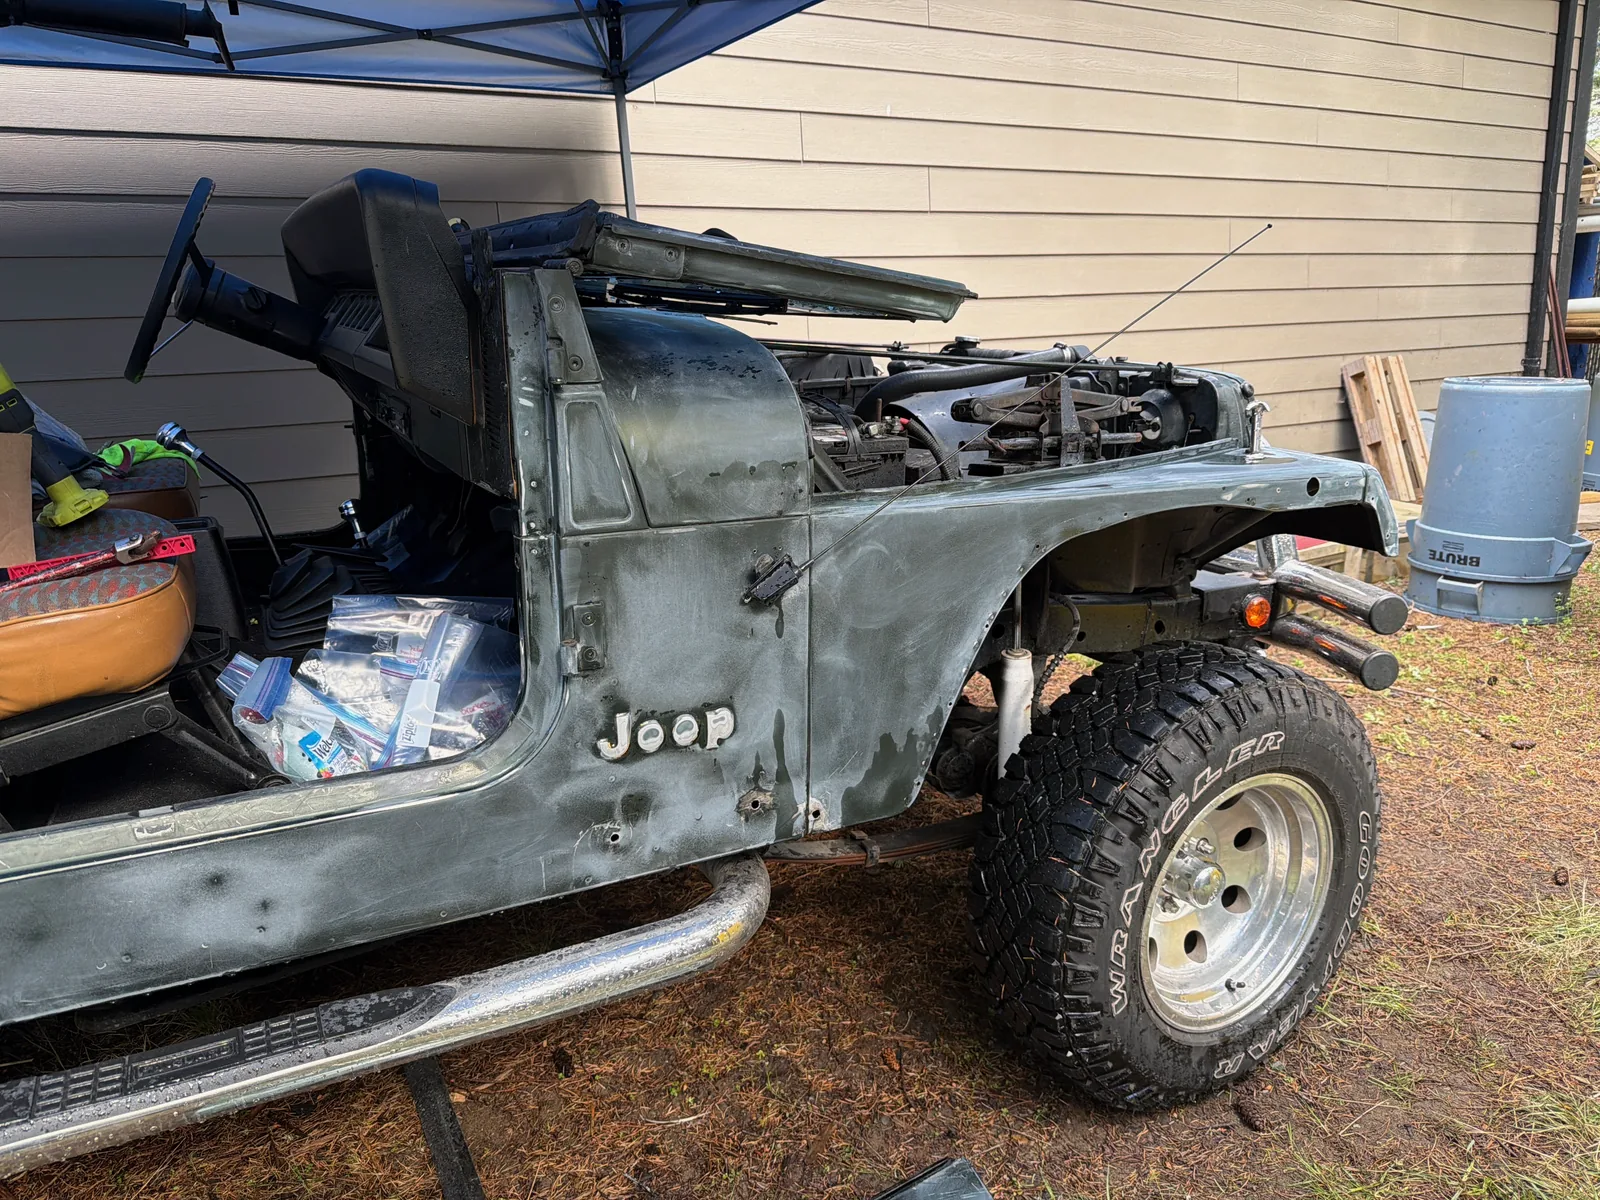
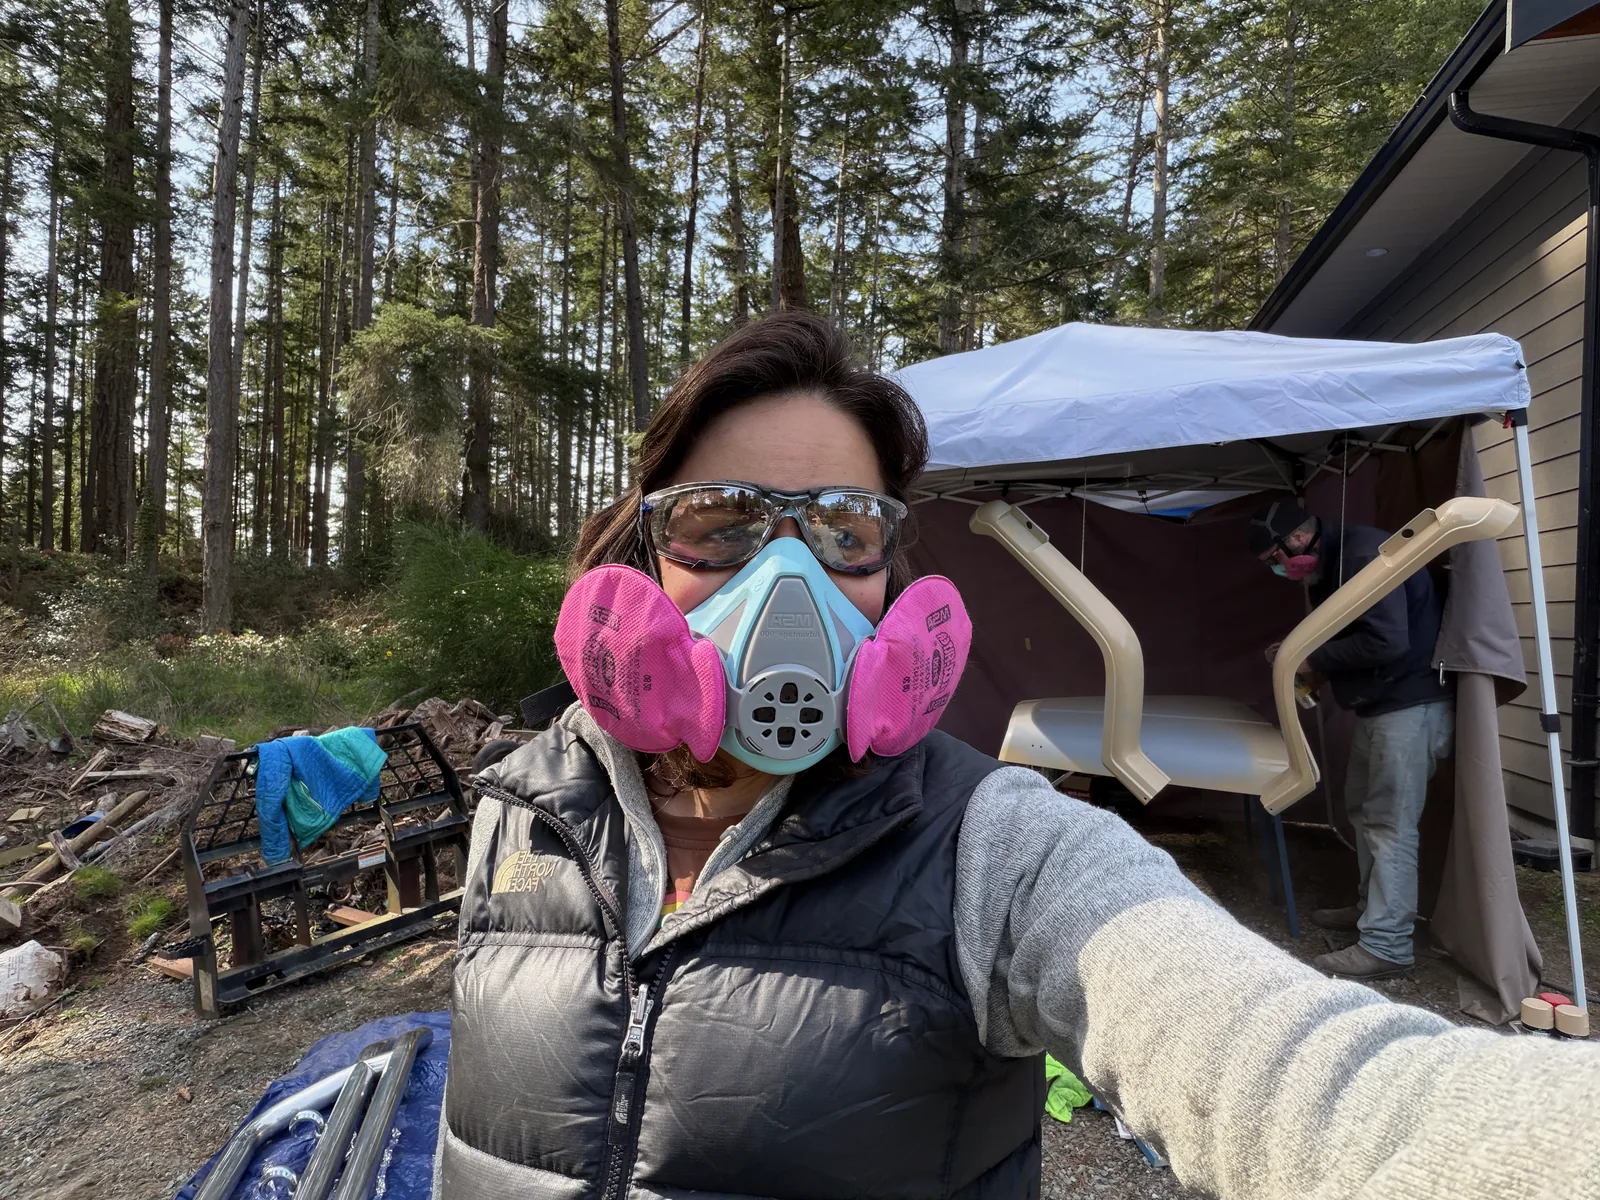
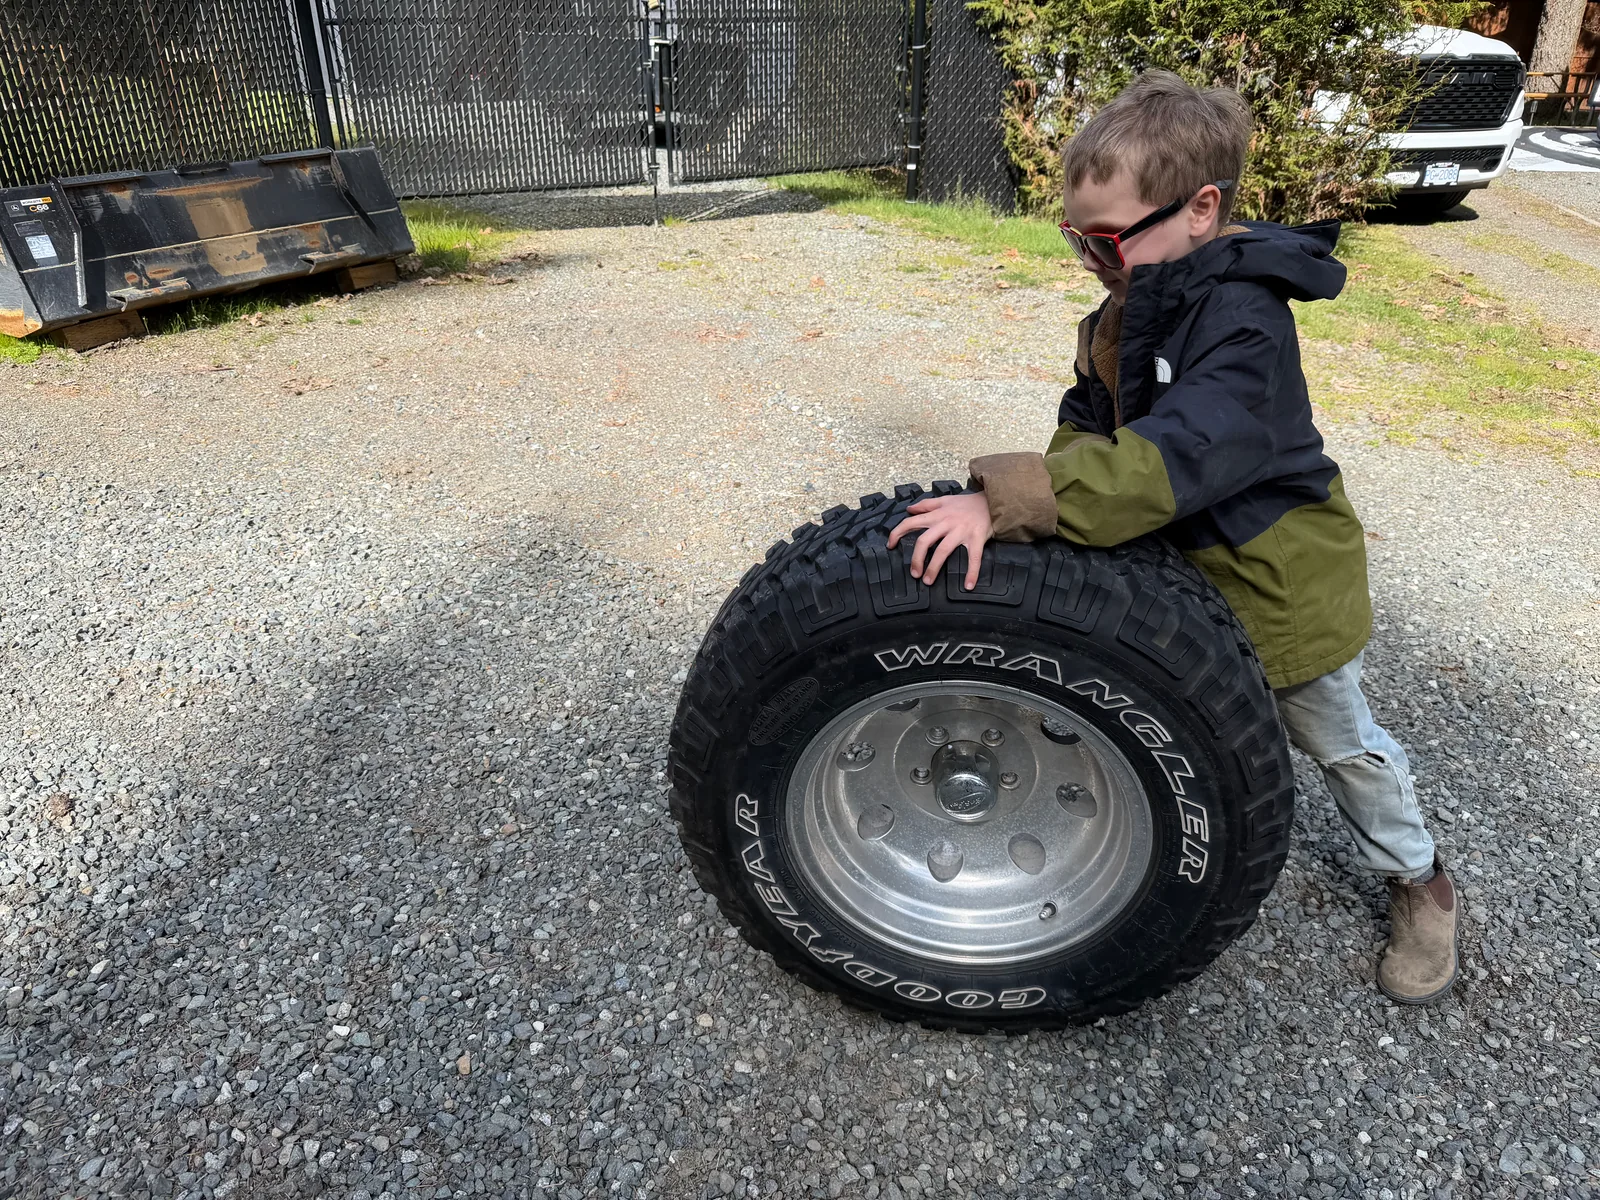
Then came the sanding. All of the parts needed to be sanded down for the paint to adhere. Sanding, sanding, and more sanding occupied our week leading up to Easter — but the whole family got in on the fun.
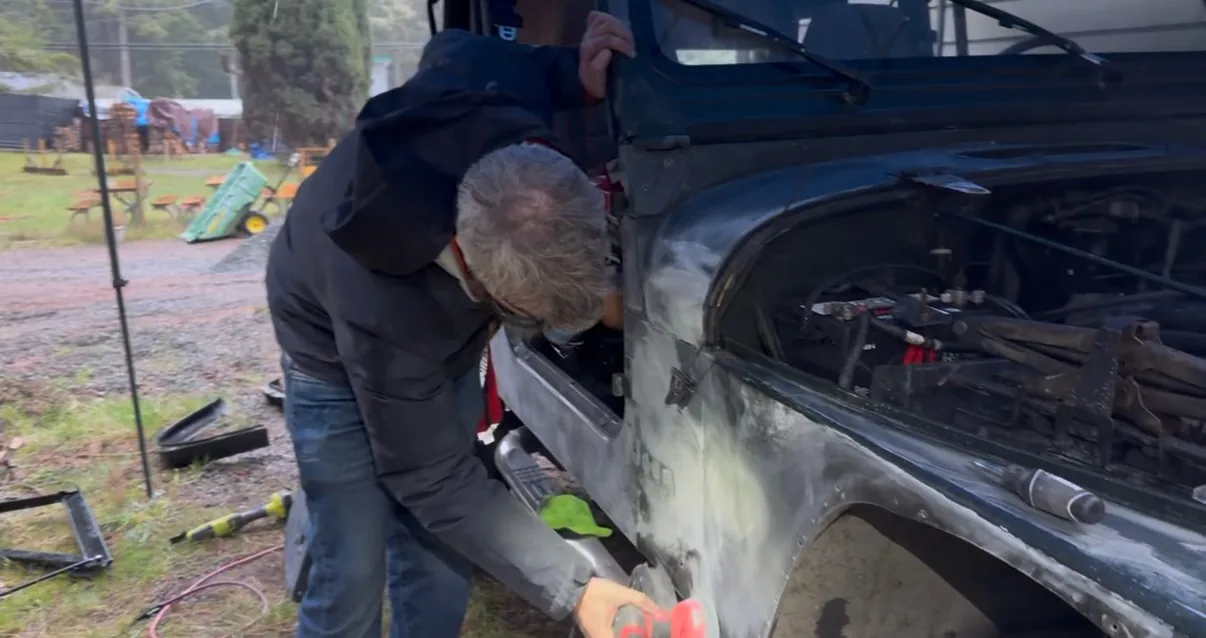
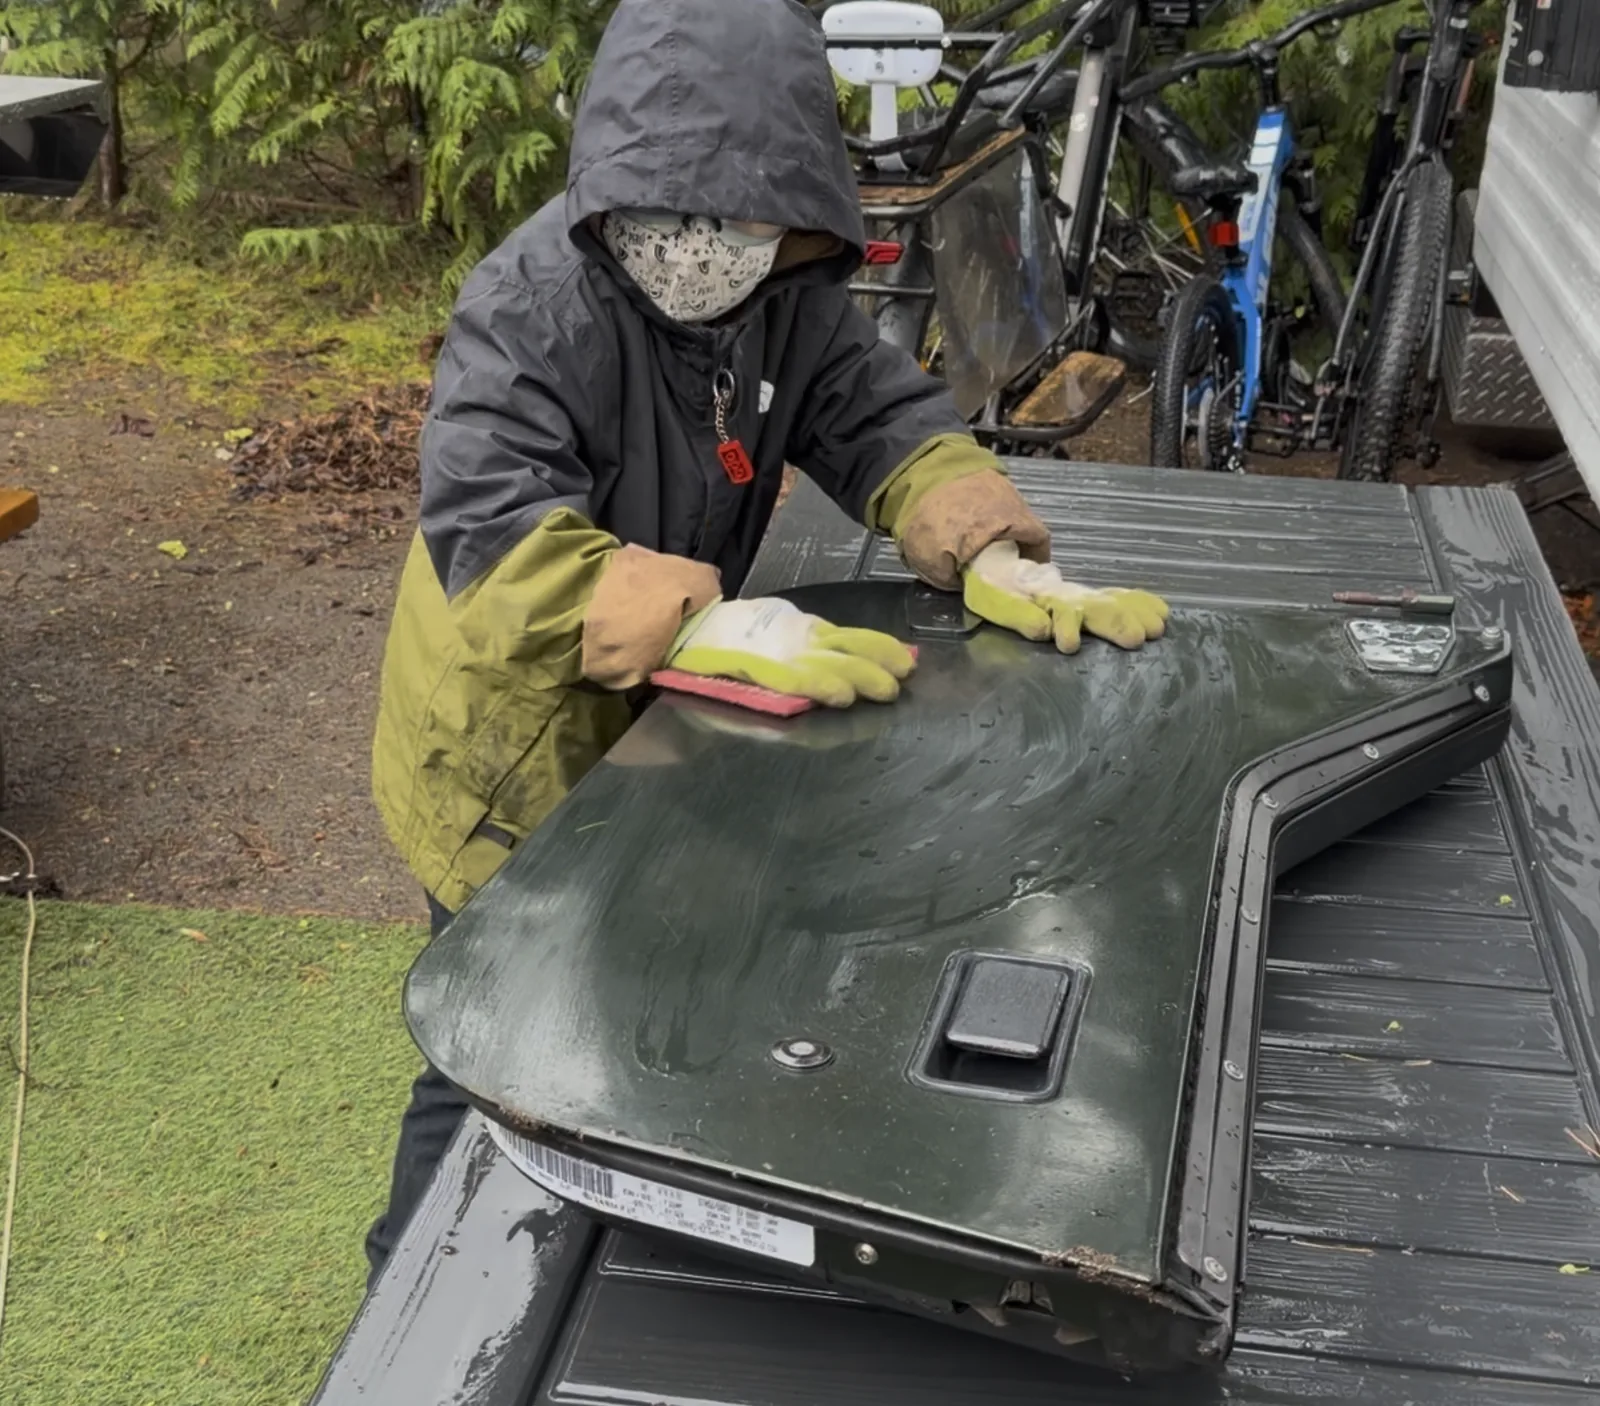
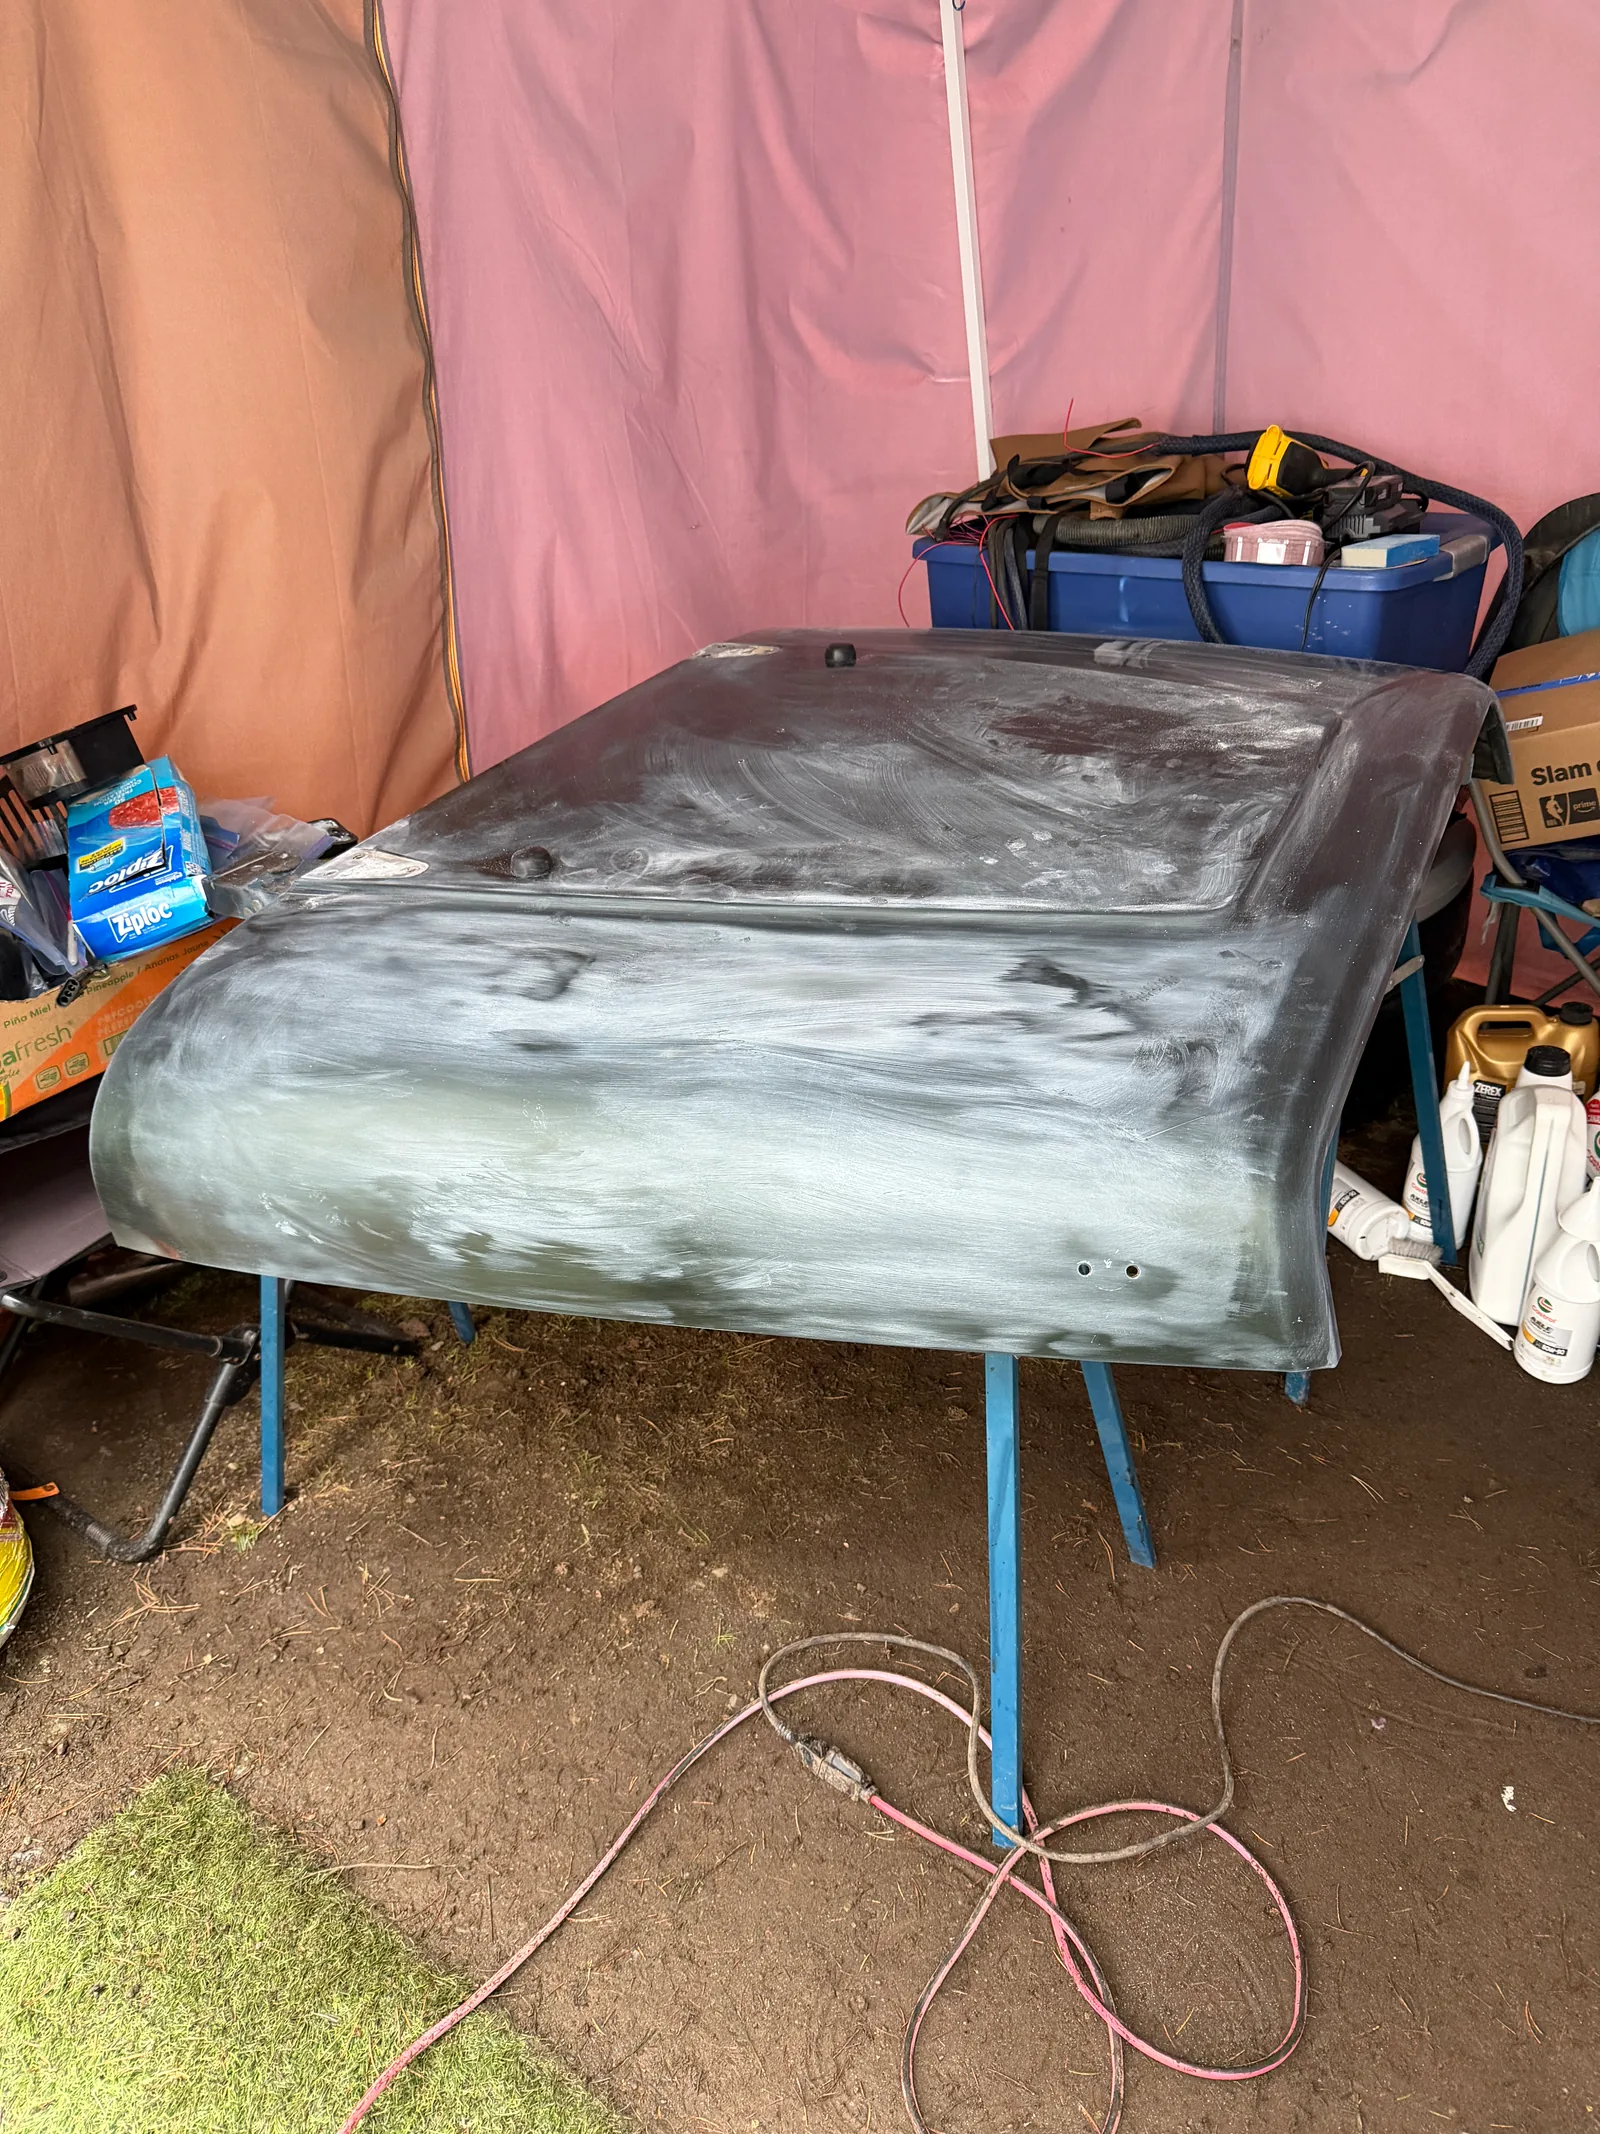
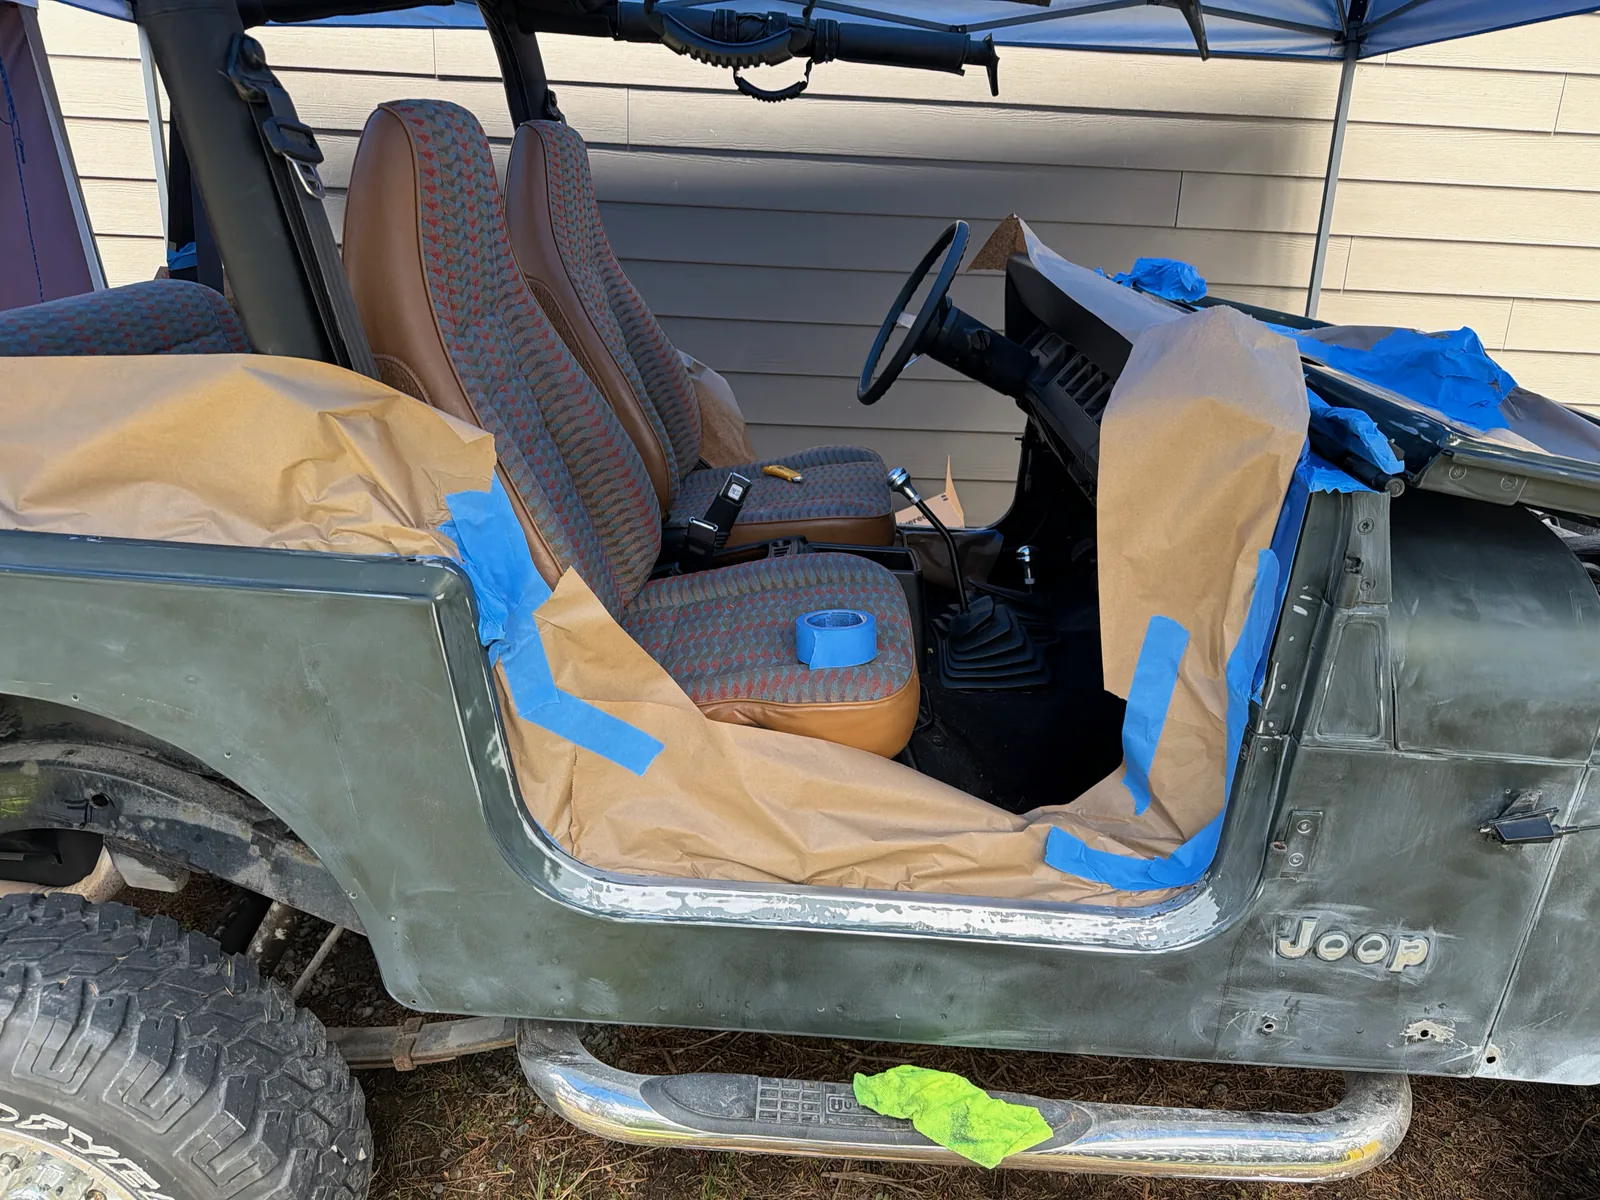
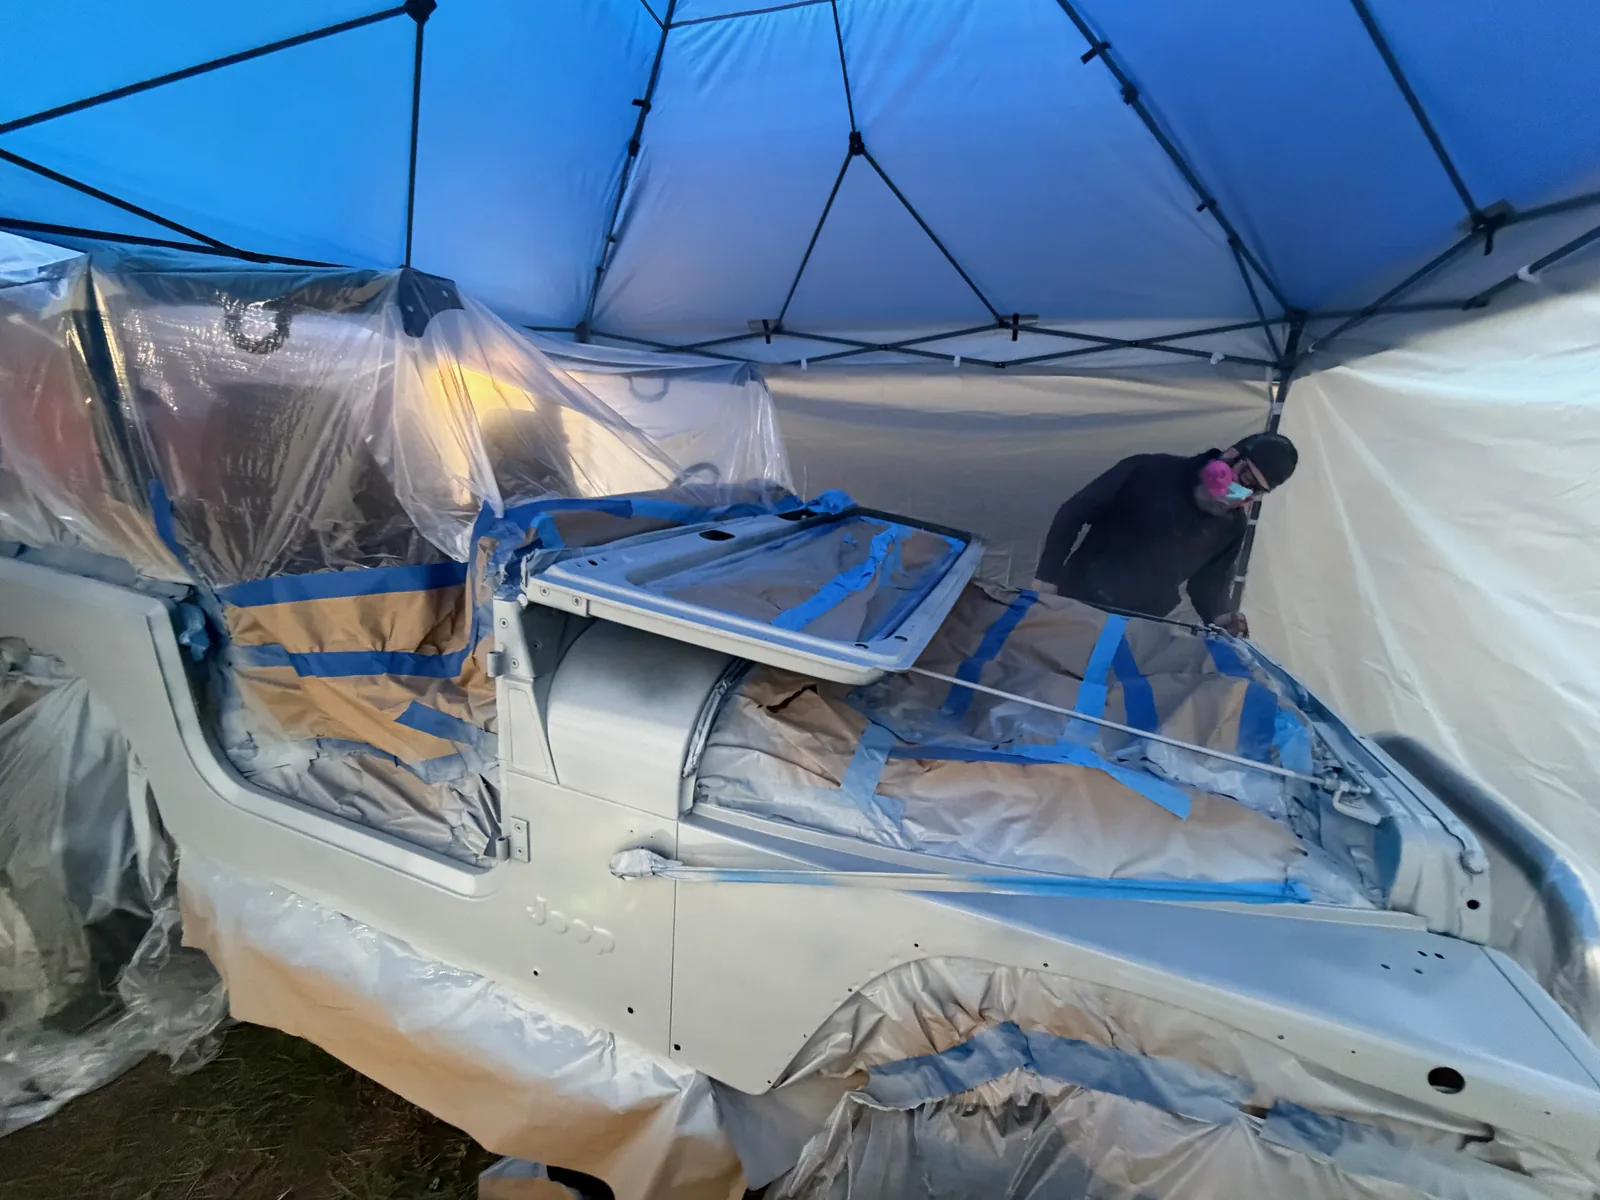
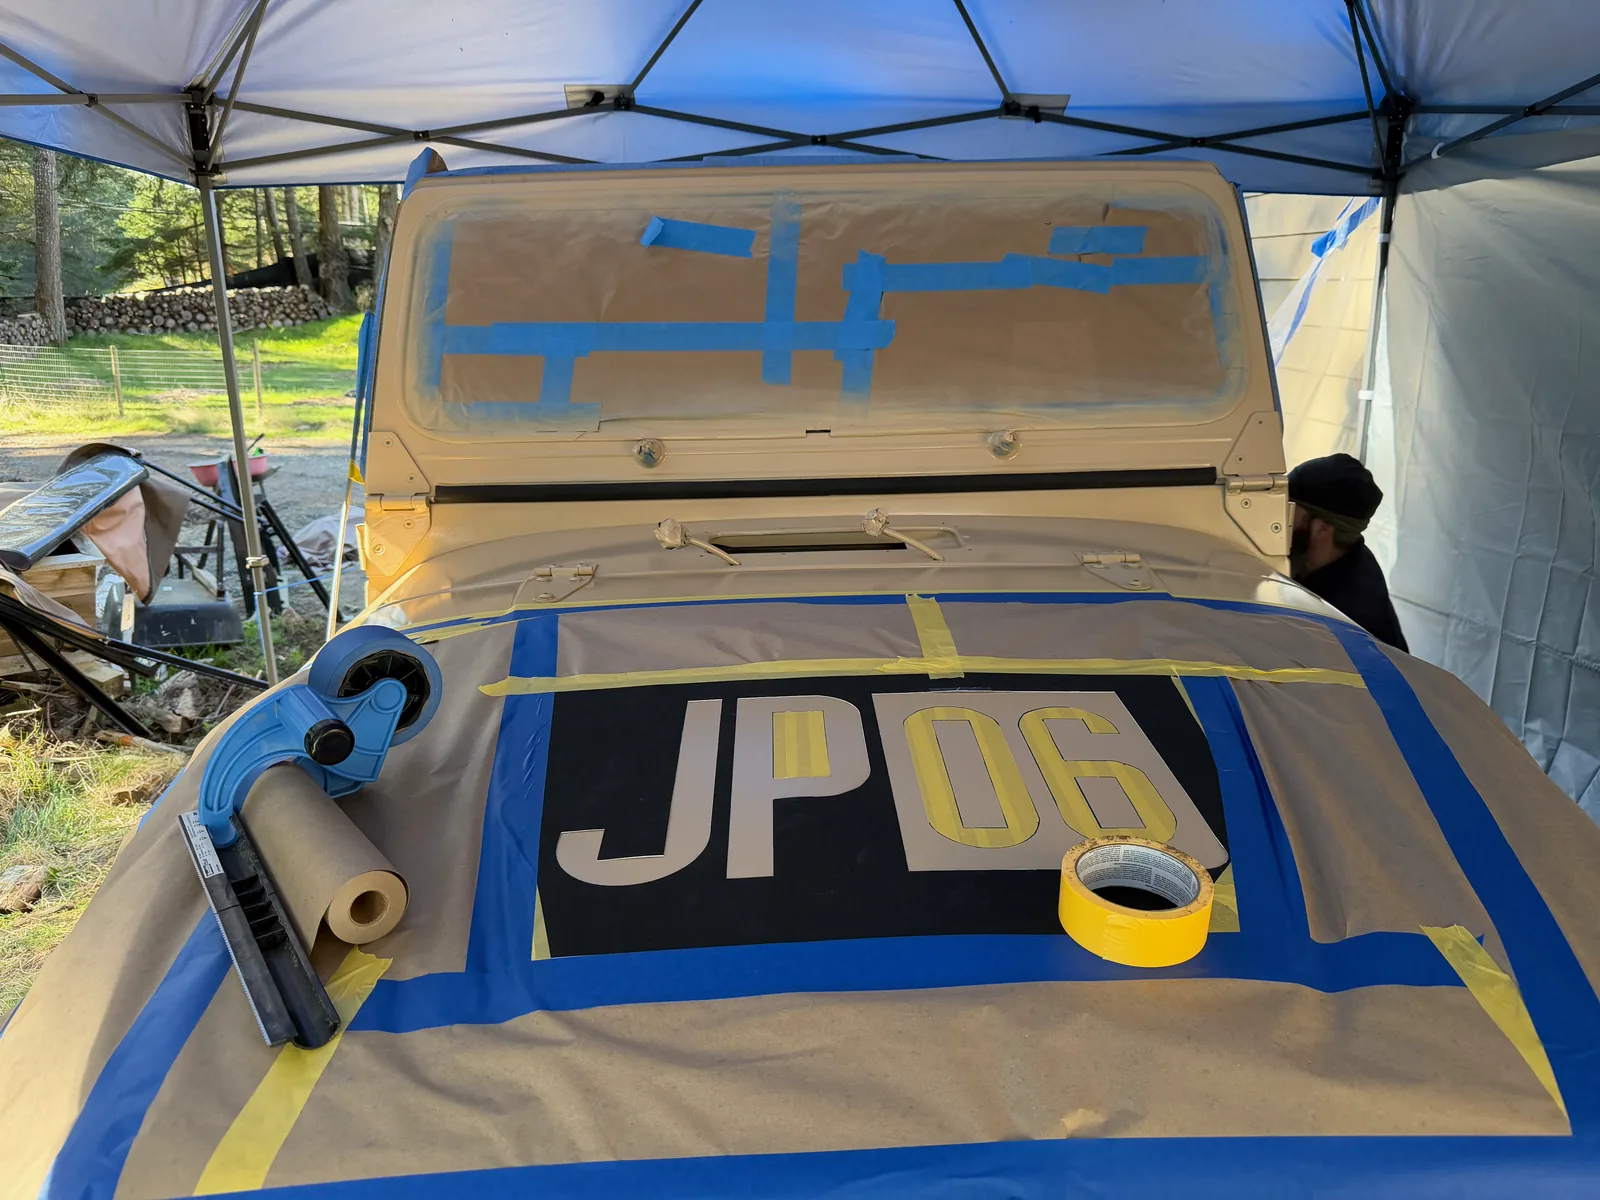
Once the sanding was complete, it was time to wipe everything down and mask everything off. Masking was easy enough — if you don't want it painted, you put tape, paper, or plastic in the way. There was some finicky effort here, trimming around seals and such, but the masking was done within about four hours and it was then time to lay down the primer.
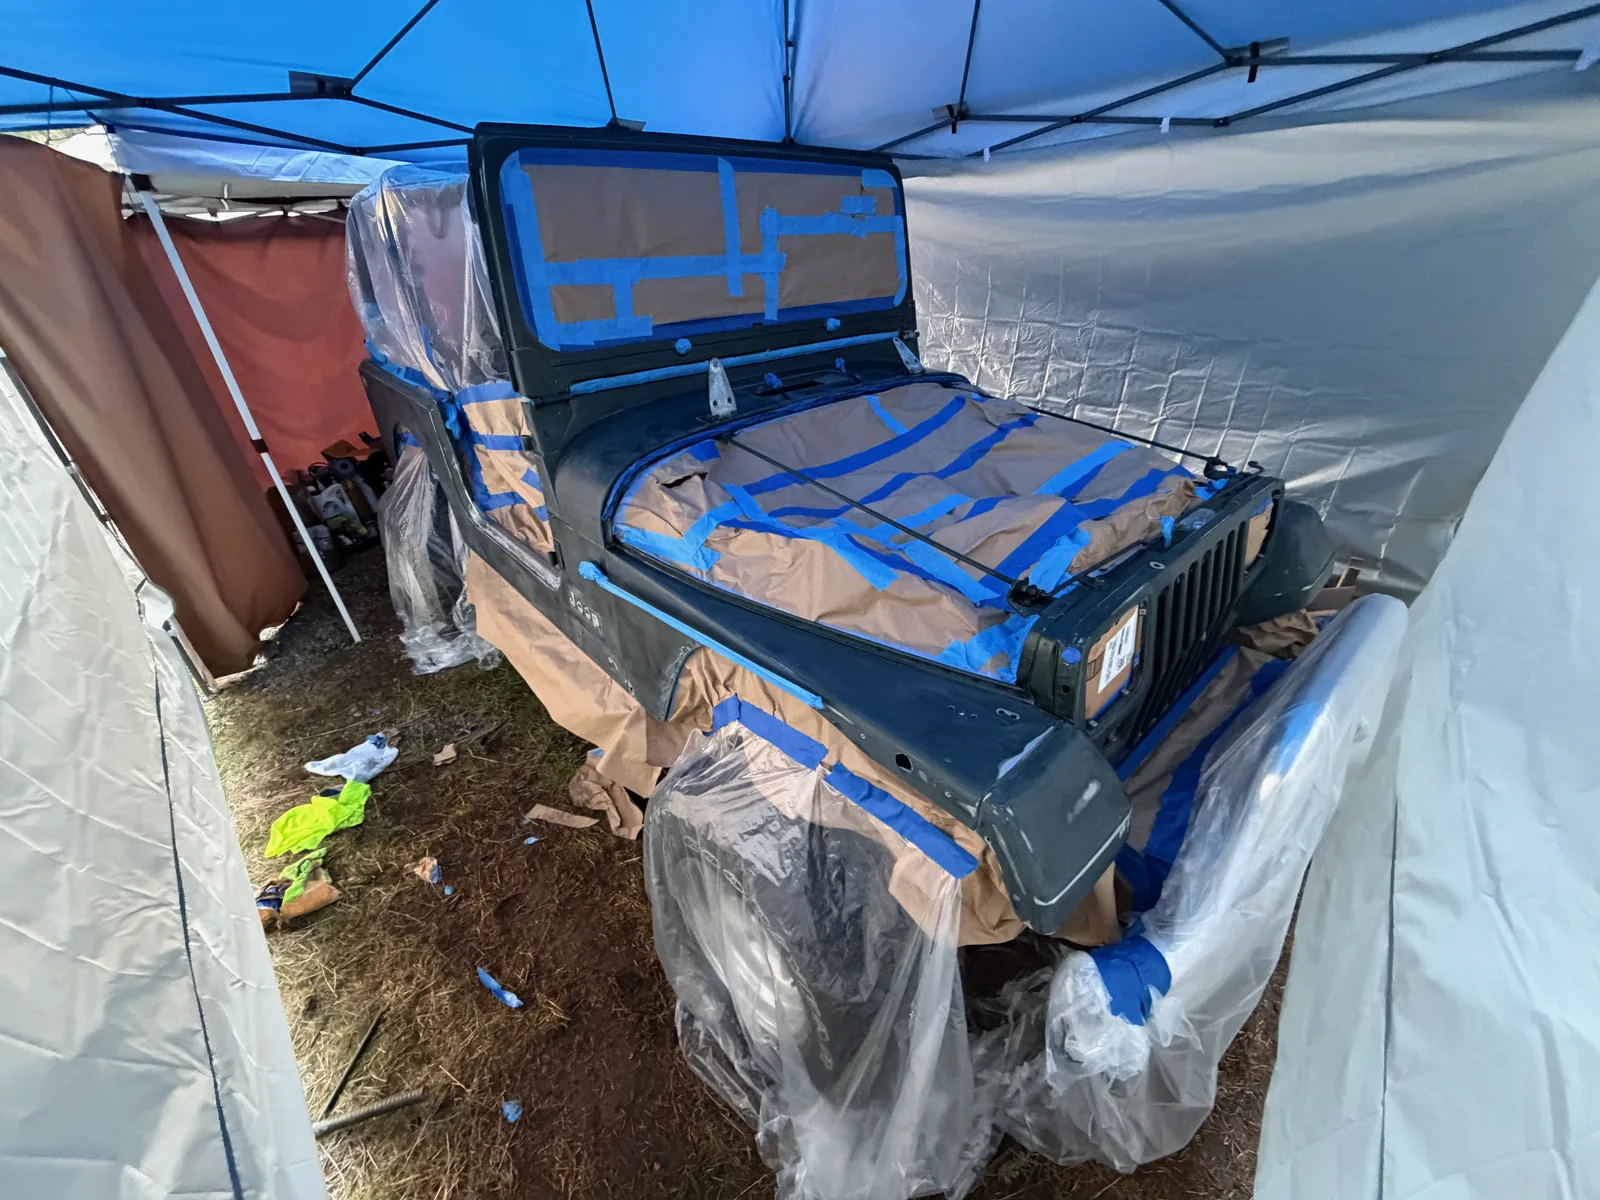
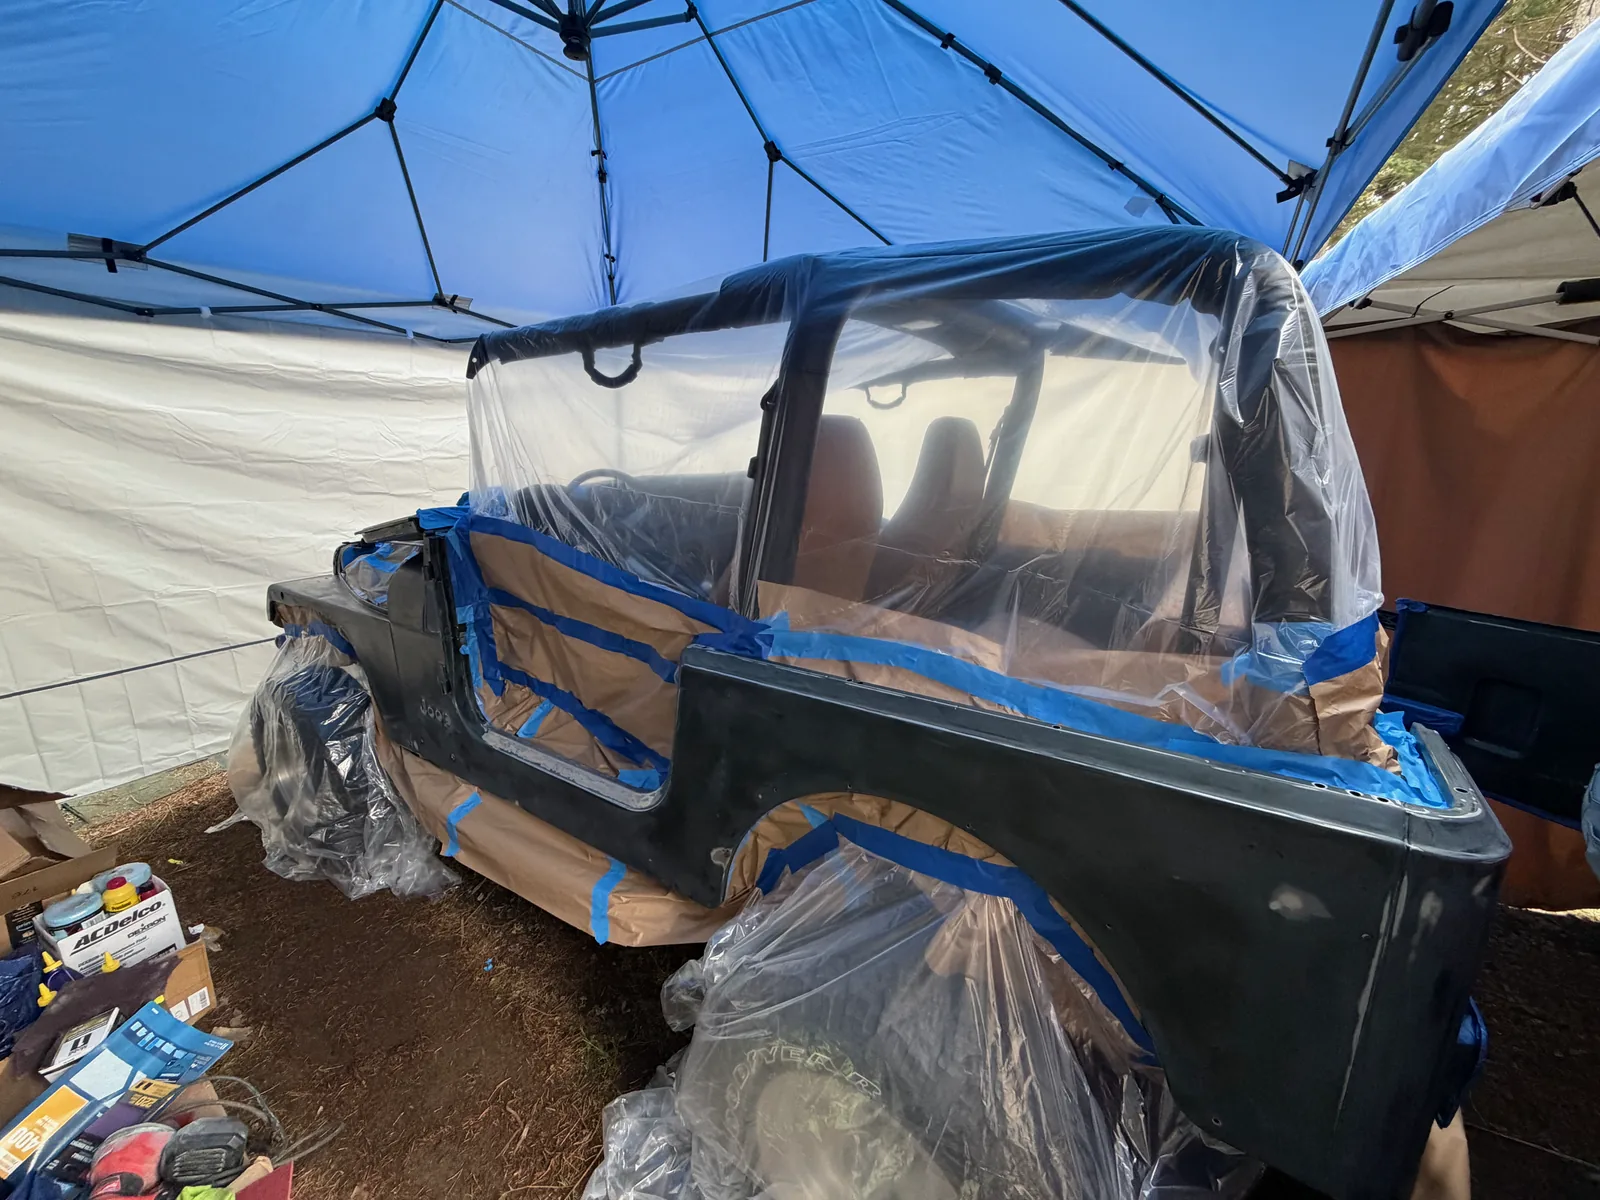
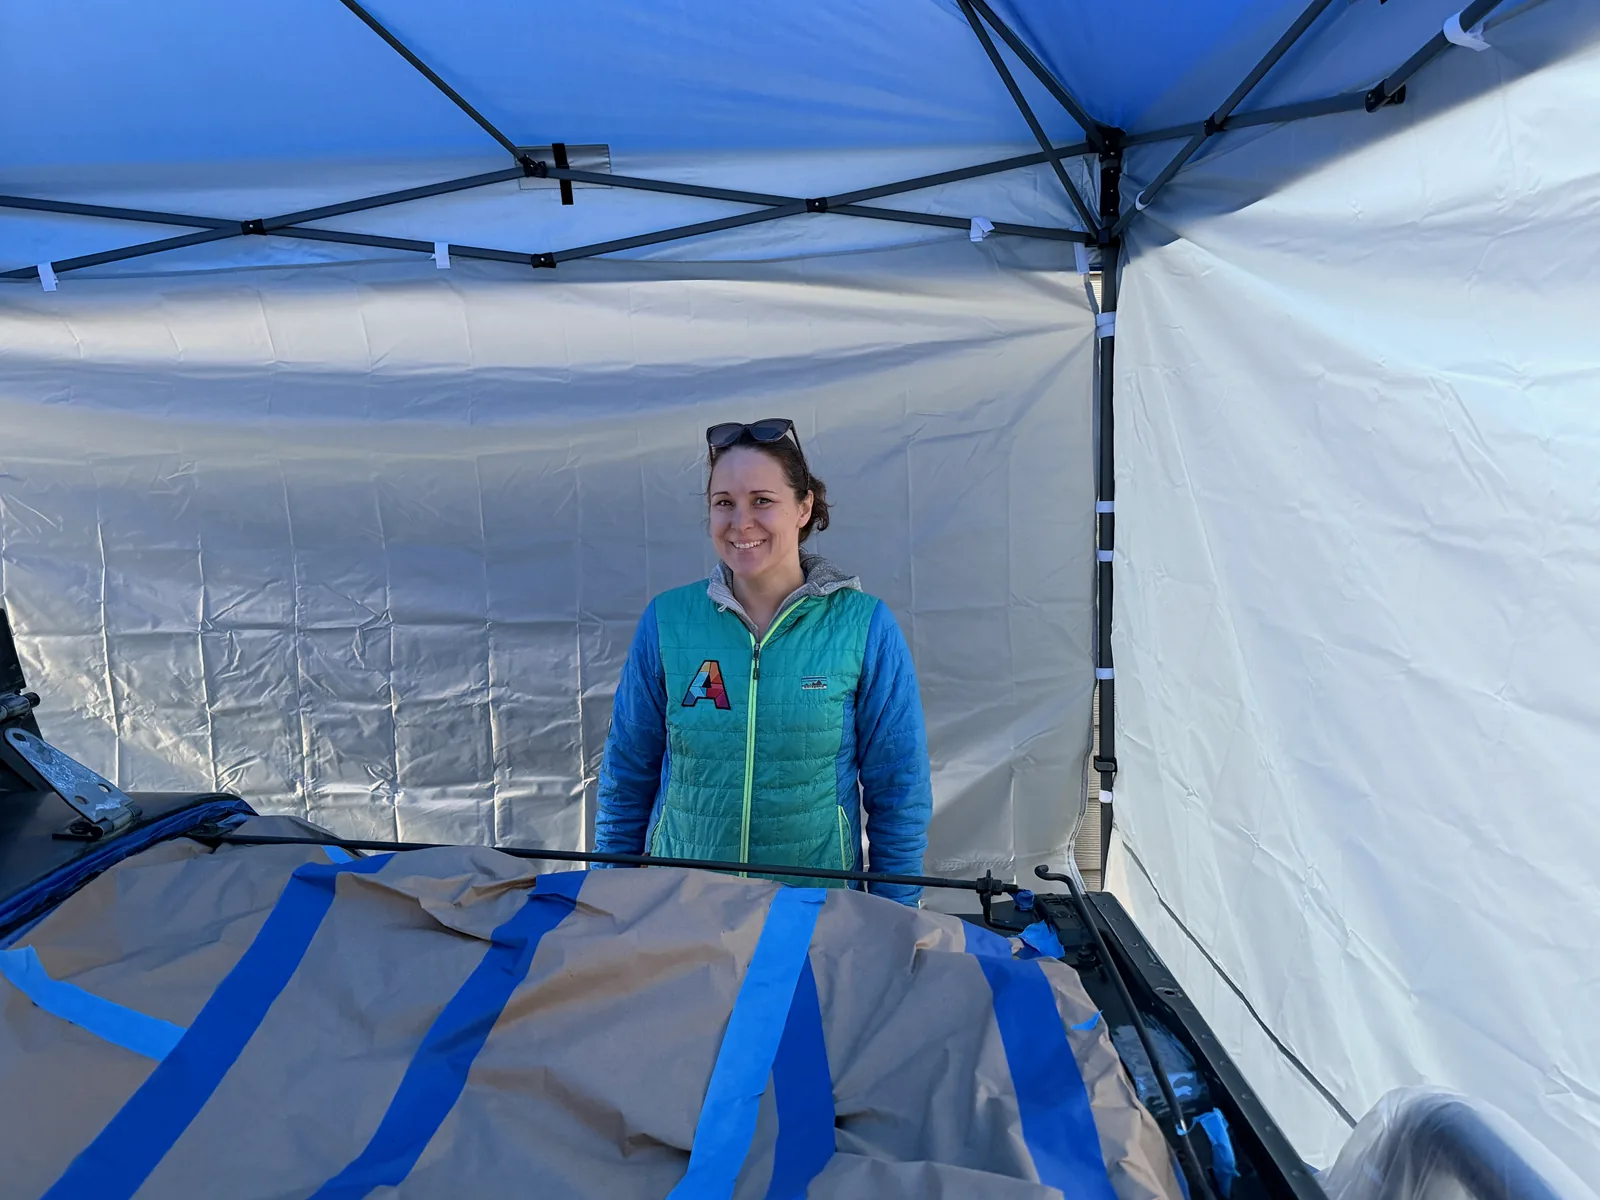
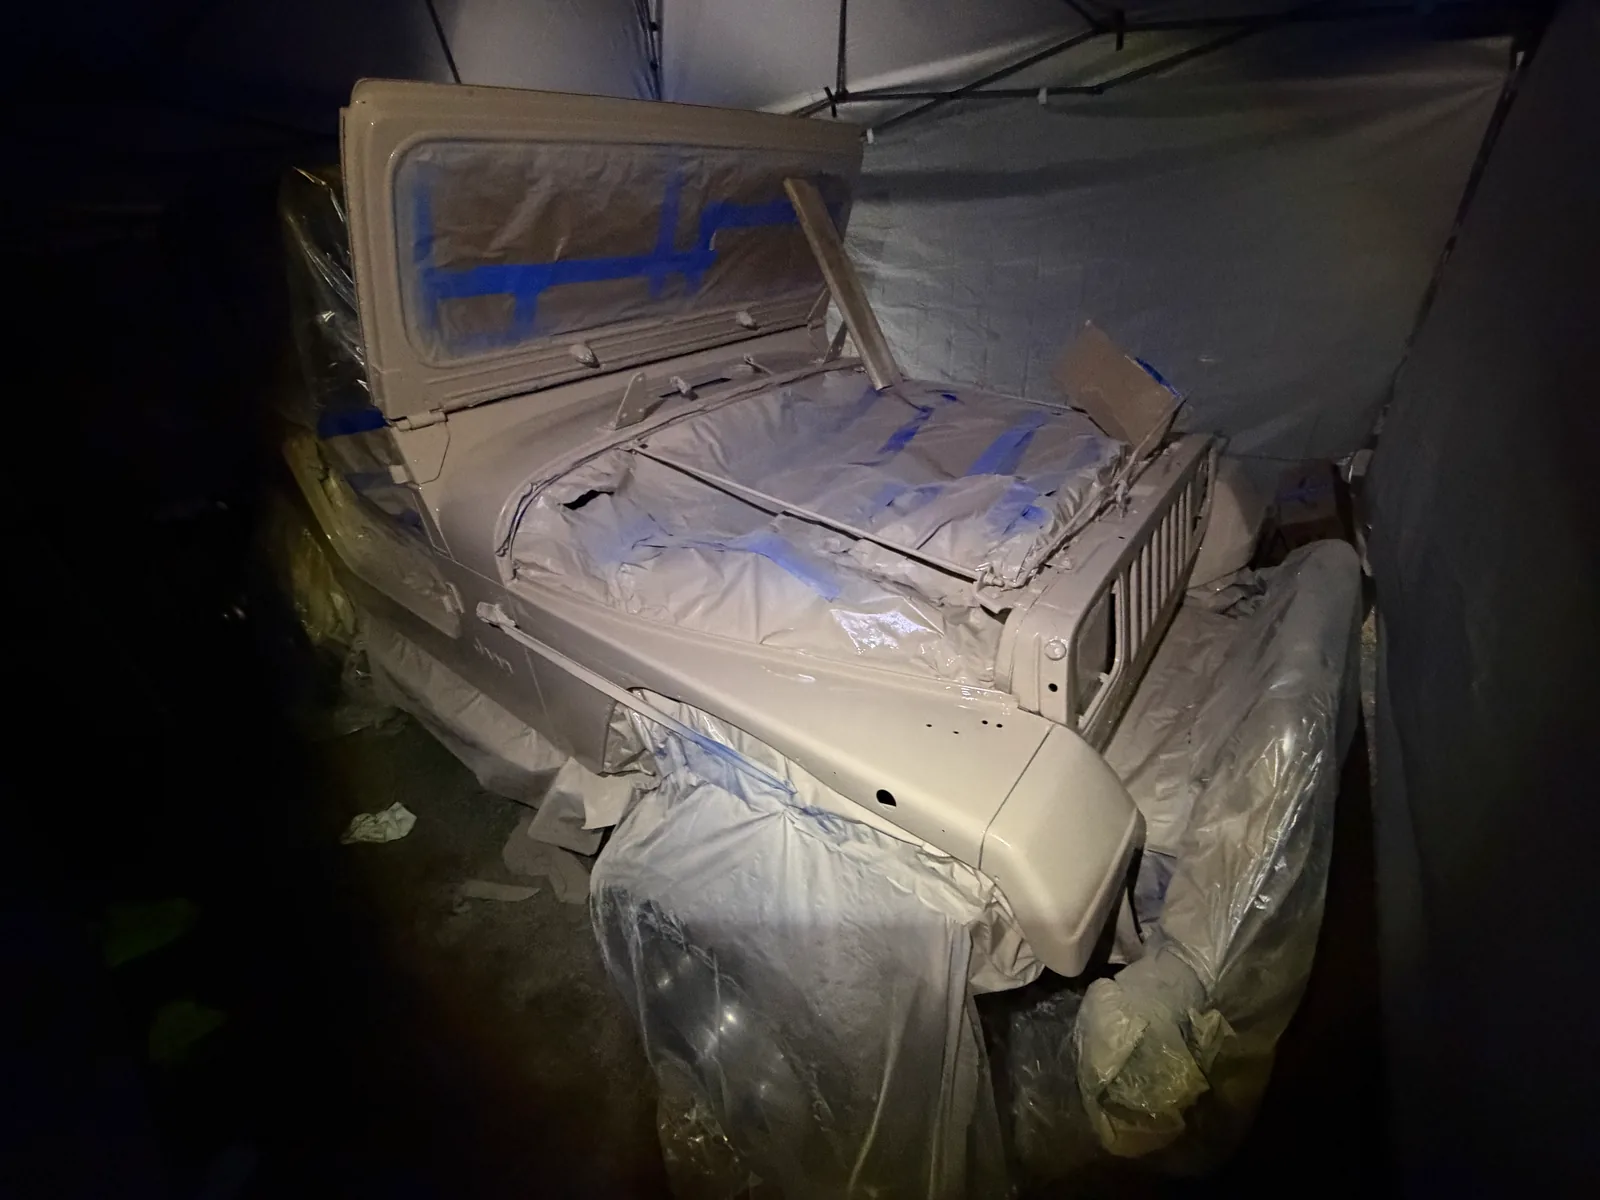
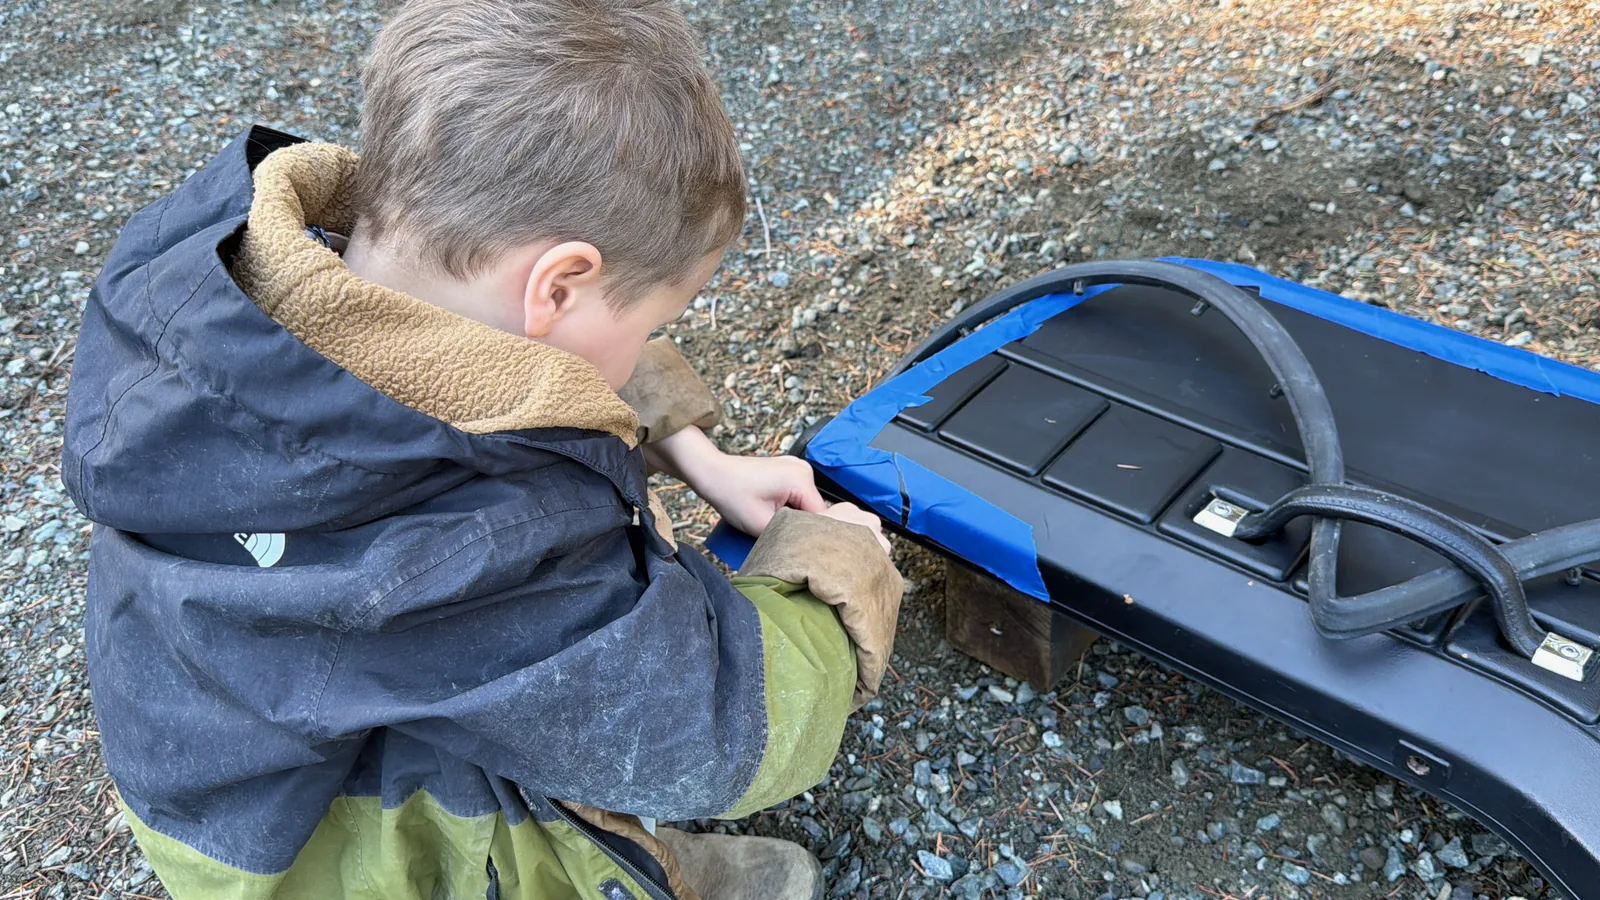
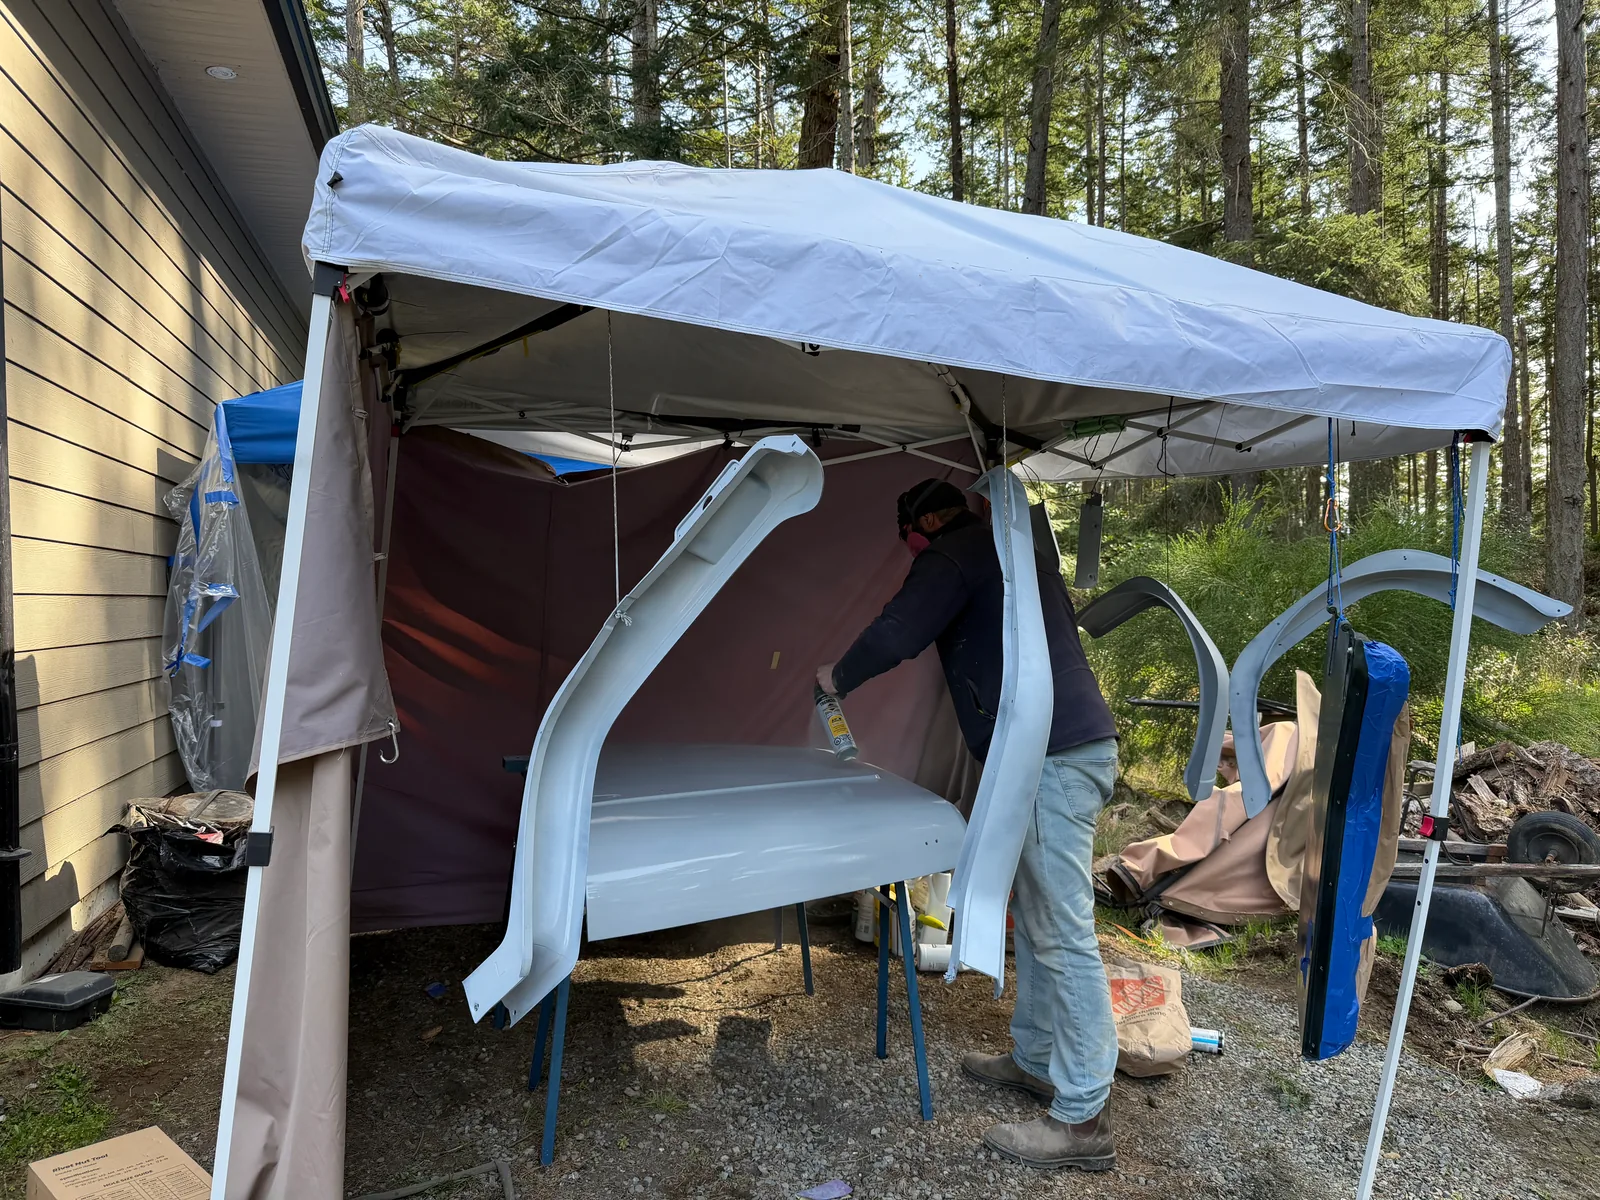
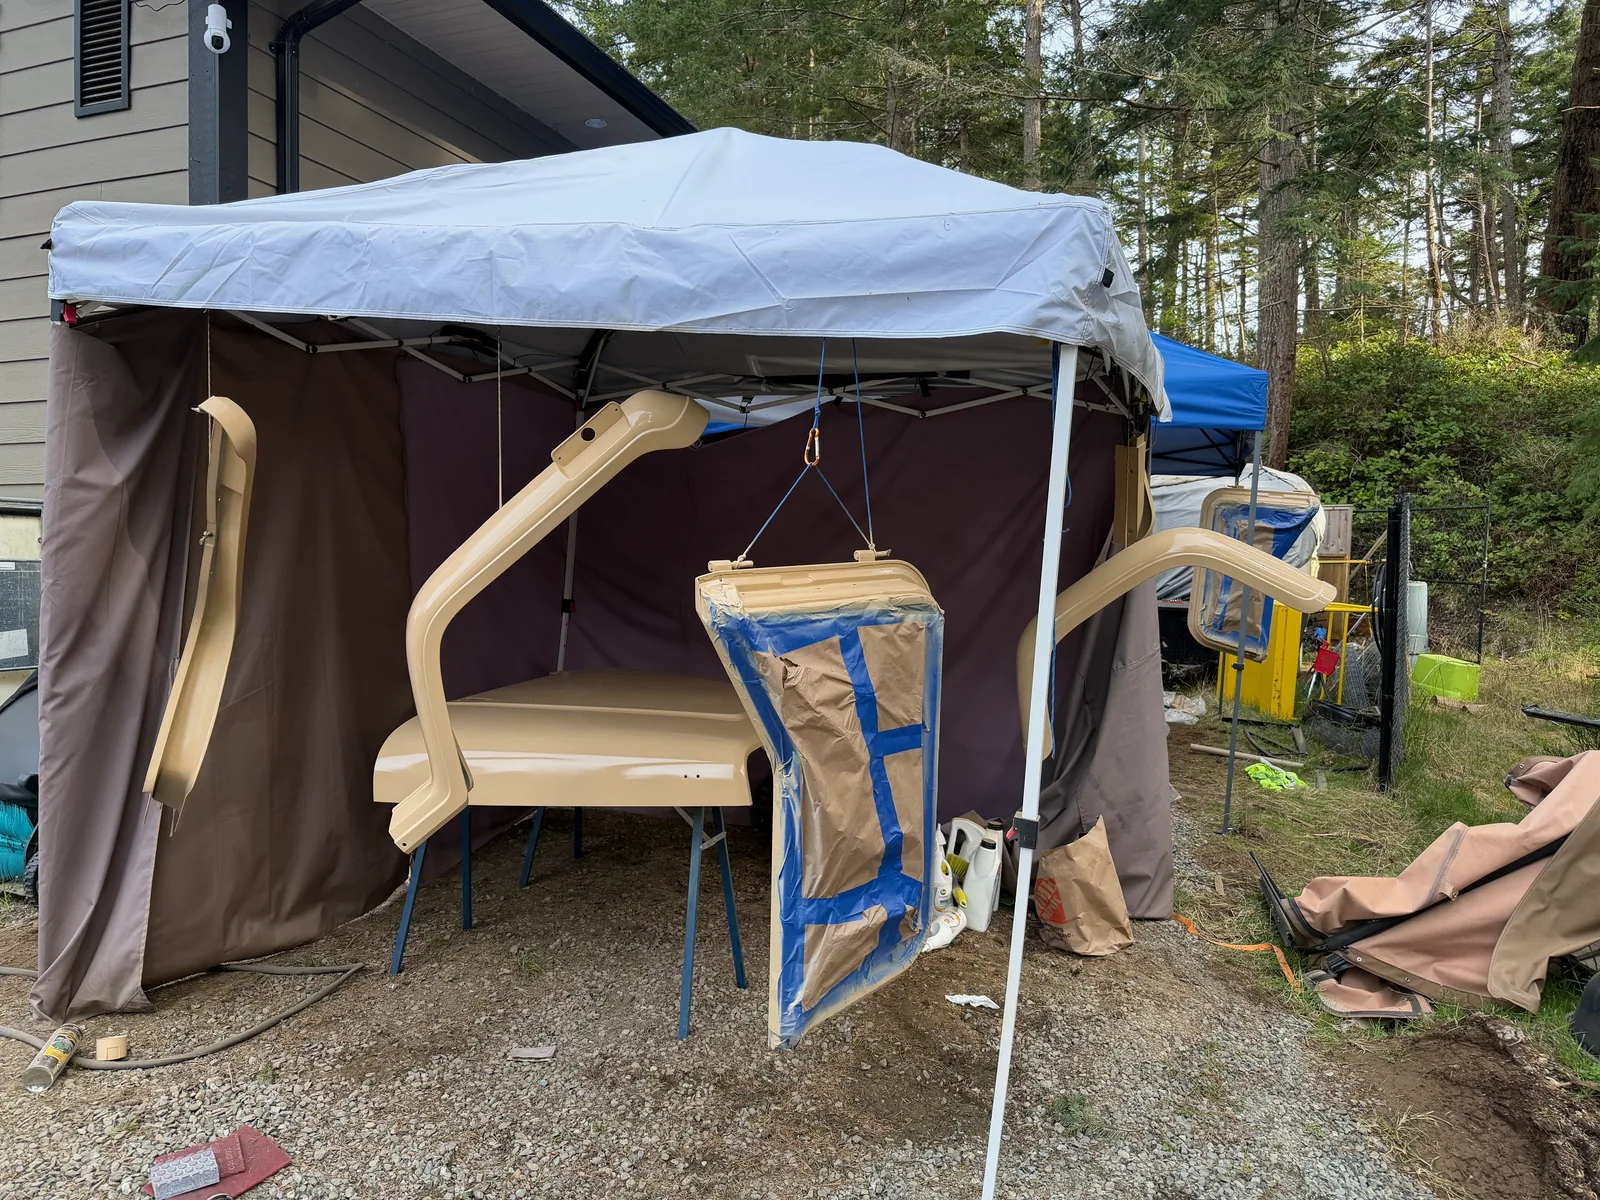
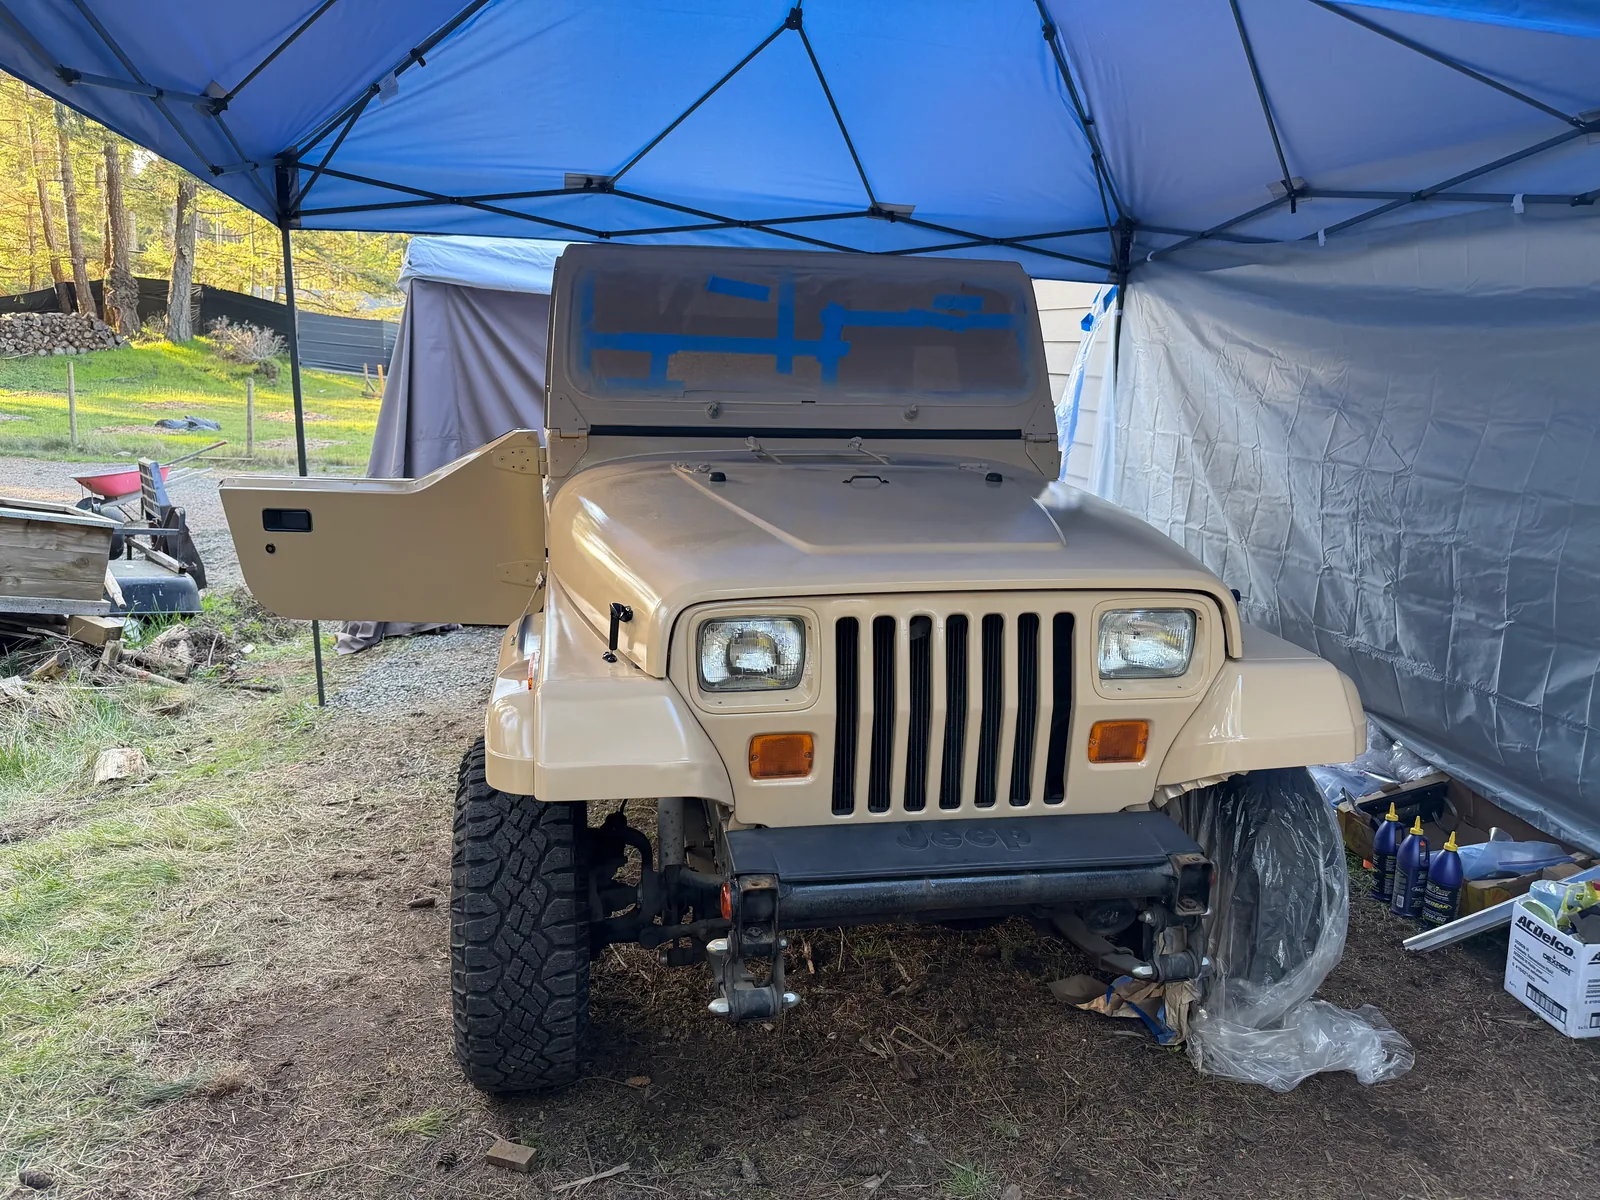
This was the first lesson on the downside of spray paint: Tremclad is pretty clear on the timing of the coats. You can put your first coat down, and then you either have to get a second one on within 45 minutes, or you have to wait 48 hours. Since we were doing this in four days, the 48-hour window simply wasn't an option — so we had to create an assembly line. I was chief painter, so my task was clear. My son did the paint-can shaking basically full-time, showing impressive stamina. My wife kept a pot of water warmed up for the "staged" cans — early April was still a bit cool, and cold paint doesn't spray well, so we used the water to pre-heat the cans — and helped me rapidly swap between a used can and a fresh one. Thankfully, we did have a pop-up camping canopy to paint under to keep the worst of the rain off.
Around and around we painted, and soon we had ourselves a primed Jeep. But with no time to lose (45-minute window, after all!) we jumped right into the coats of tan paint and did a total of three light coats — though we did much of this part in the dark, so we weren't sure how it turned out. Not bad, as it happens.
Saturday
Accessories & Reassembly
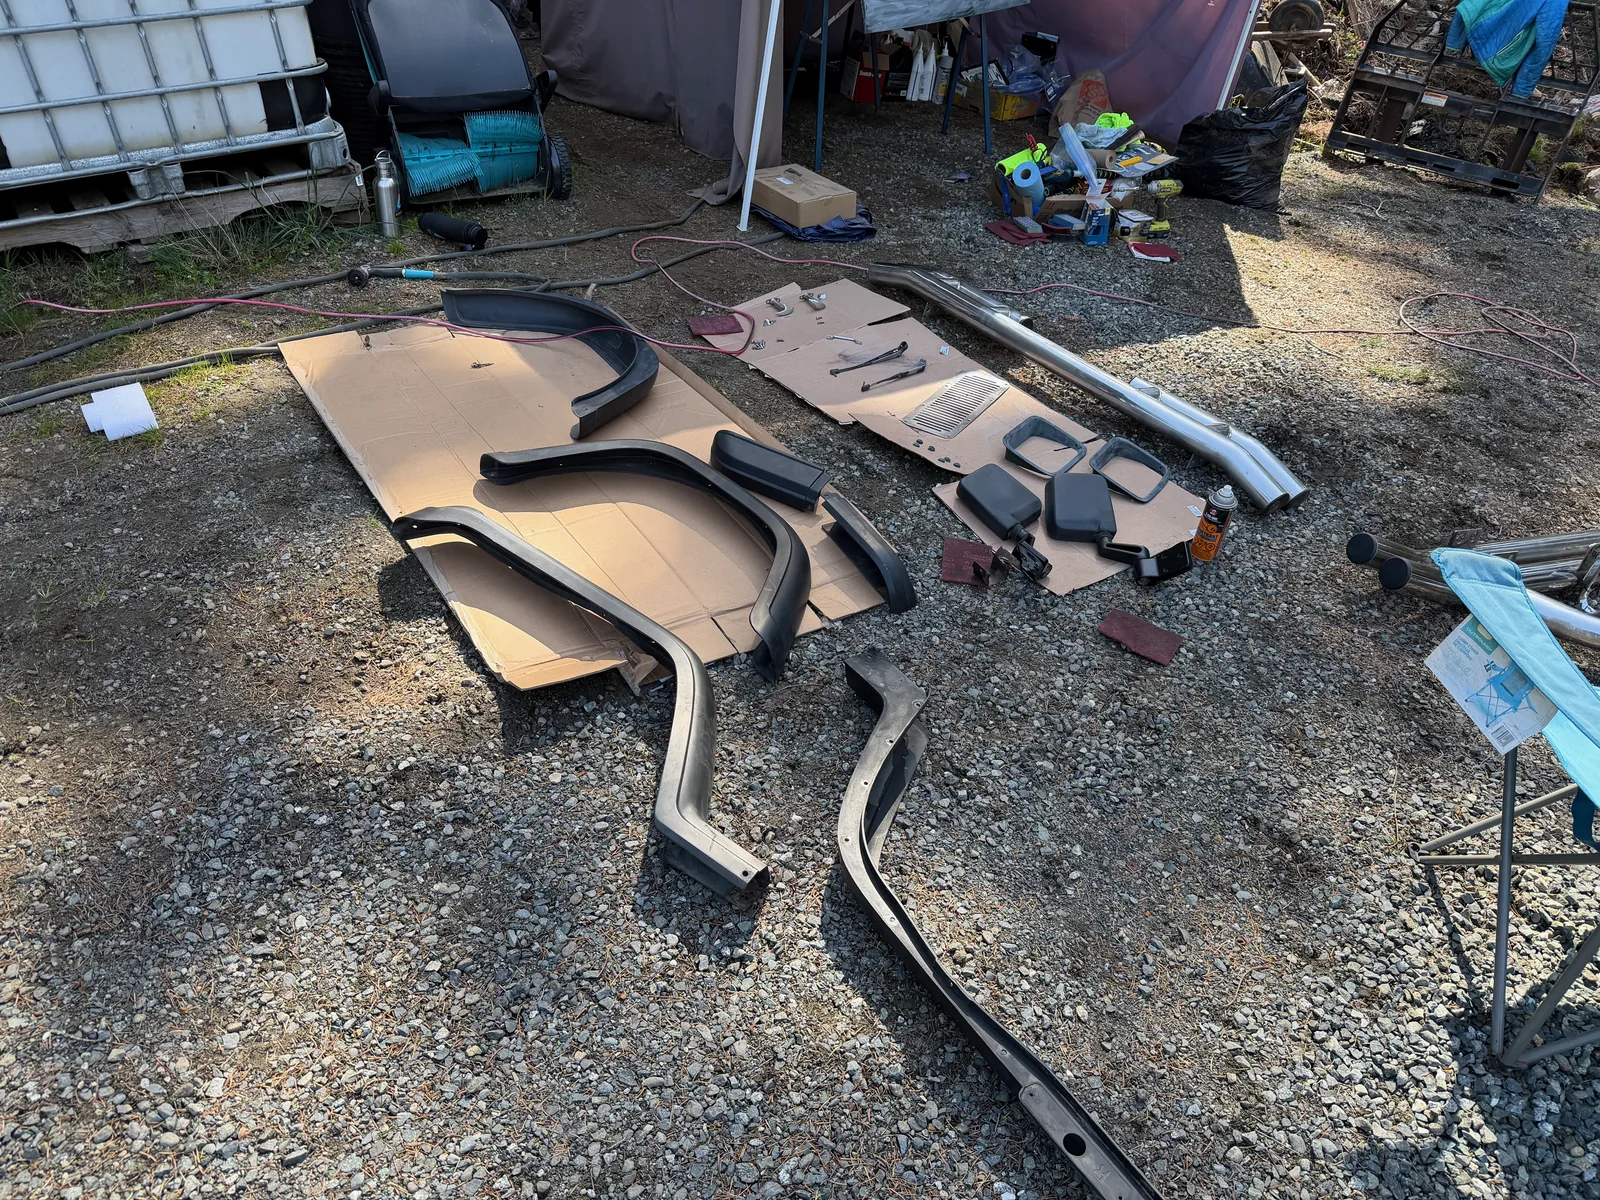
We had to wait 48 hours before doing the red accents, so the next day was time to prime and paint all the accessories — doors, bumpers, and so on — which needed their own cure time too. More degreasing, more painting, and more family fun.
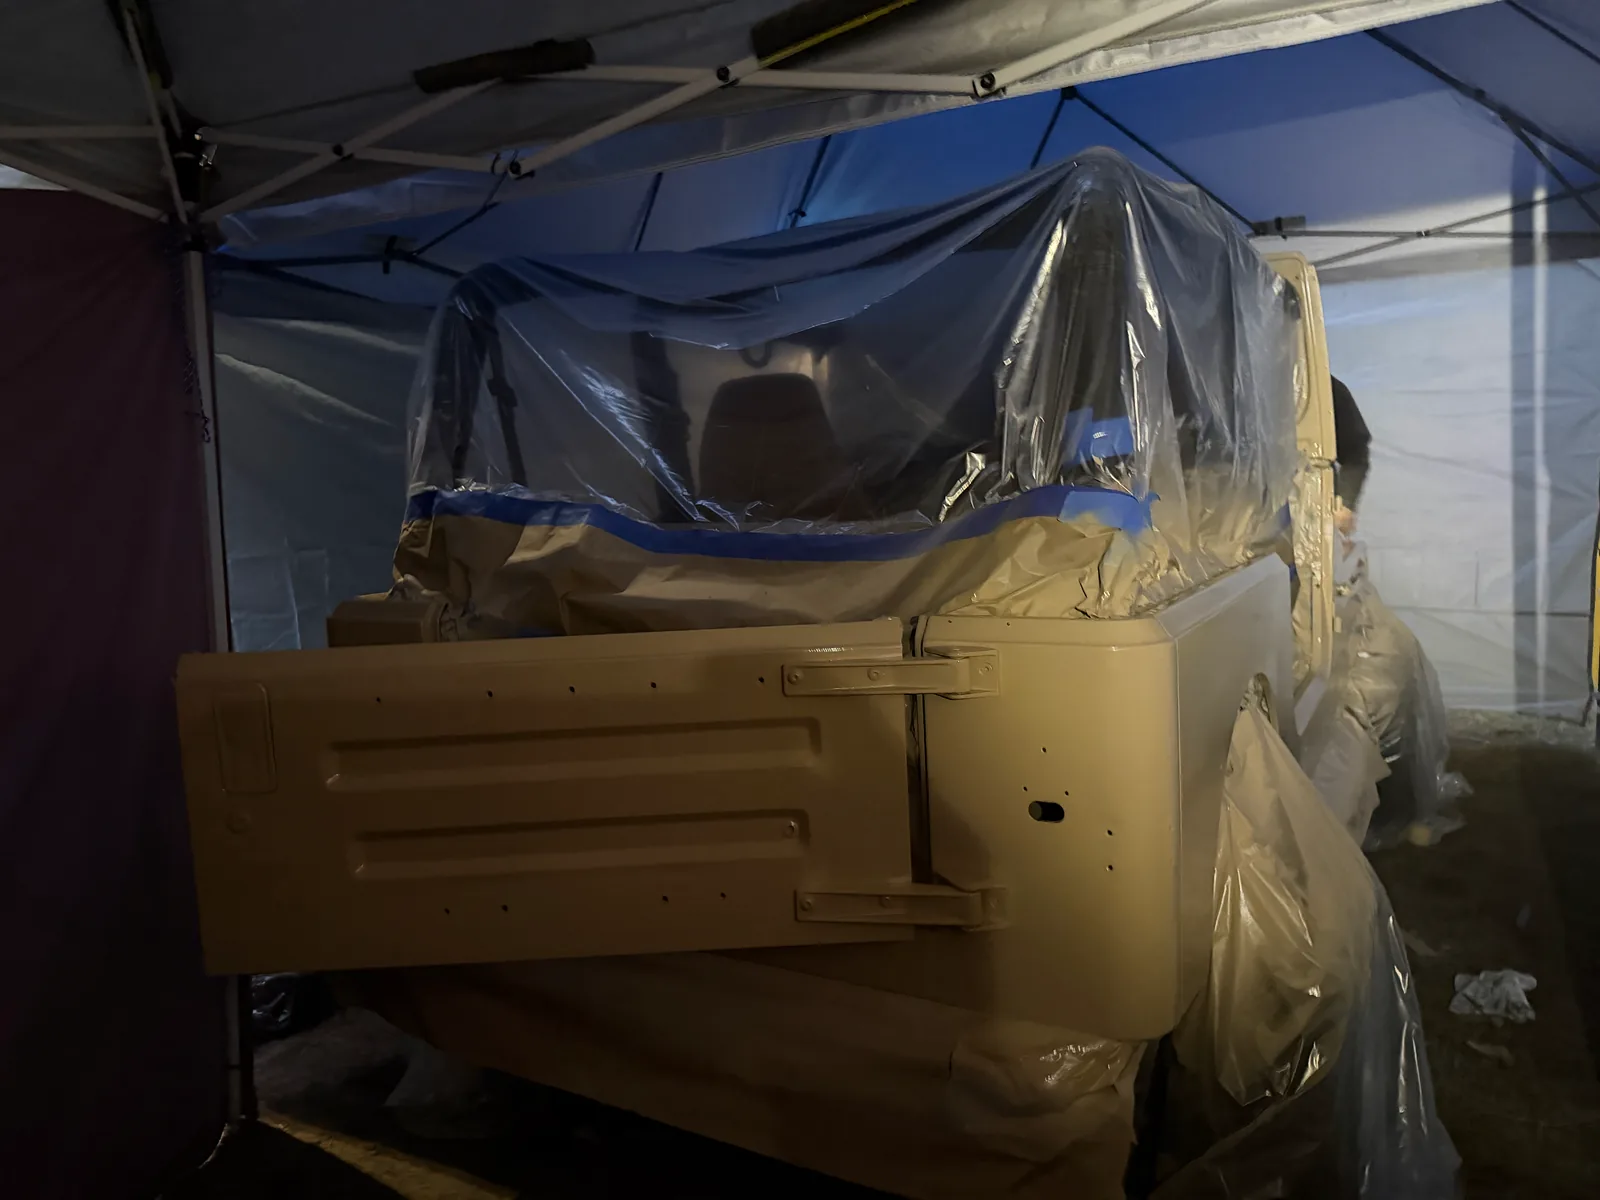
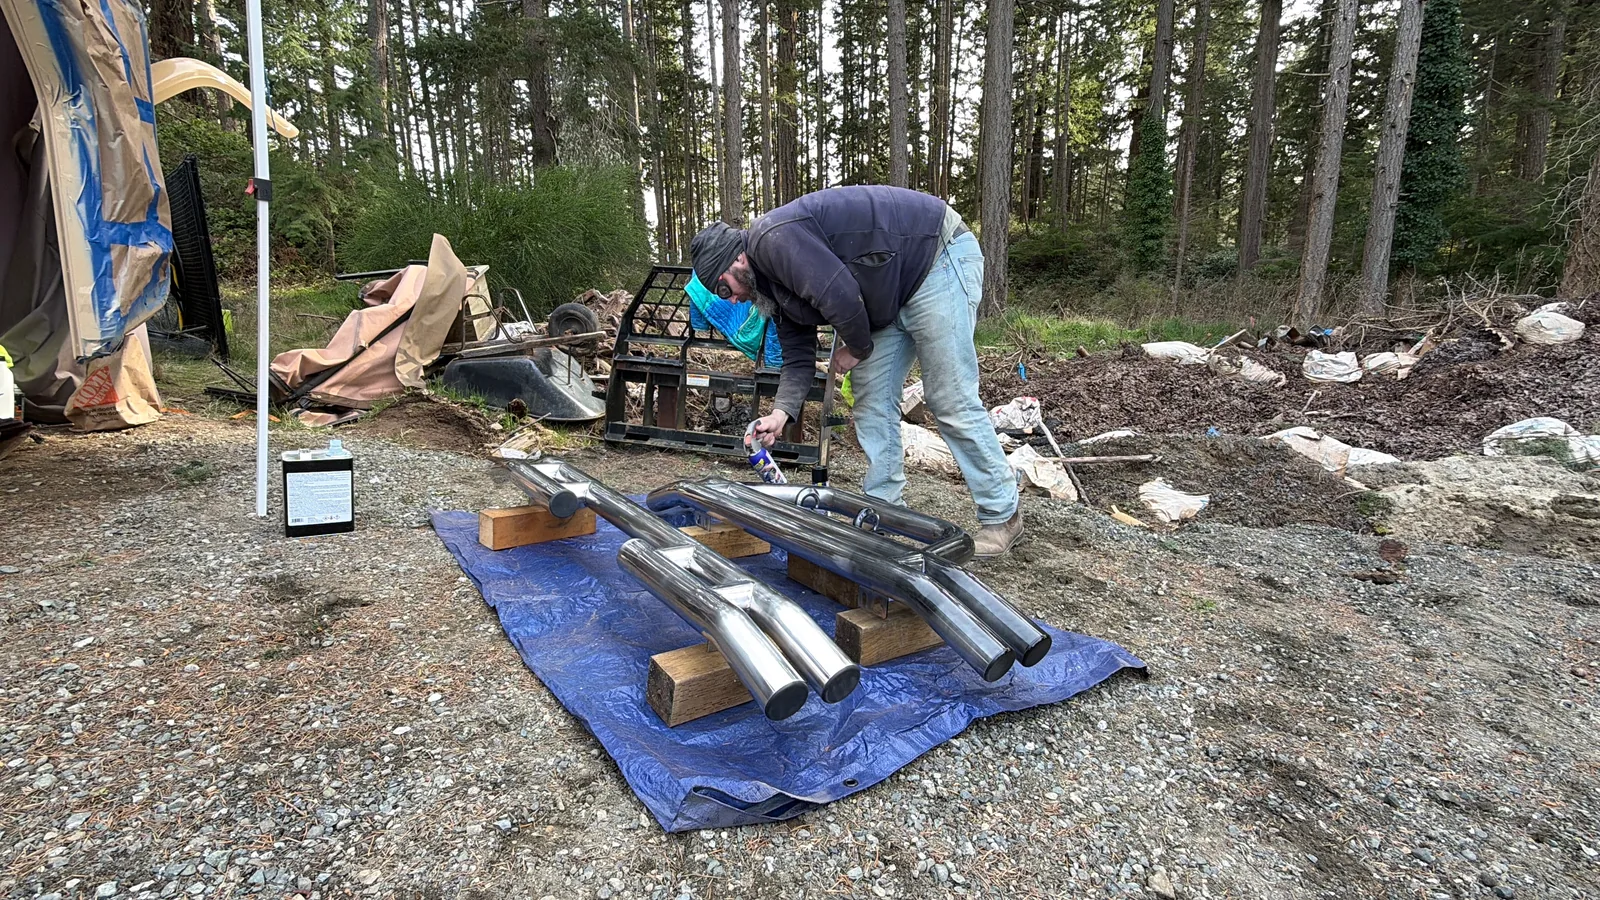
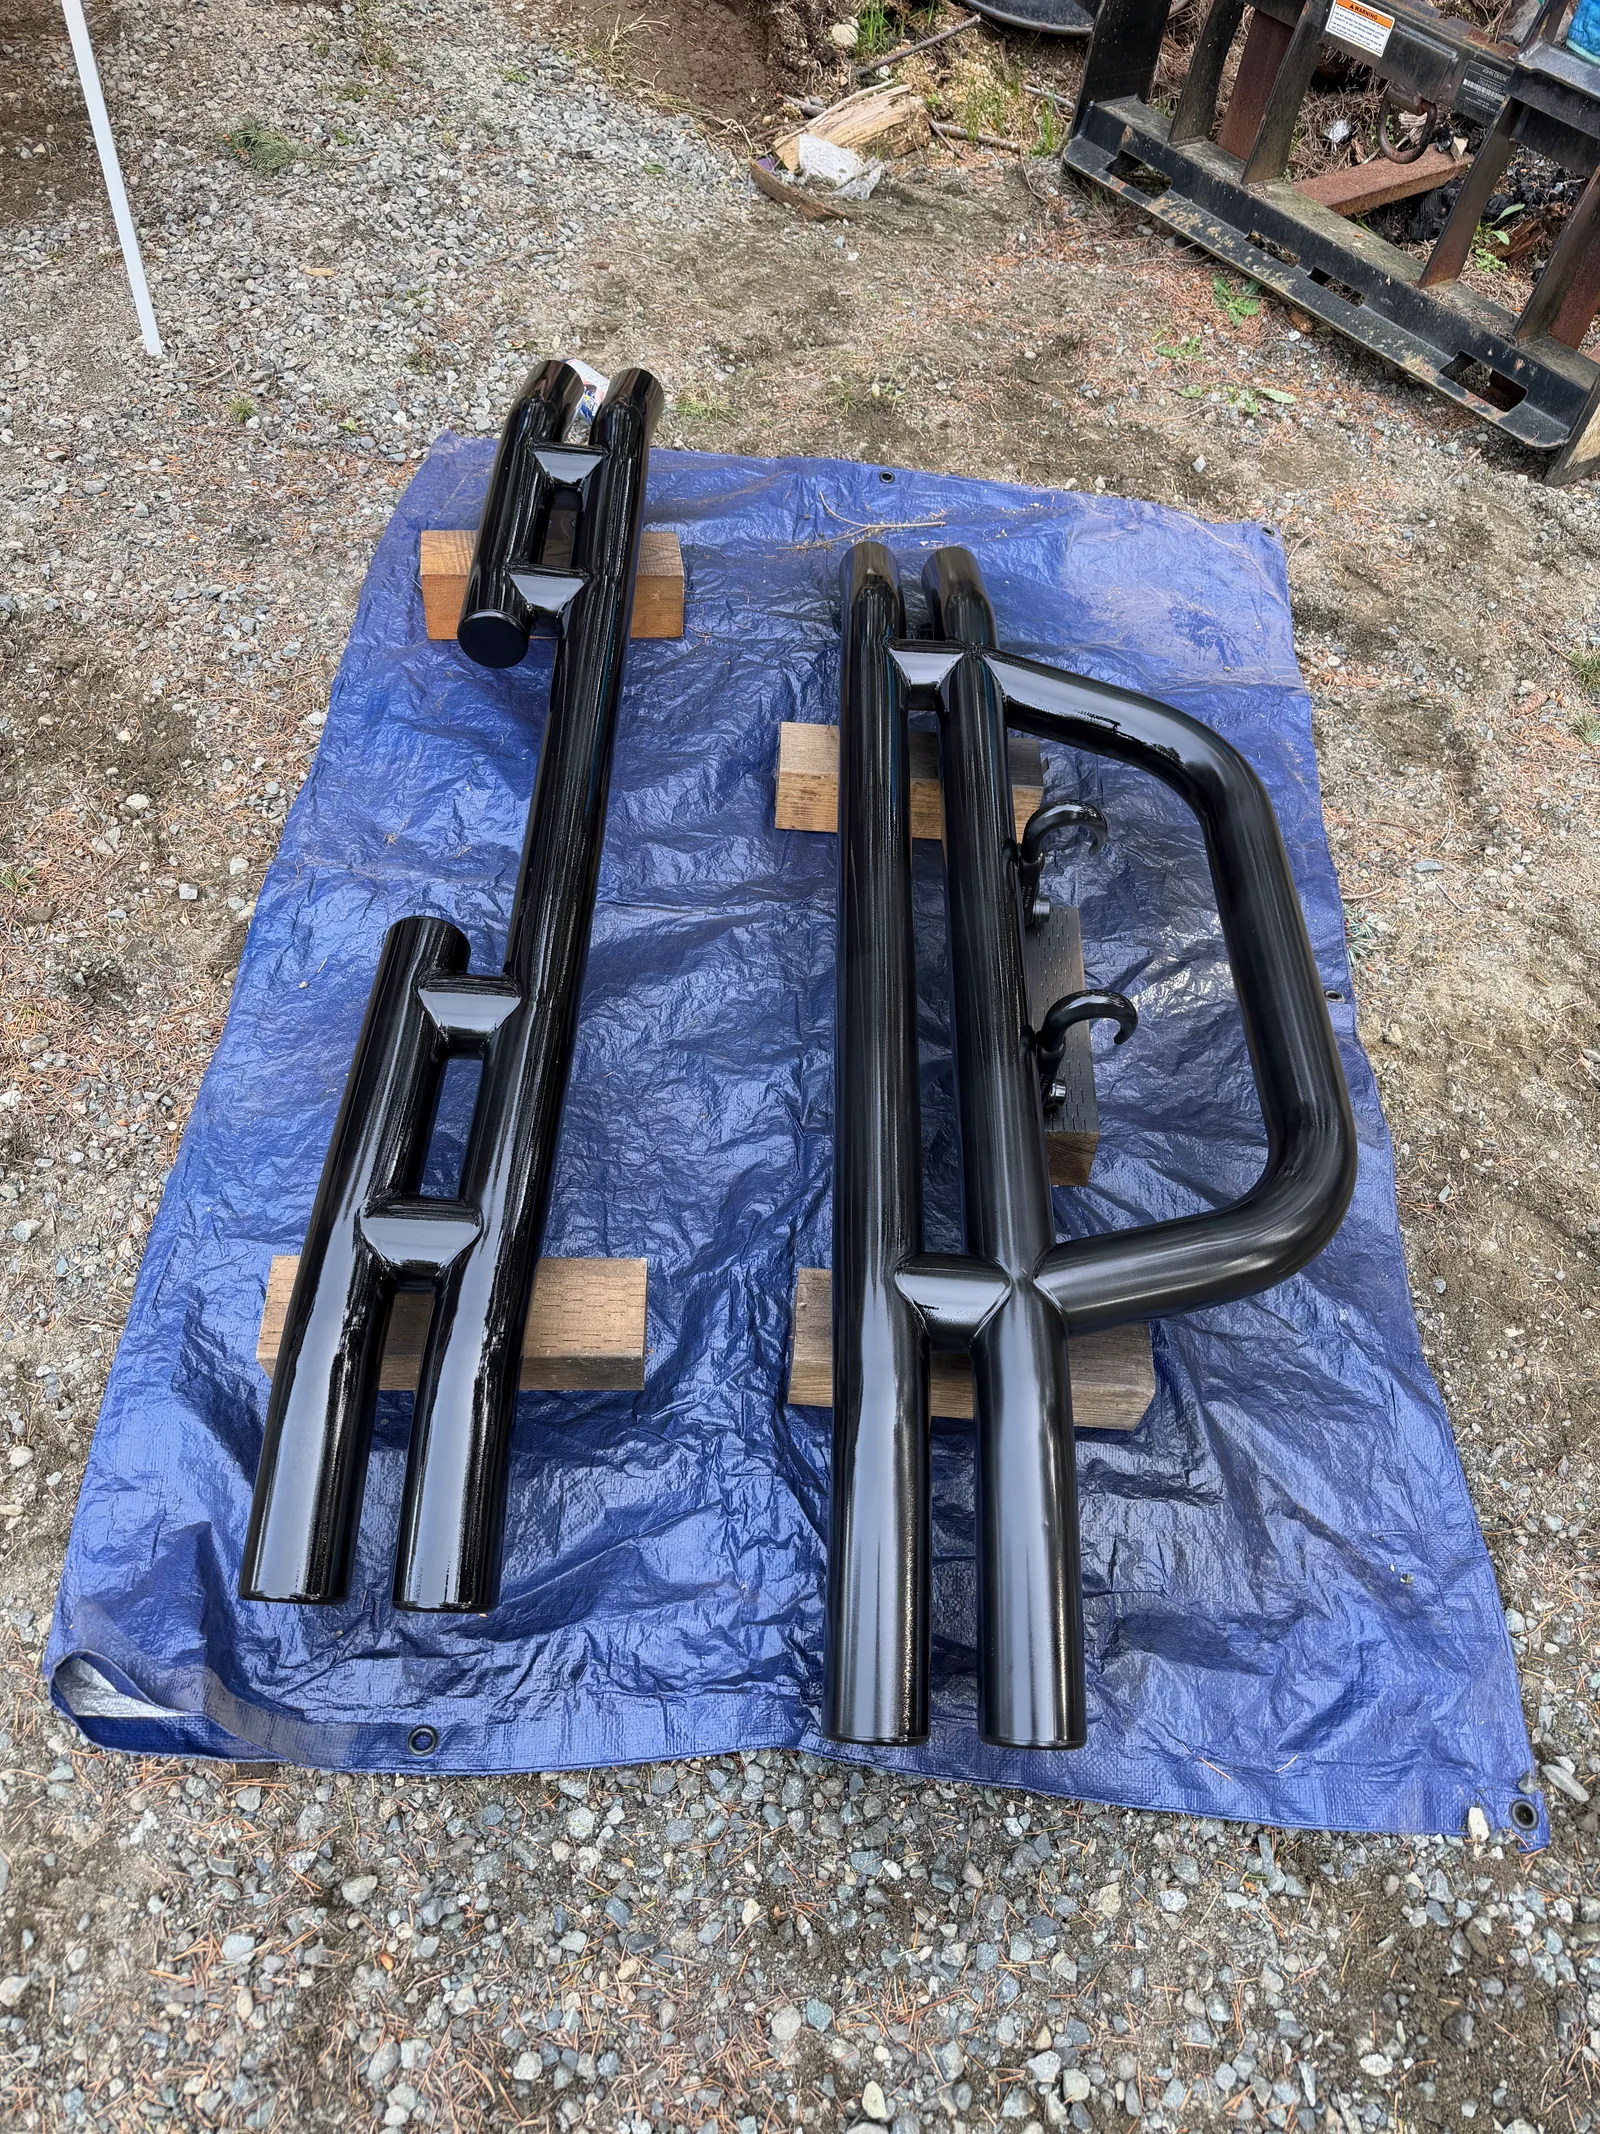
What was once chrome and shiny needed to turn black — there's no chrome on Isla Nublar, after all — so PlastiDip to the rescue.
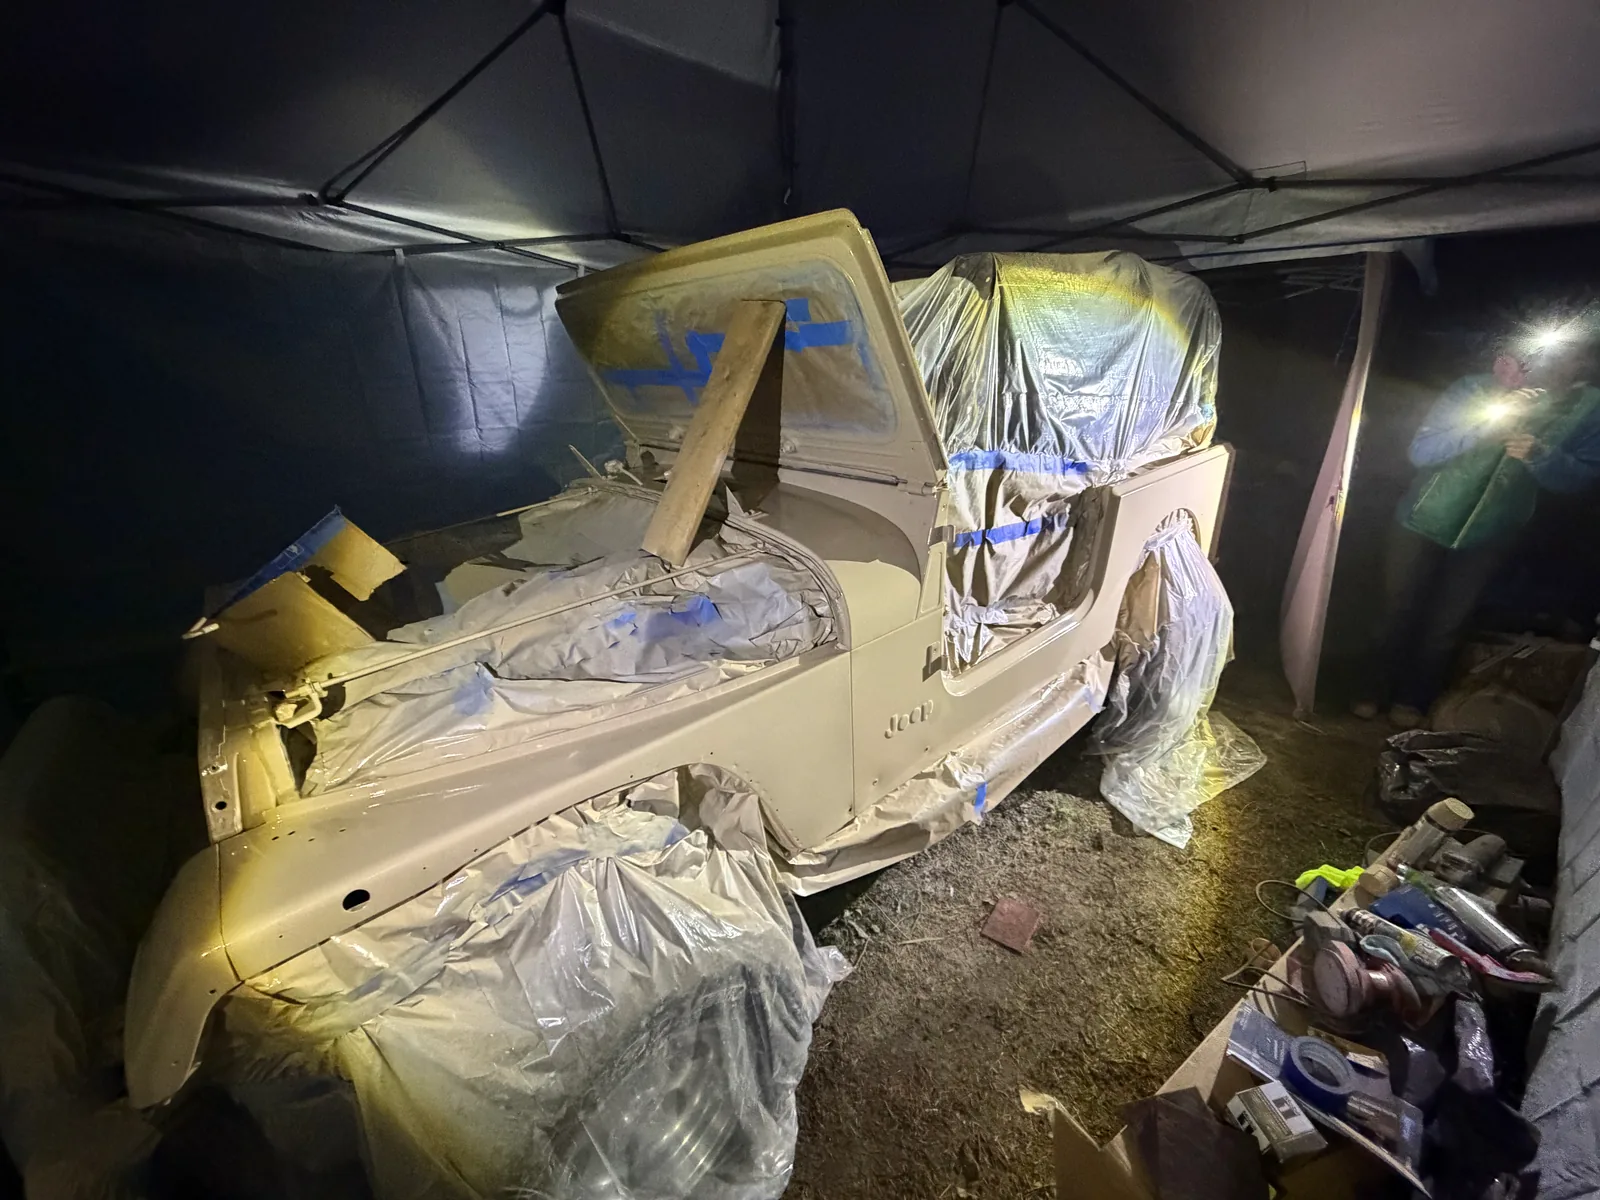
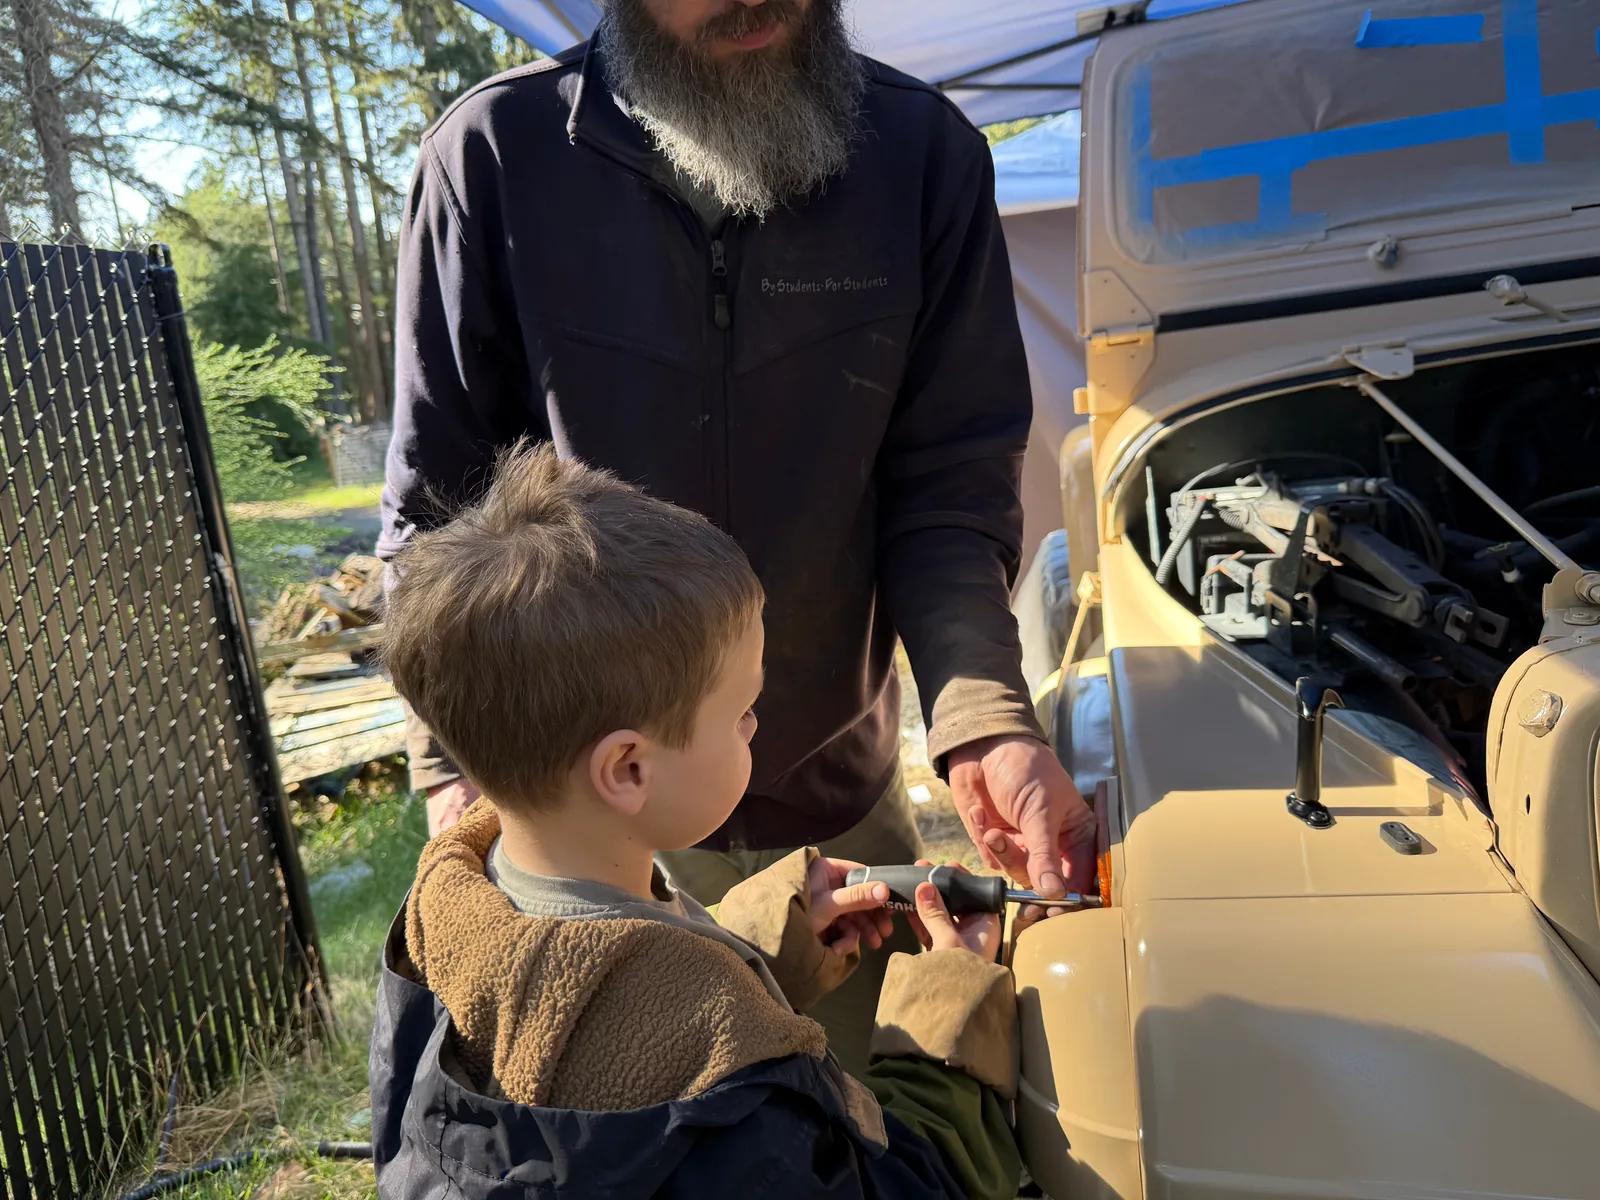
Saturday was also when we began our reassembly process. All the lights, seals, rubber bushings, license plate, spare tire carrier, and more had to be reattached before we got ready to lay down the red paint. Anything that needed red accents got its first coat on Friday to meet the 48-hour window, and anything that didn't need red was painted tan on Saturday.
Sunday & Monday
Decals, Numbers & Red
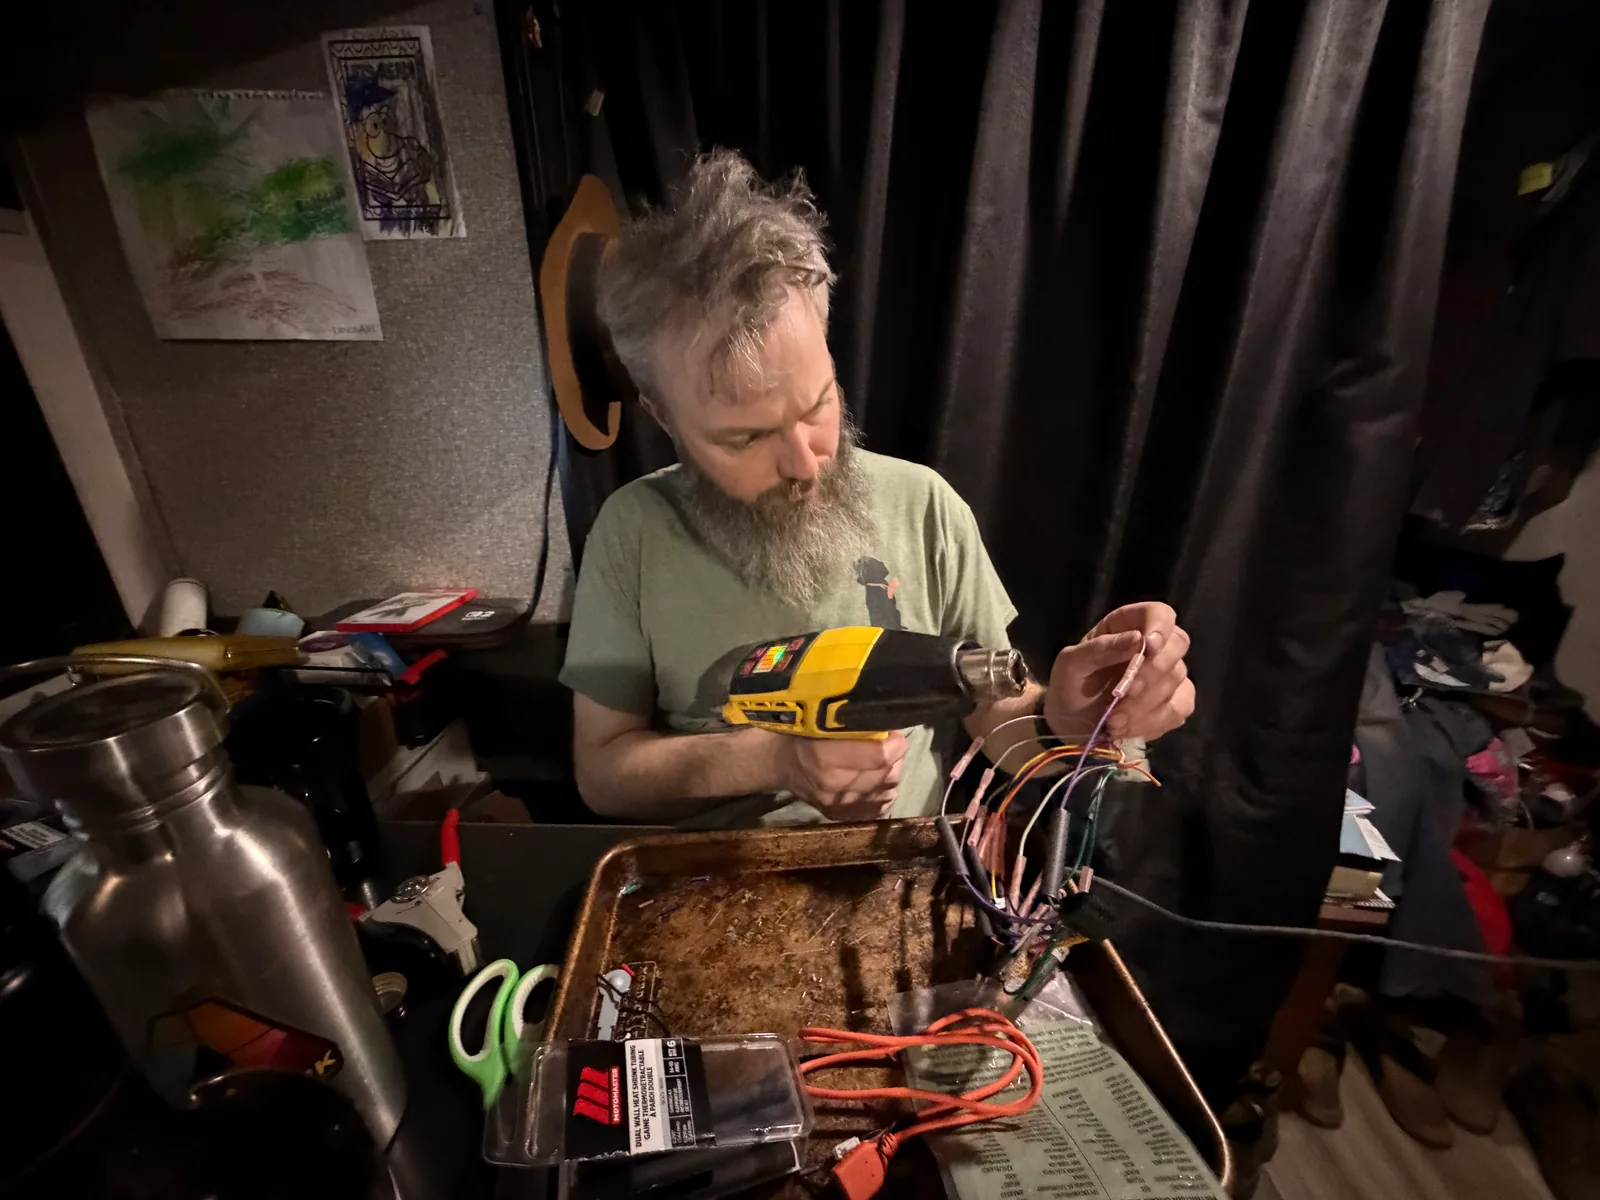
The work didn't stop when the sun went down. We wanted some tunes while we cruised around dodging T-Rexes, so a new radio was required — with CarPlay, of course. Not everything needed to be true to the movie.
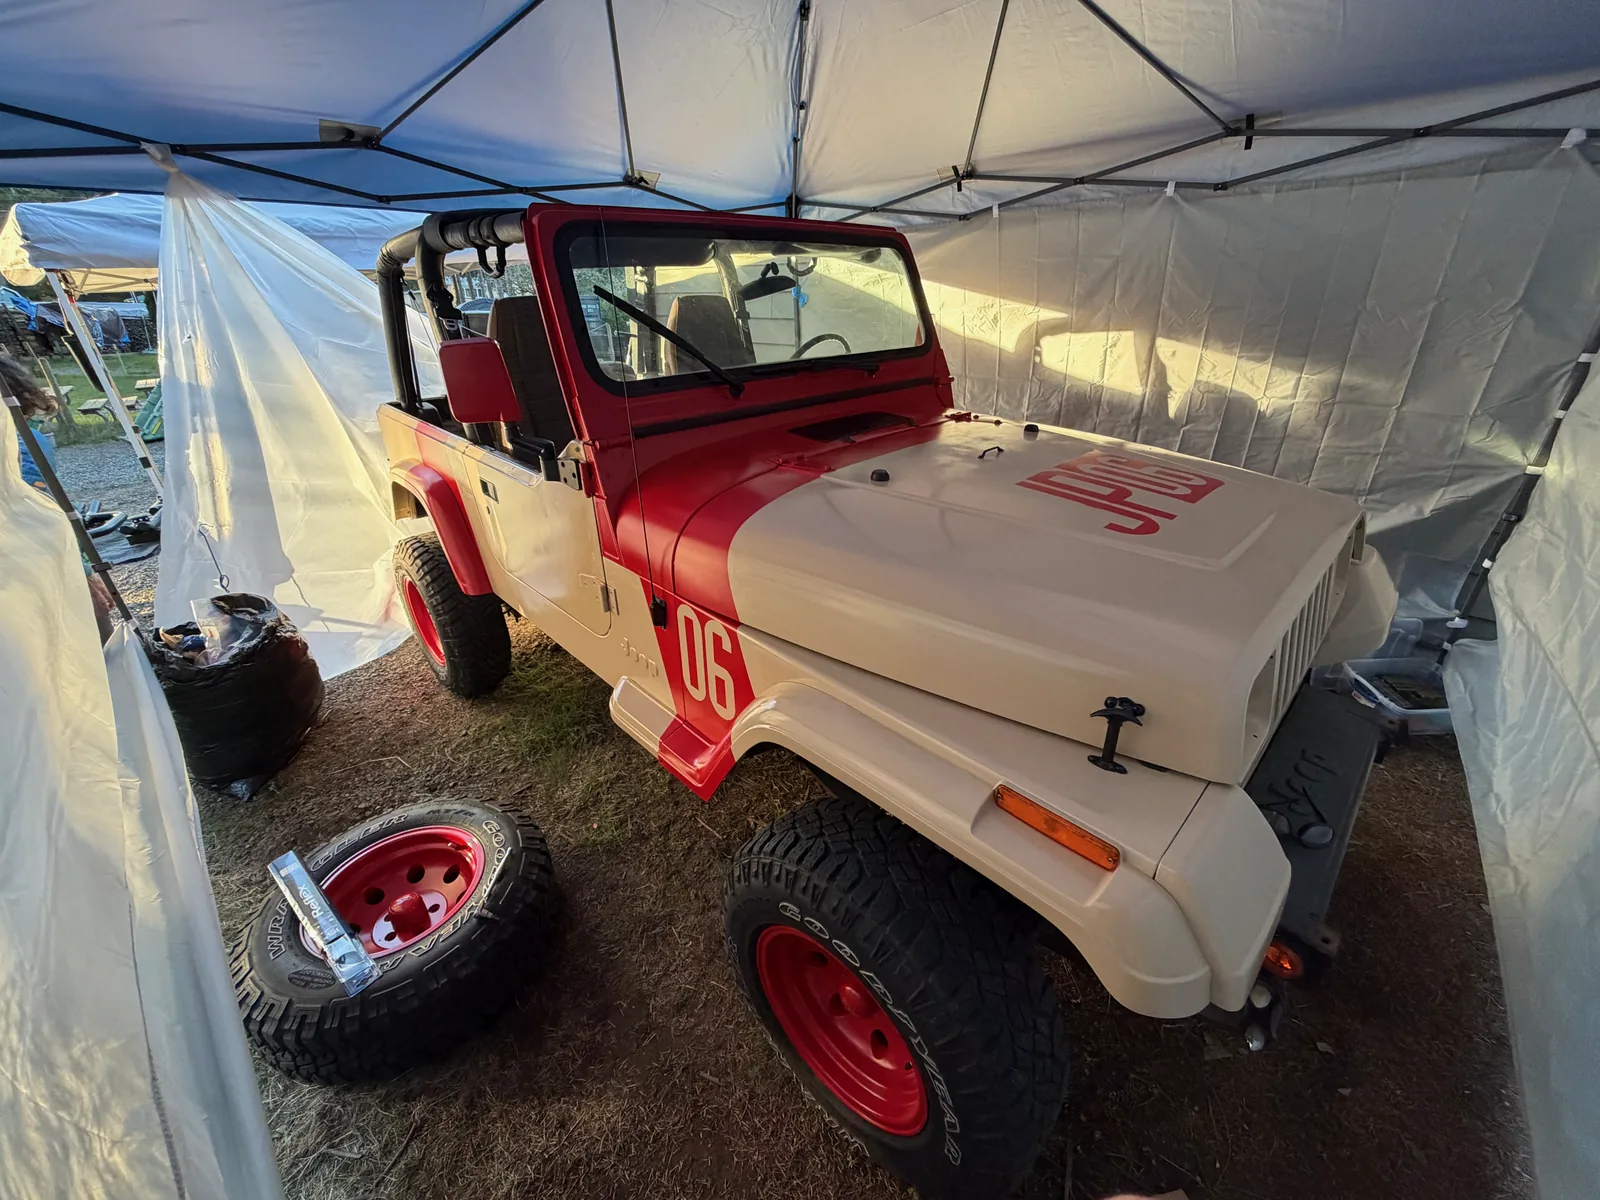
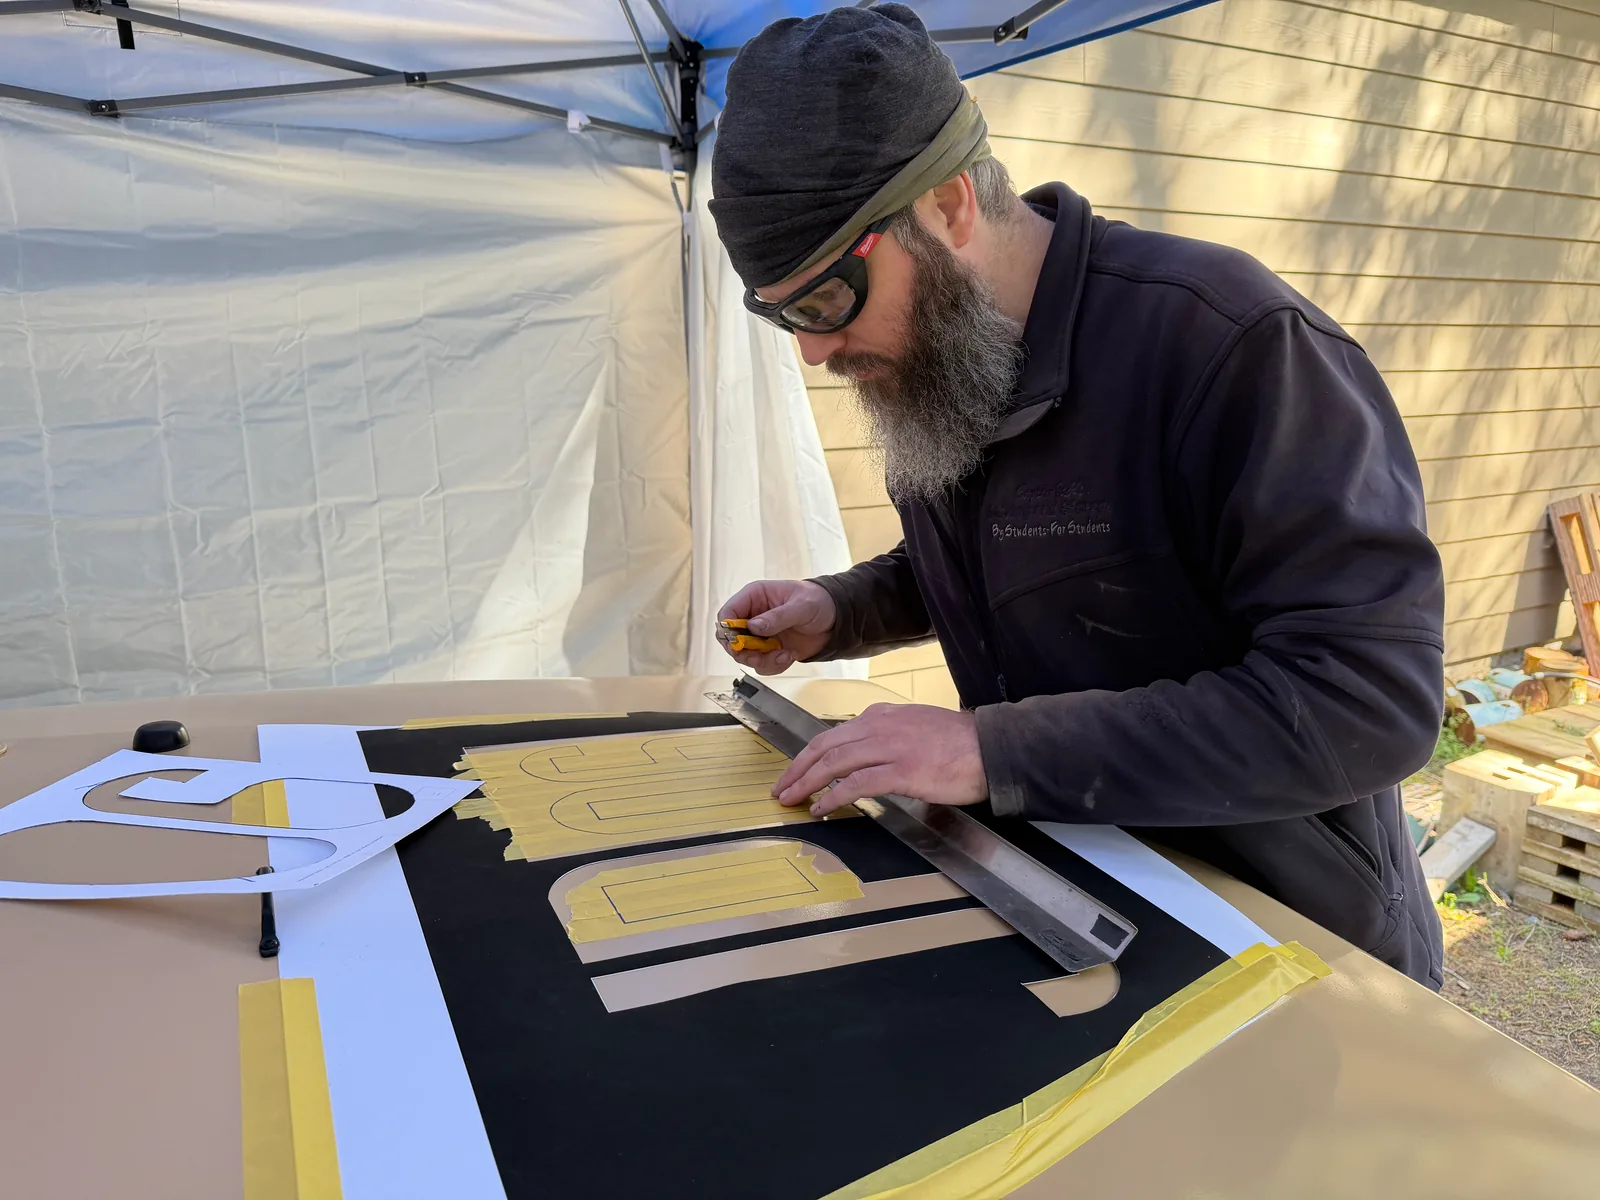
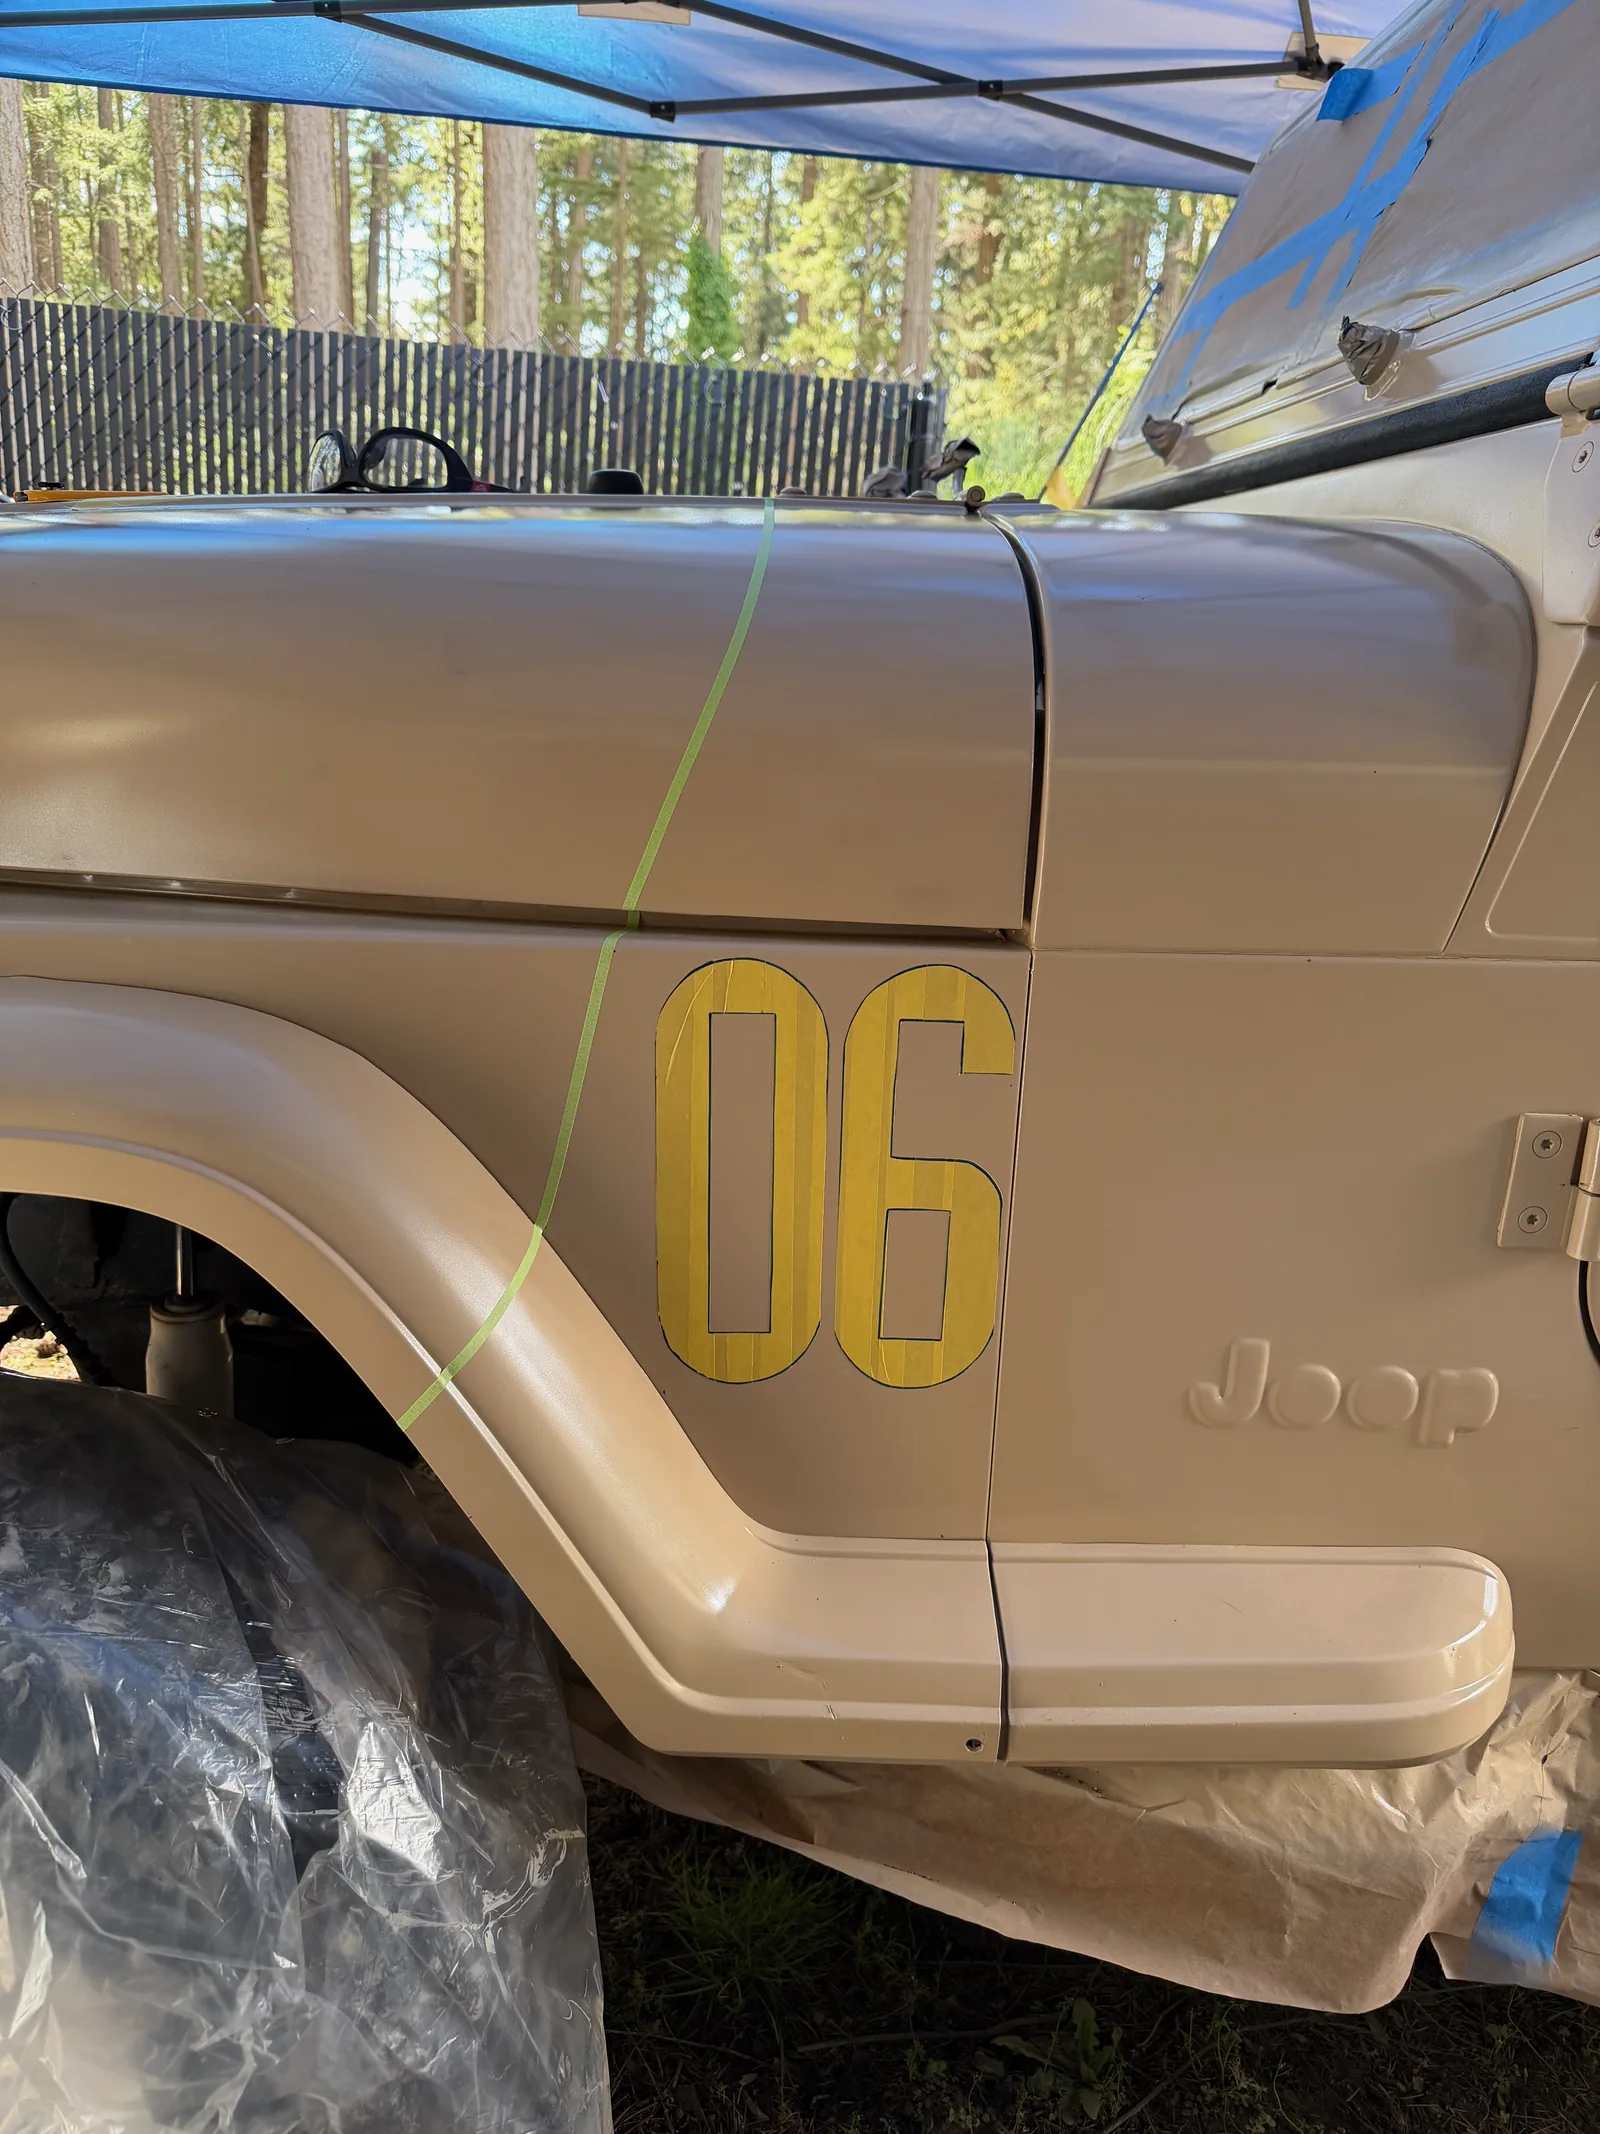
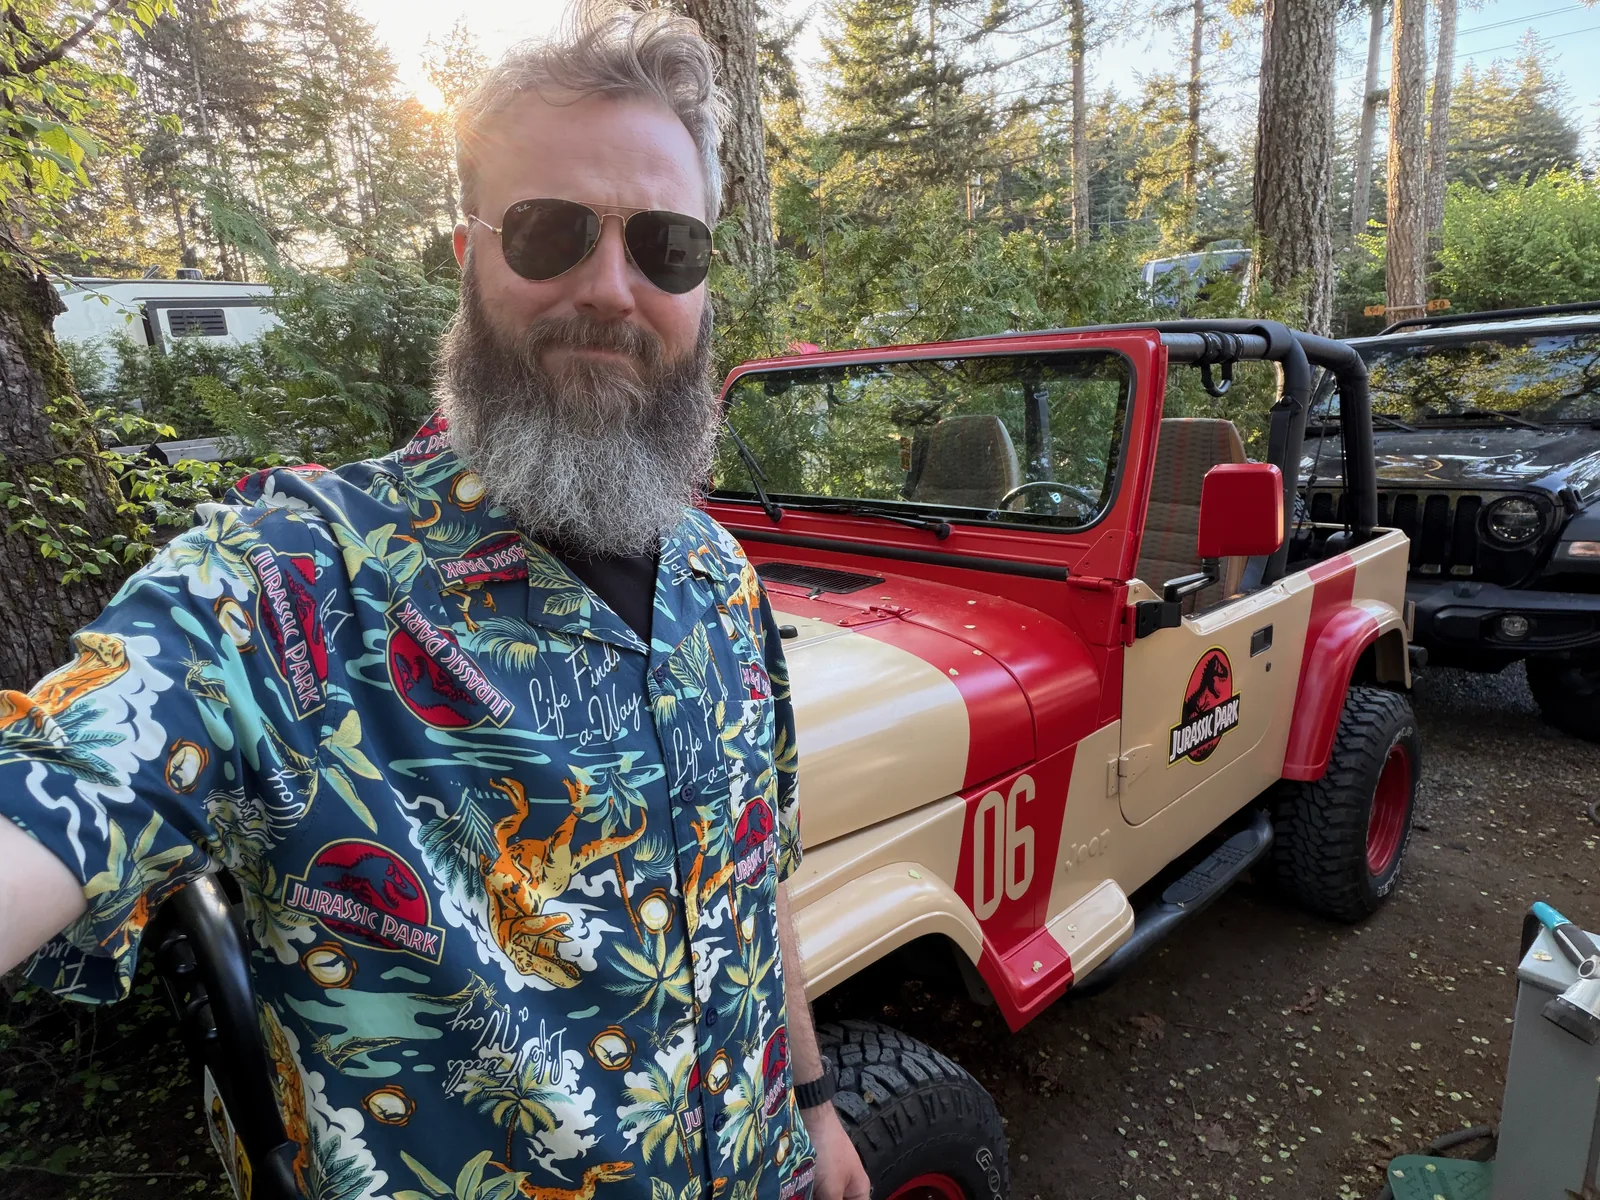
Sunday was another early start, and candidly we were starting to really feel the 15-hour days of non-stop work — but we were encouraged by the progress so far and were able to muster the courage to press on. Plus, you can't exactly drive around a half-finished JP jeep; it's just not the done thing. So we were in for a penny, in for a pound at this point. Sunday evening was our 48-hour mark, so the bulk of Sunday was spent on the intricate masking — the numbers on the sides and hood, the red stripes at their angles, the wheels, and so on. Once that was done, we were ready to lay down the red paint, and it turned out pretty good.
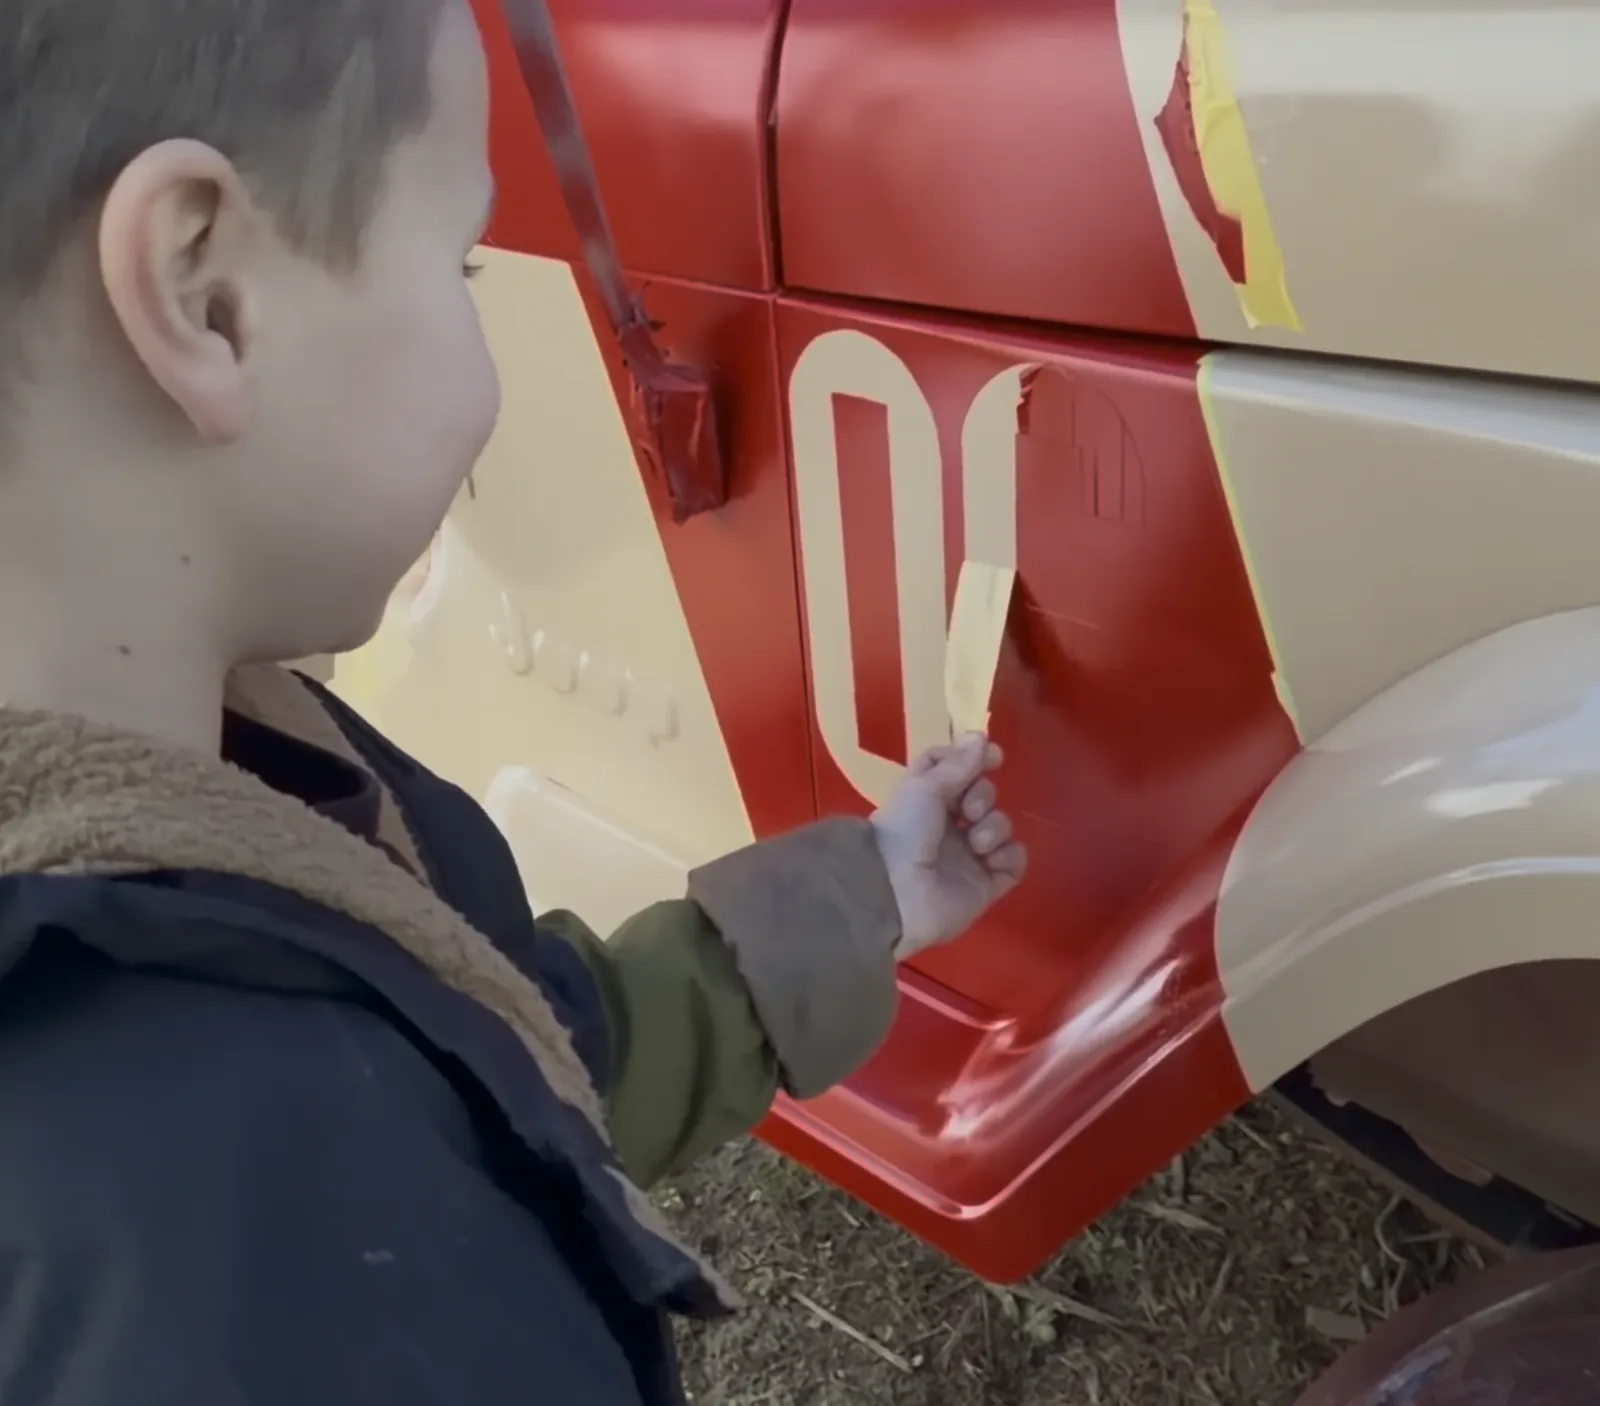
Soon the red was laid down and the masking tape removed… and we had ourselves a Jurassic Park Jeep!
Monday
The Devil in the Details
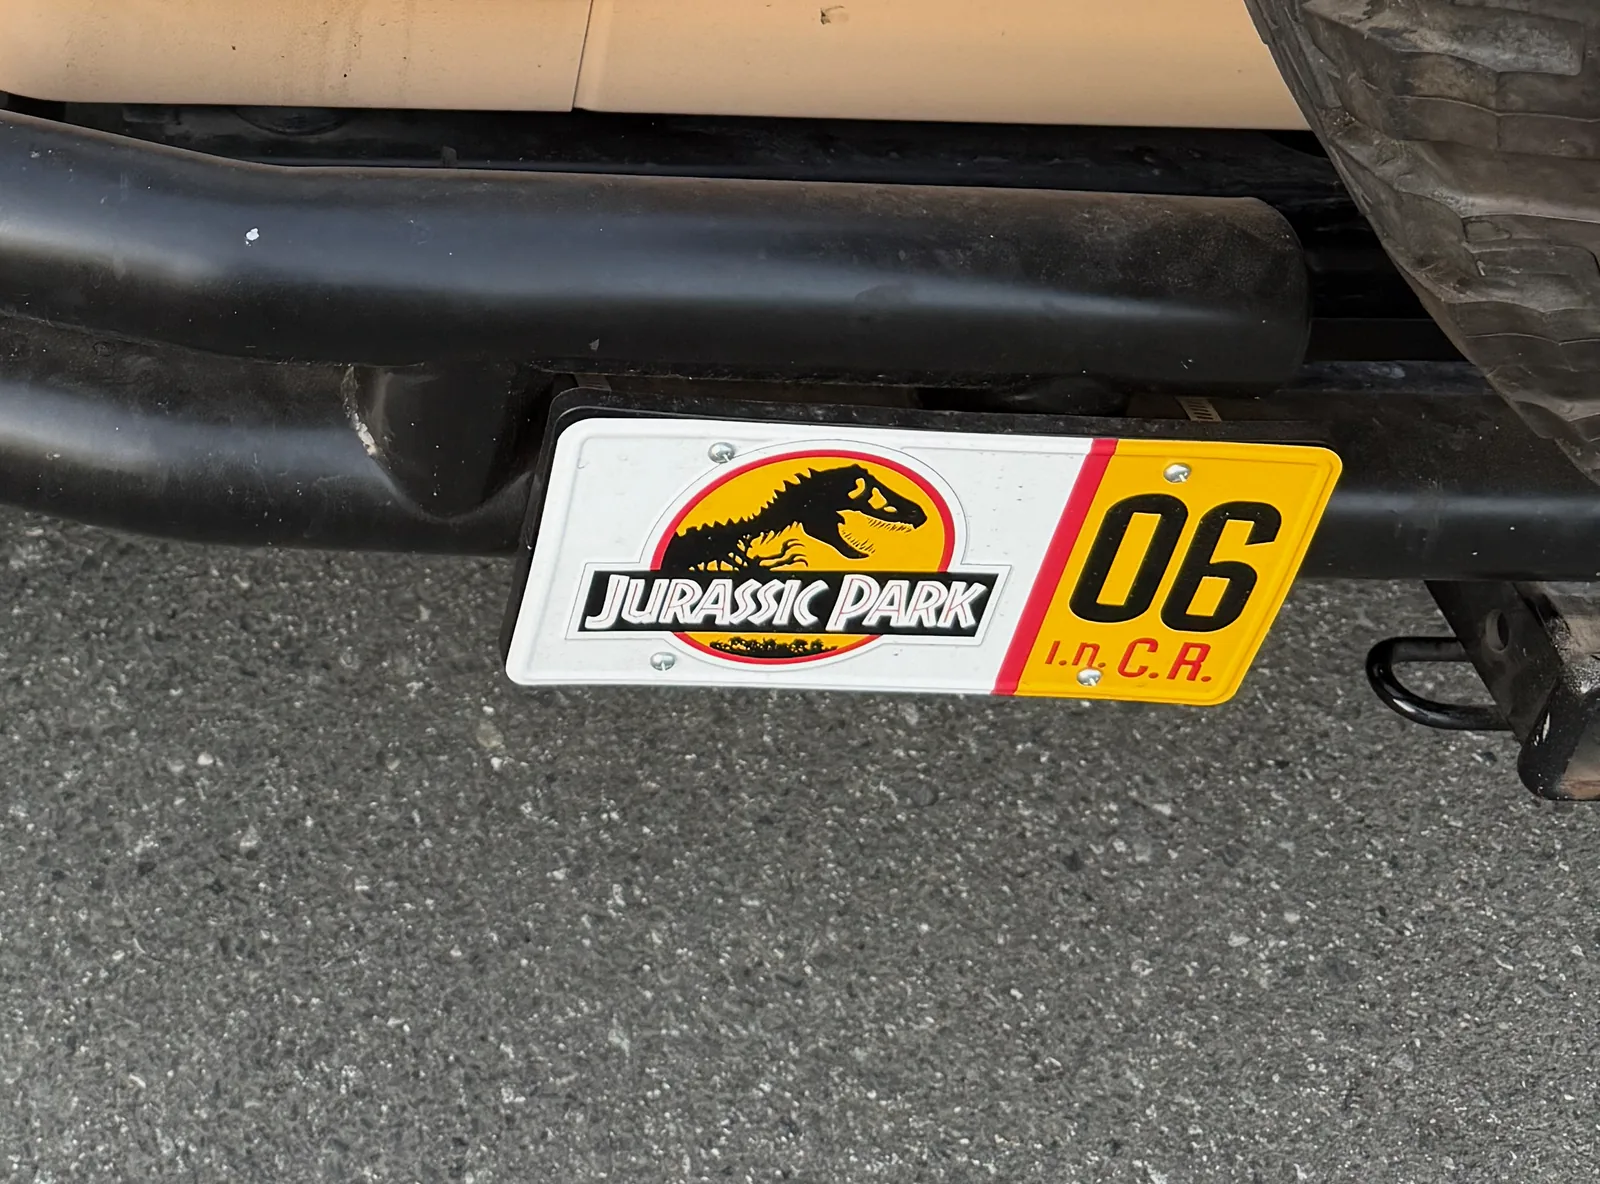
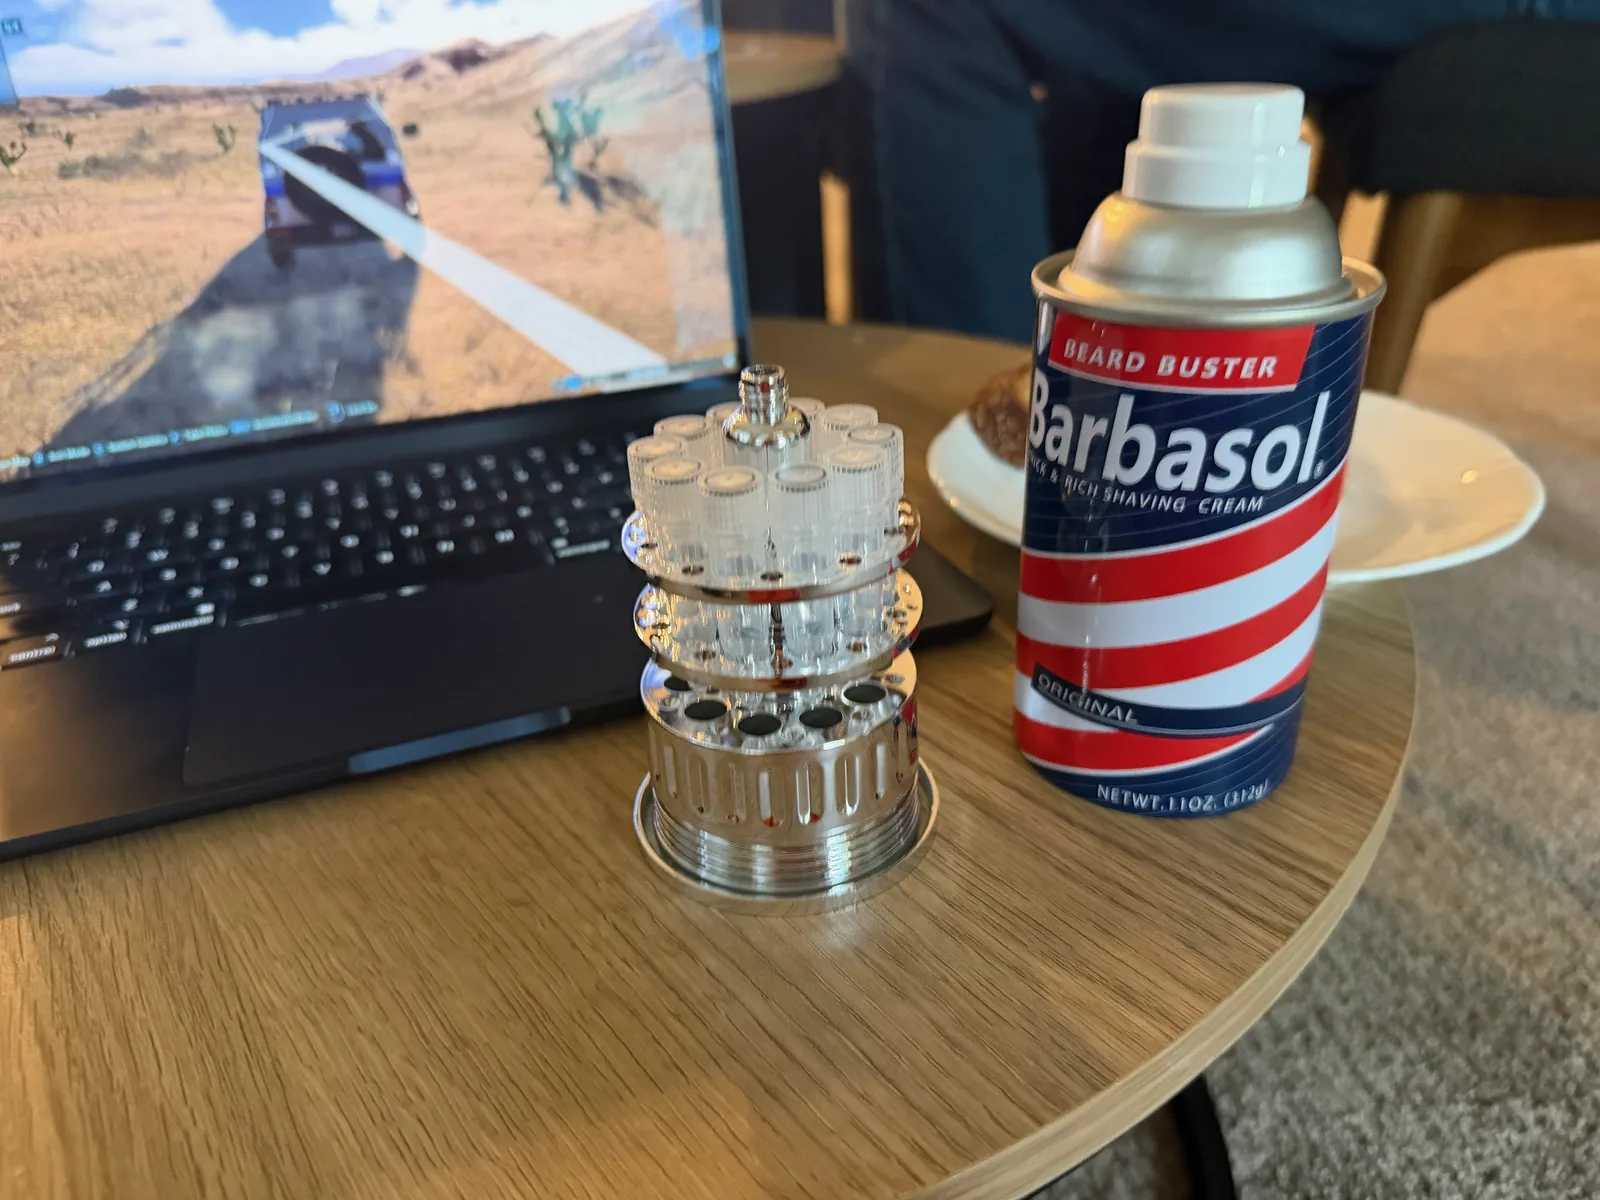
Of course, the dilophosaurus is in the details, as they say, so we needed to add the accessories — the door decals, some license plates, and a few other items. Later in the week we added a "Sonic Horn" that lets us play custom noises like the JP theme or the T-Rex roar, and we even found a cheap replica embryo-holding Barbasol can to complete the look. It was ready for the birthday party in good time, and the kids loved it.
Conclusion
In four days, we had taken our metallic green Jeep YJ and converted it into a Jurassic Park jeep. It's not perfect, but it turned out far better than it had any right to, given it was done outside, in four days, with Tremclad spray paint. All told the job — including accessories like the license plates from eBay — cost us about $1,000 and about 80 hours of hard work.
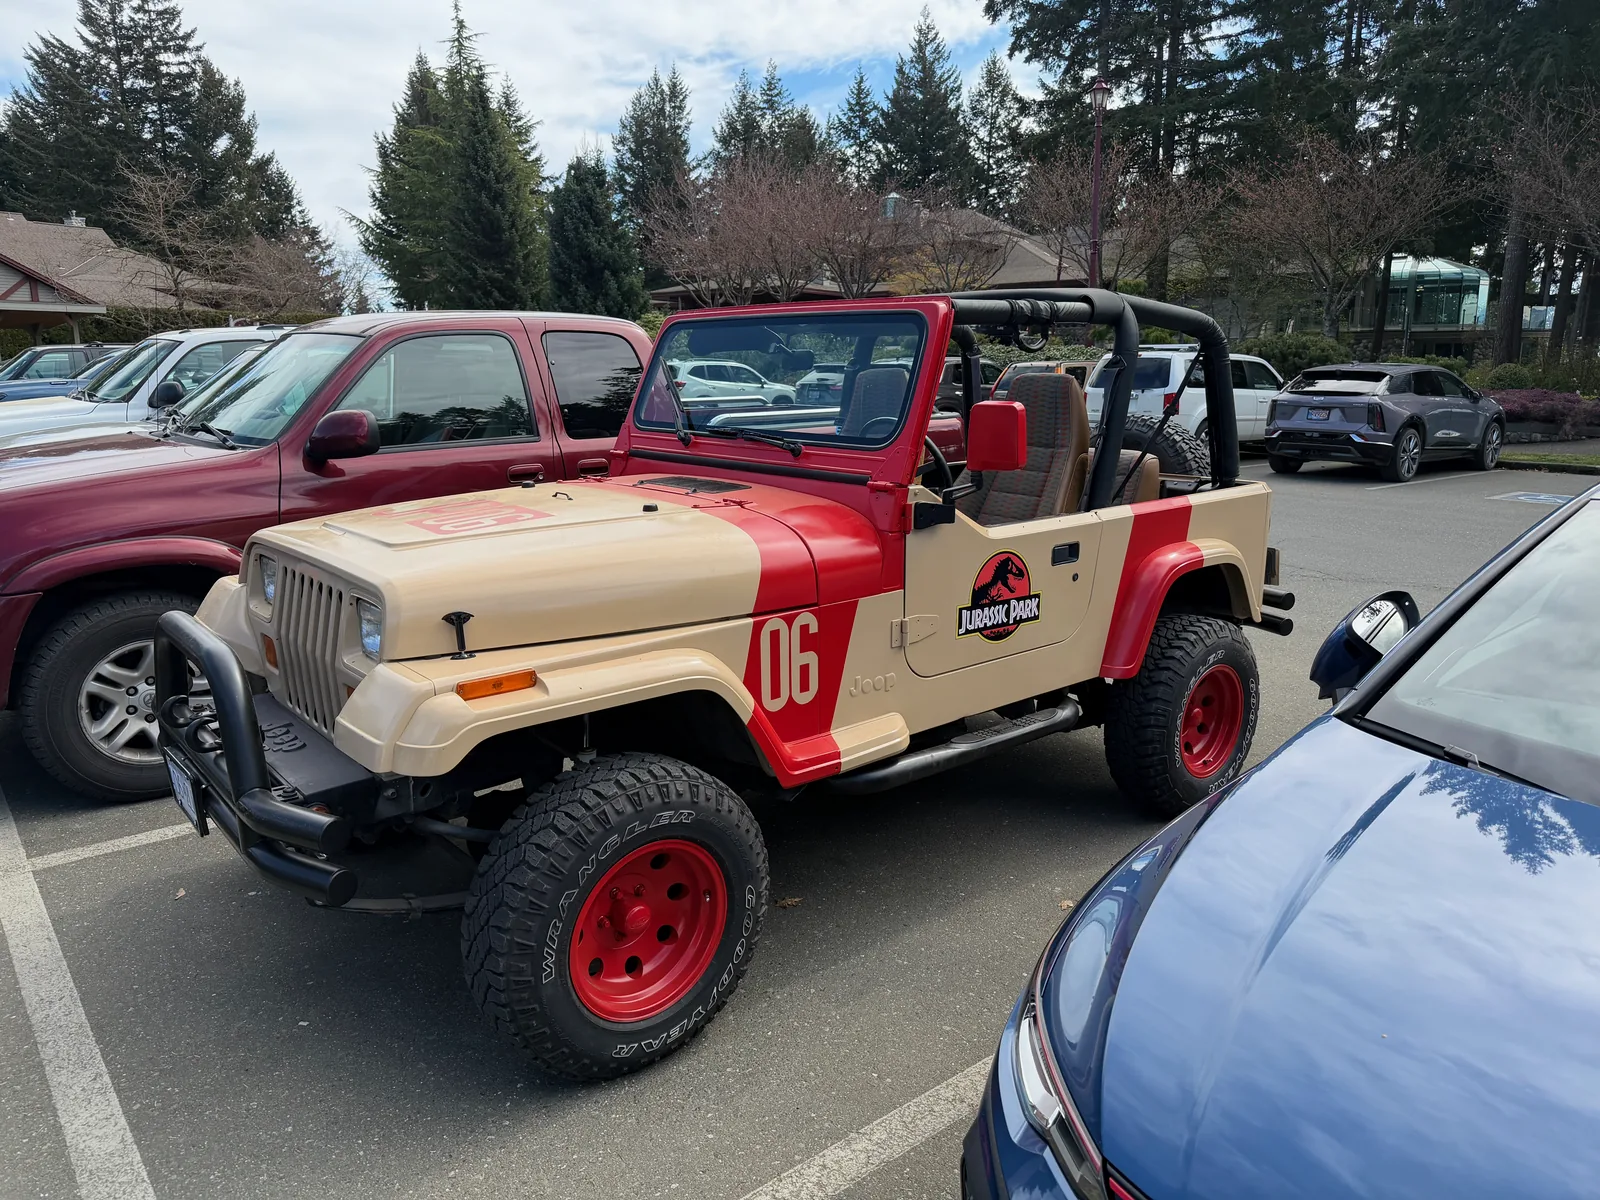
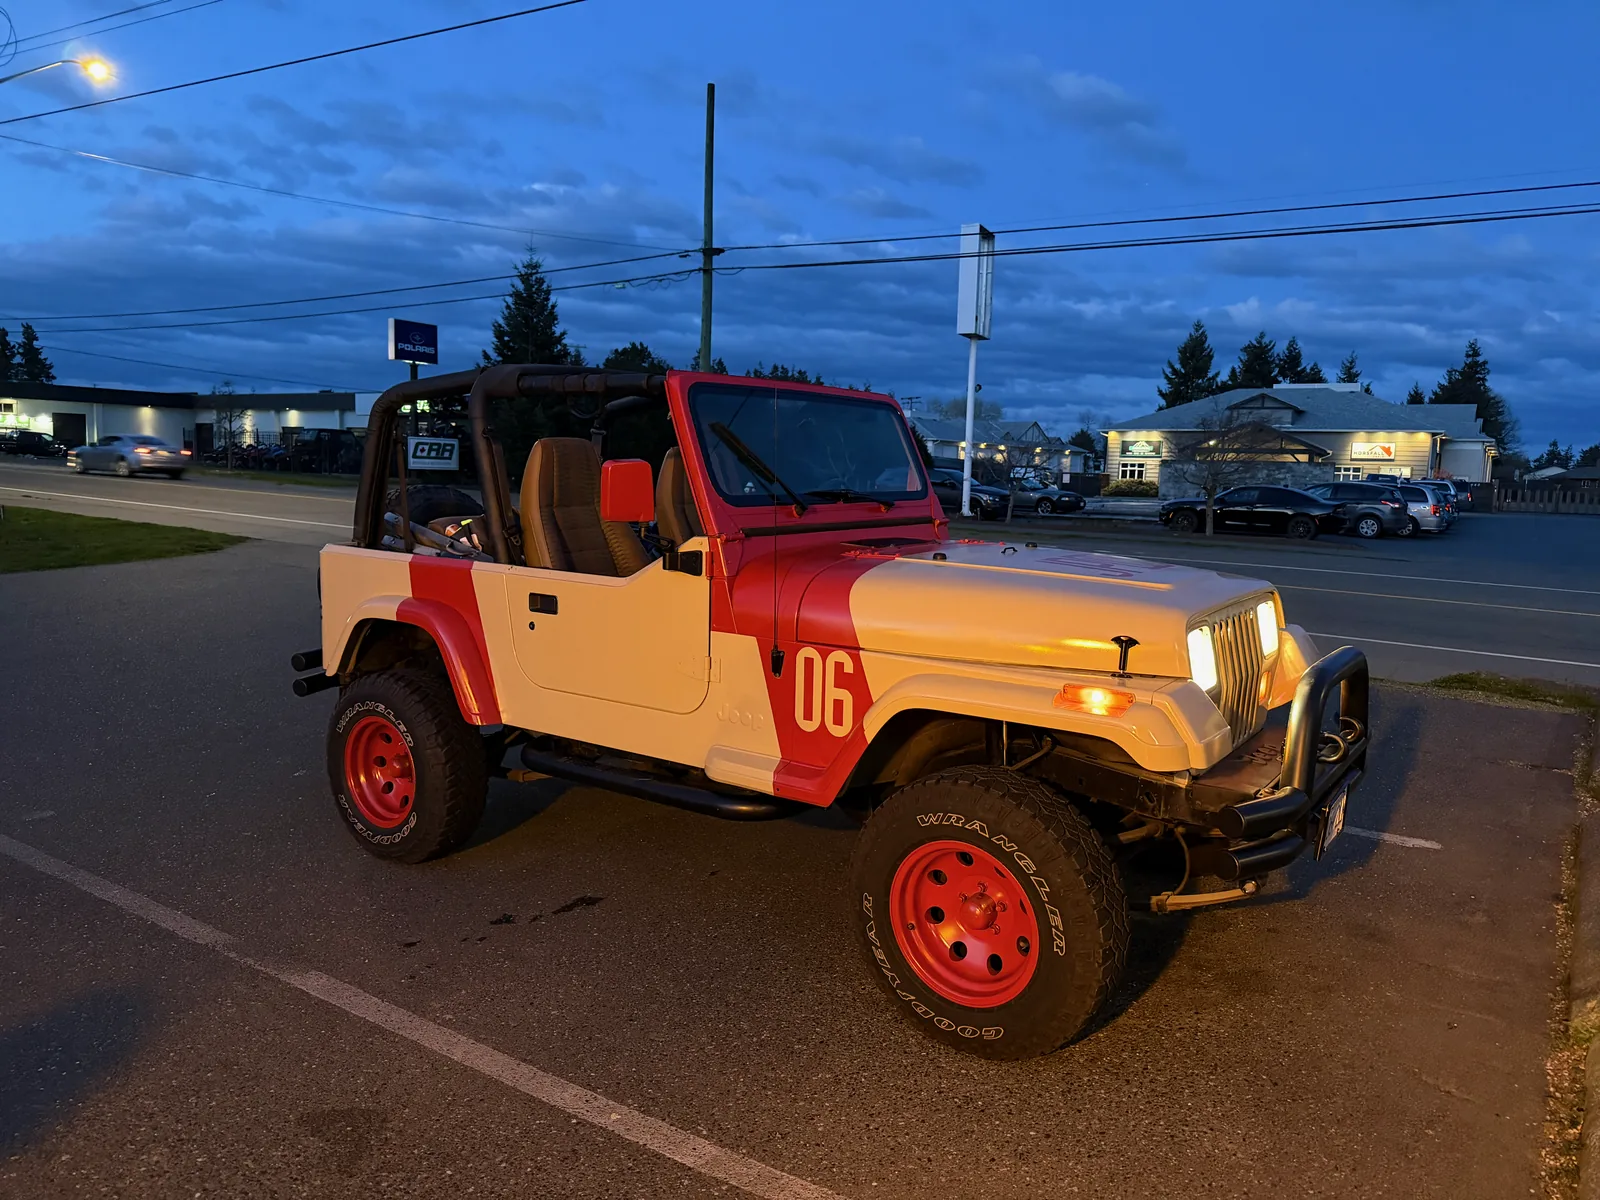
In the film, John Hammond was often heard saying "We spared no expense" as a way of bragging about the majesty of what he and InGen had created — and yet, they clearly had pretty poor emergency protocols, a dock that was unsafe in bad weather, and only one computer systems engineer, who was apparently underpaid based on the dialogue, leaving them vulnerable to corporate bribery and espionage that ultimately doomed the entire enterprise. It seems that Jurassic Park as a theme park looked pretty good, but despite the claim, they did indeed spare a great deal of expense.
Our Jeep is like that — it looks pretty good, but it didn't cost us a ton, and we transformed a 30-year-old Jeep into something that brings joy to a lot of people. Except nobody gets eaten by large rampaging carnivores, so overall it's an improvement. It's not 100% screen-accurate, but the whole do-it-fast-and-cheap approach lends an authentic Jurassic Park ethos to the thing, and we have a blast driving it around.
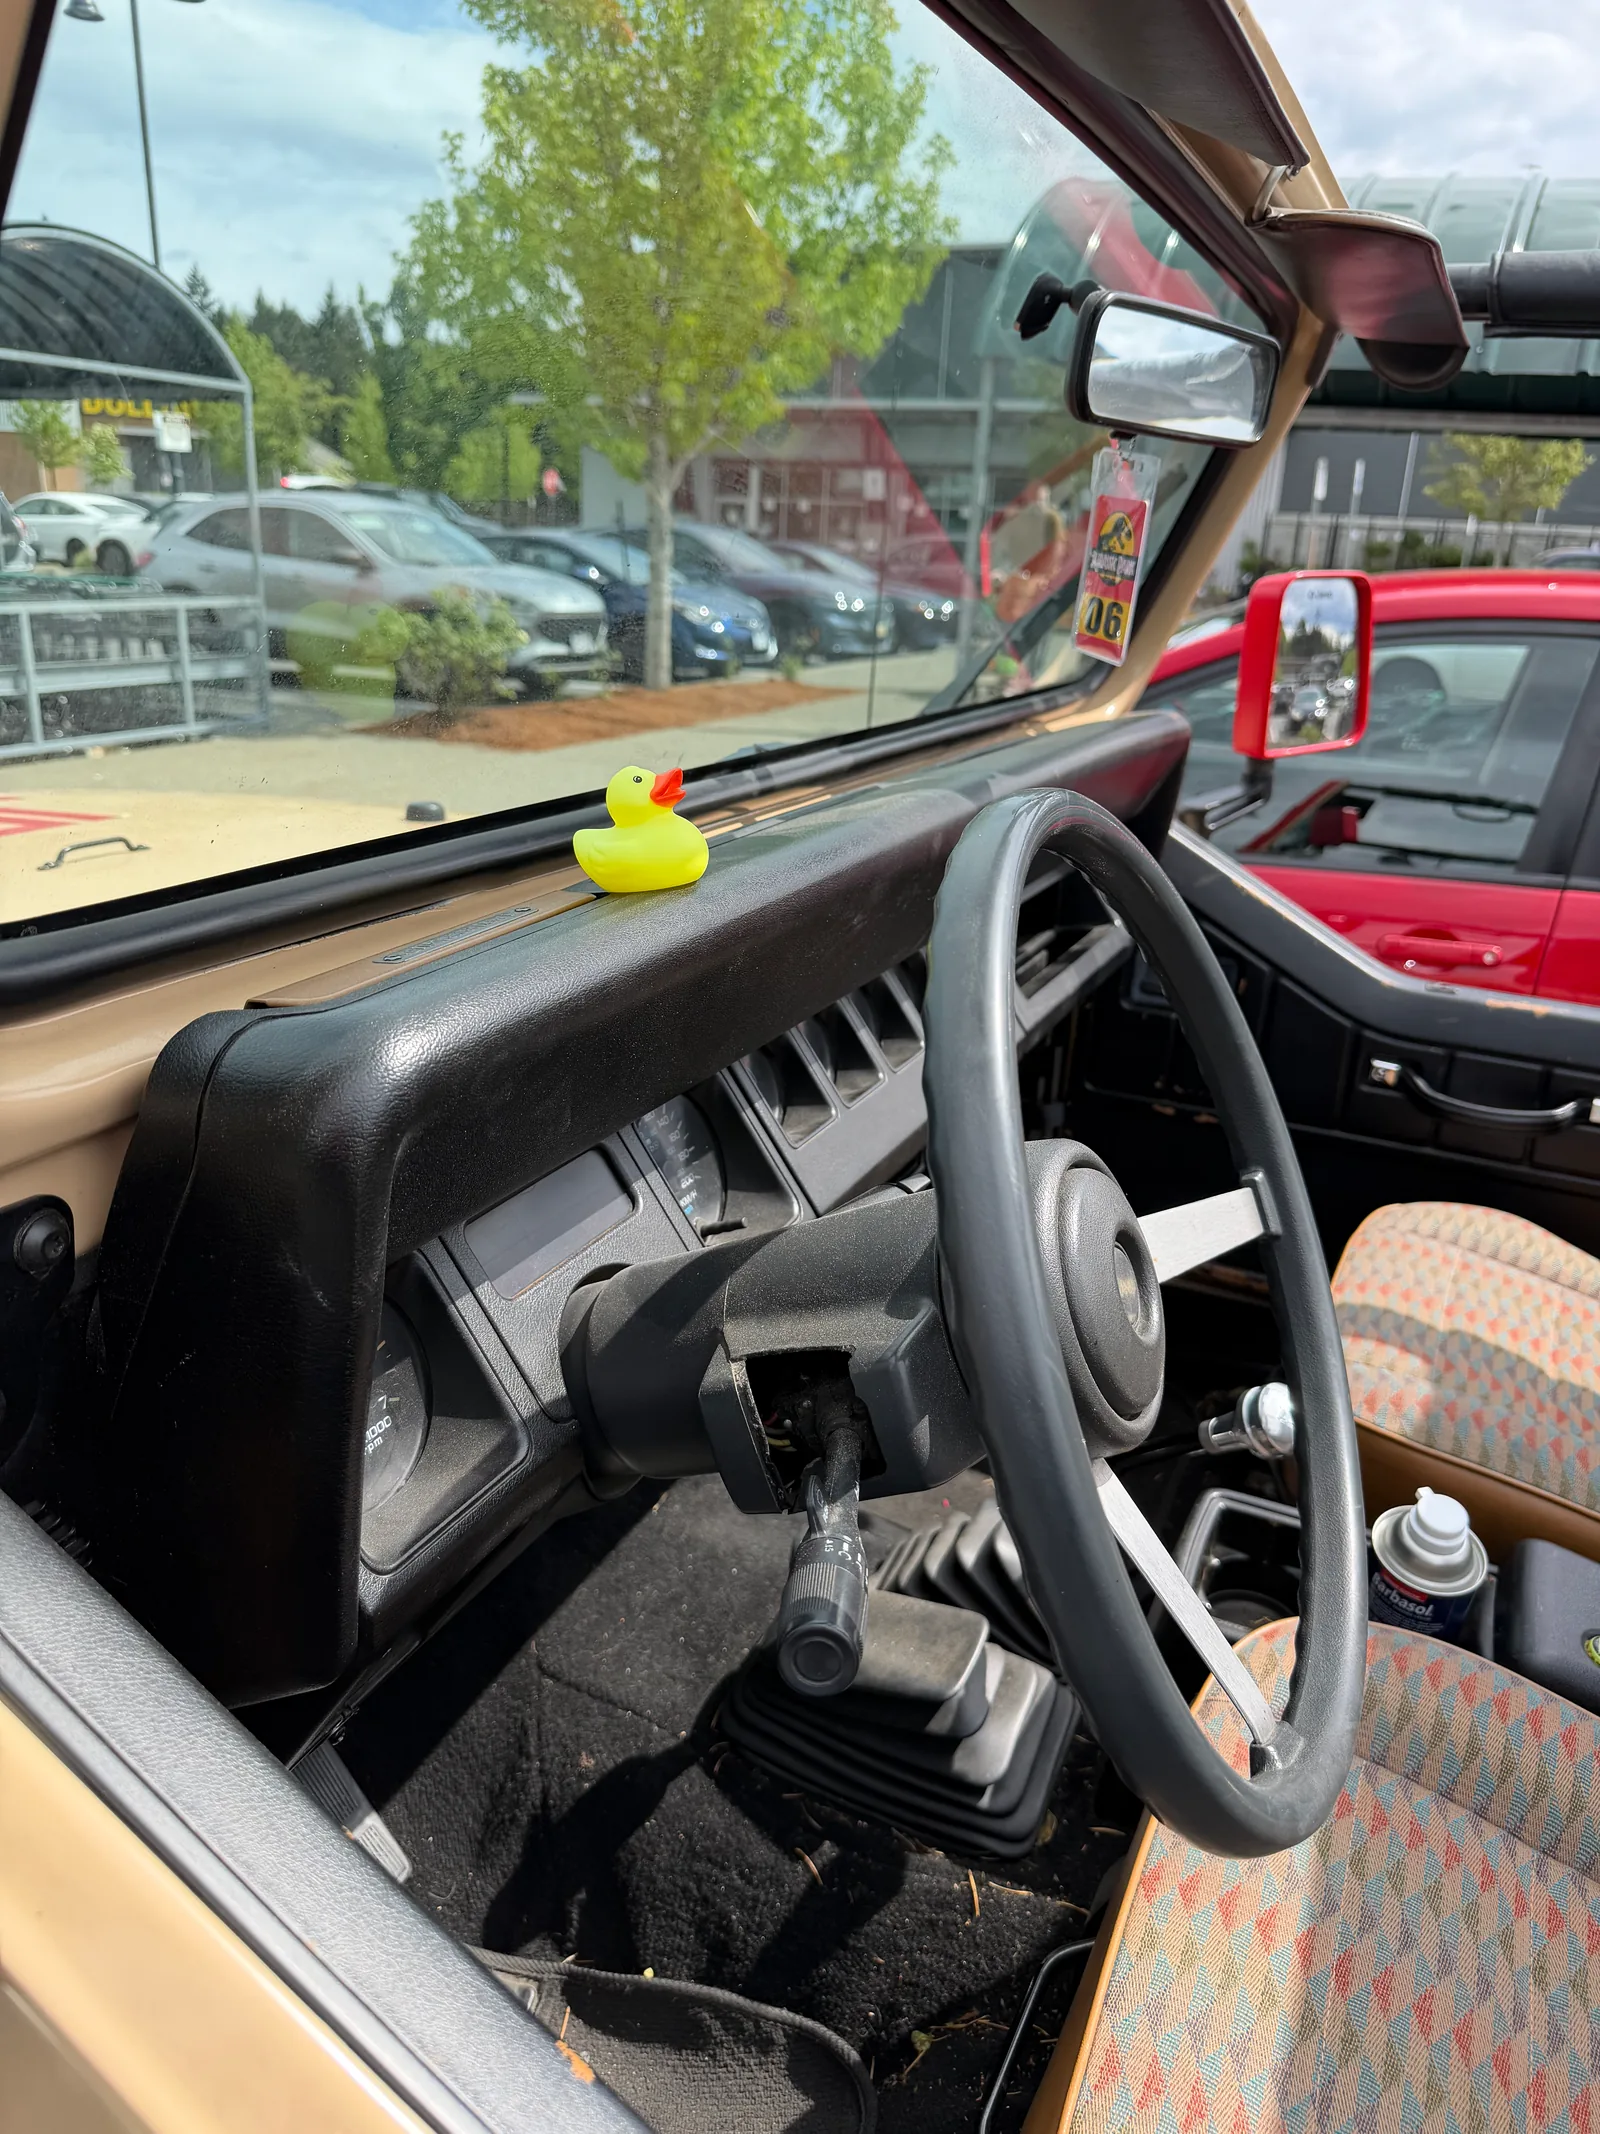
Not all of our adventures as a family need to take us far afield; the whole point of our thing is that any excuse will do for an adventure. A six-year-old's birthday party was excuse enough for this one, and the memories of doing this as a family with our son are priceless.
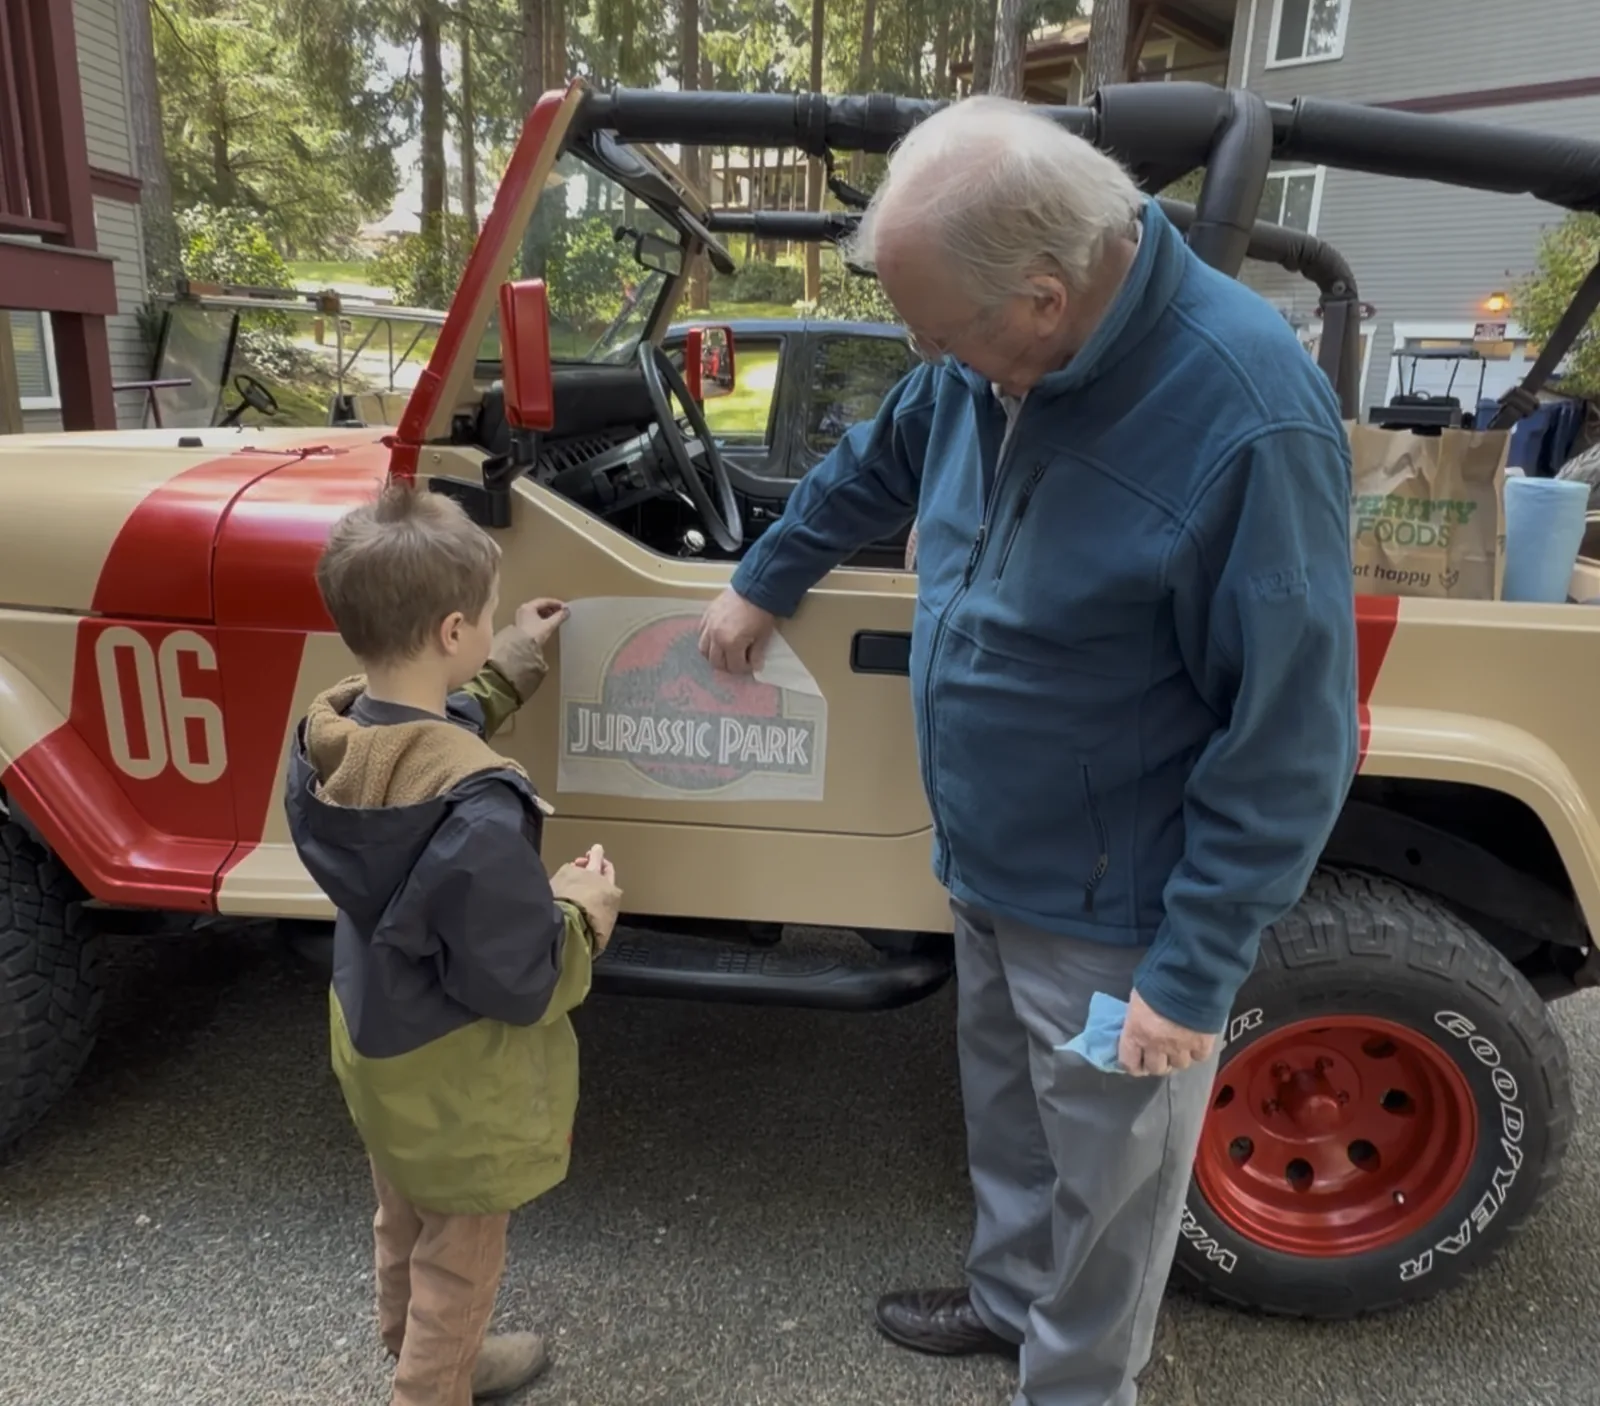
Thanks for reading, and until next time, we'll keep chasing our trunks.